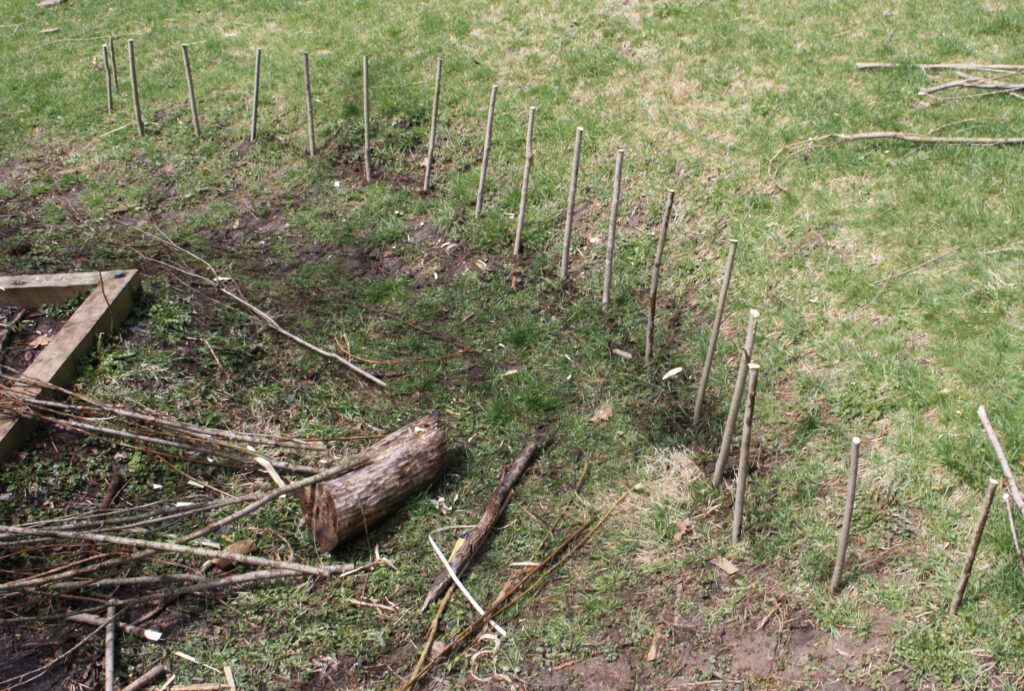
Here is a basic and simple tutorial on building a wattle fence garden bed. There are several attractive advantages to this method. First off, it revives a very old peasant craft with a practical purpose. It also has a pleasing natural and ancient looking aesthetic. Furthermore, it uses a highly renewable resource.
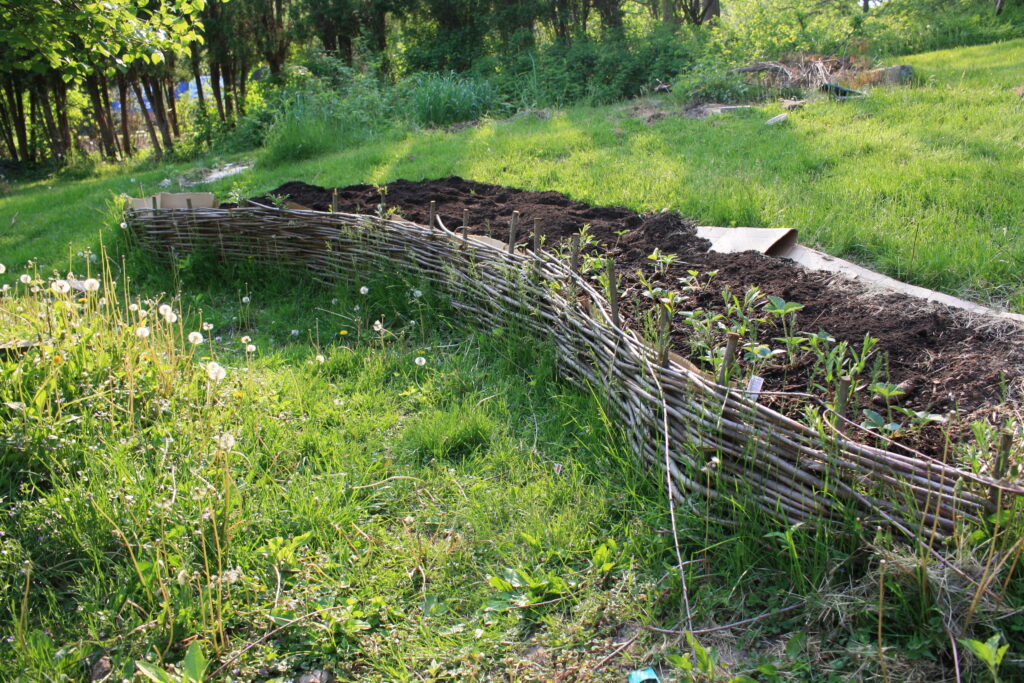
This is a project I did that converted a previously unused slope into my newest garden bed. Most of my tiny property lies on a hill with lots of shade. That means I have had to get creative in using the sunny spots. This one particular spot was on a south-facing slope that was relatively steep. It was kind of a pain to mow. So why not create a raised garden bed with a retaining wall there?
What kind of wood should you use for a wattle fence?
Willow and hazel are the best types of wood used in building wattle fences. They are springy and pliable. Weaving them together will form a strong and durable fence. For me, willow is the most available and most prolific. Sourcing willow should not be too hard, if you know where to look. Not only that, you can also establish your own renewable source of willow quite easily if you have even just a little bit of space. Read my article on growing your own willow to learn more about that!
When is the best time to make a wattle fence?
Traditionally, this would best be done in the early spring. It is best to harvest your withes whilst the willow is still dormant. The root-stock of the willow will then be sending up fresh shoots for the next year.
How much and how big of sticks?
You will need:
- Upright posts of at least one inch in thickness. Plan for a post for every 1 to 1 1/2 feet. They should be able to be pounded about 5 inches in the gound.
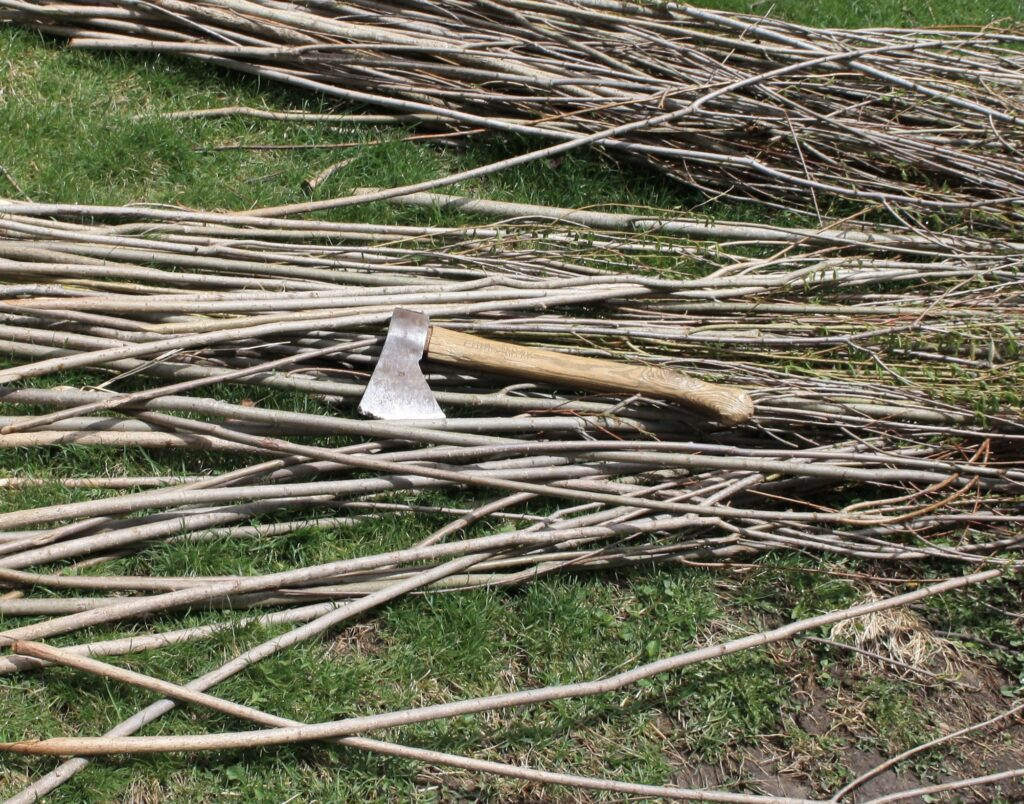
- weaving rods of about 1/4 to 1/2 inch in thickness. About 24 rods/ 1 foot of height and about 6-7 feet of length. This is a rough estimate for working with wild material. My rule is to cut more than I think I’ll need.
I use either my trusty axe or machete to do the job.
Building the Wattle Fence
It is really quite simple.
- Trace a line of where your fence will go.
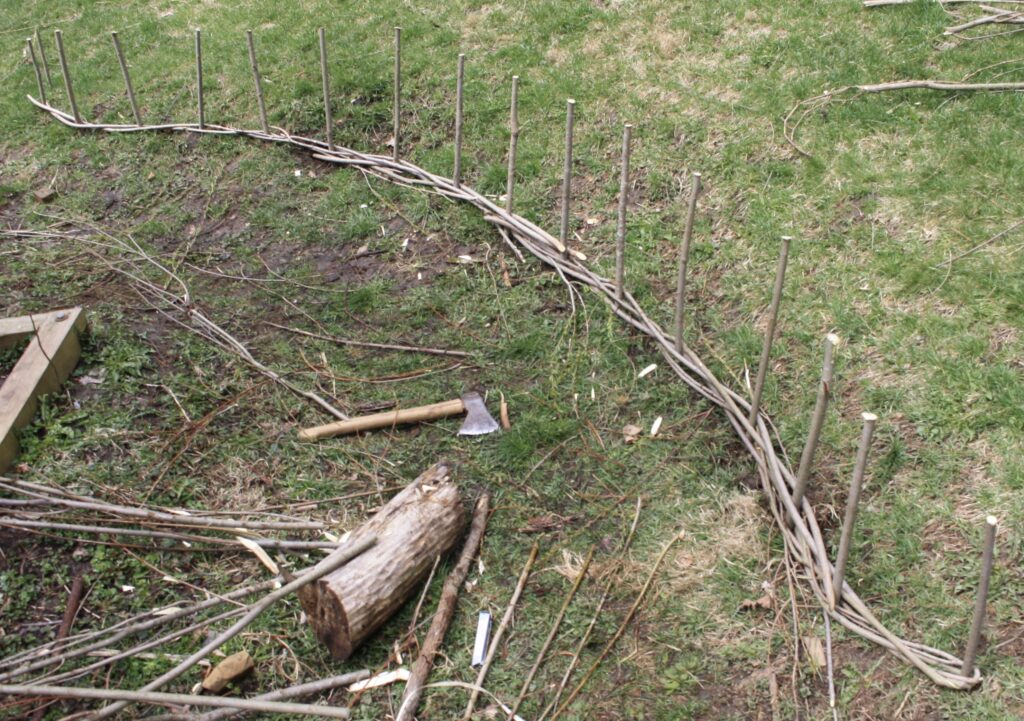
- Then hammer in the vertical stakes at regular spacing of about a foot to a foot and a half apart. It may be hard to tell from the photo, but this fence line is running along the contour of the base of the slope.

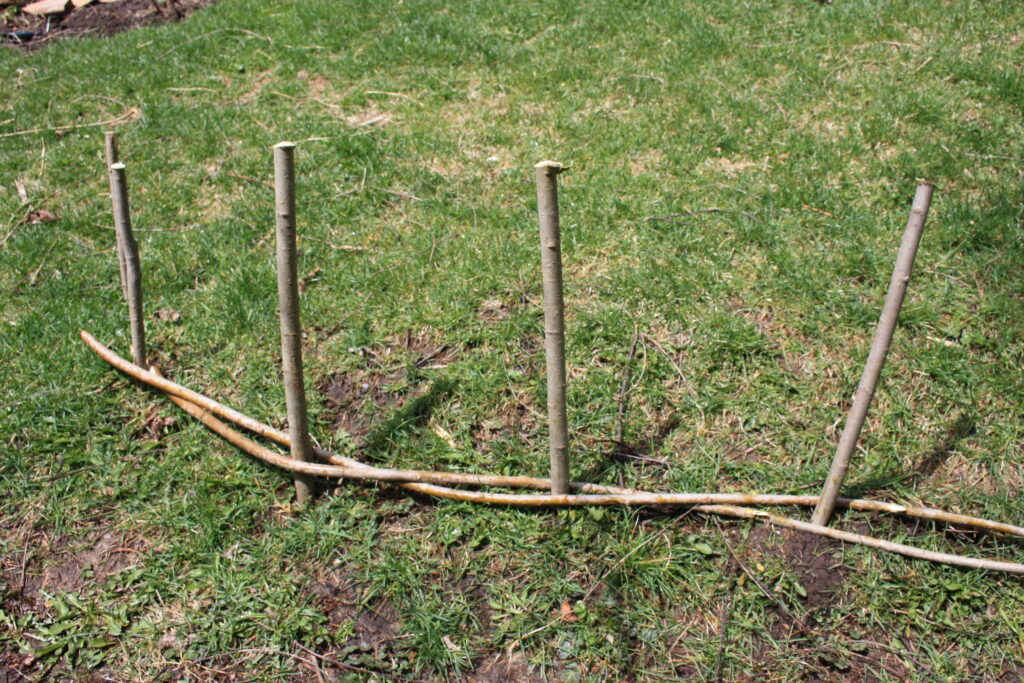
3. Now, take two weaving withes and start weaving them through the stakes as shown below. From there, all there is to it is to work your way up.
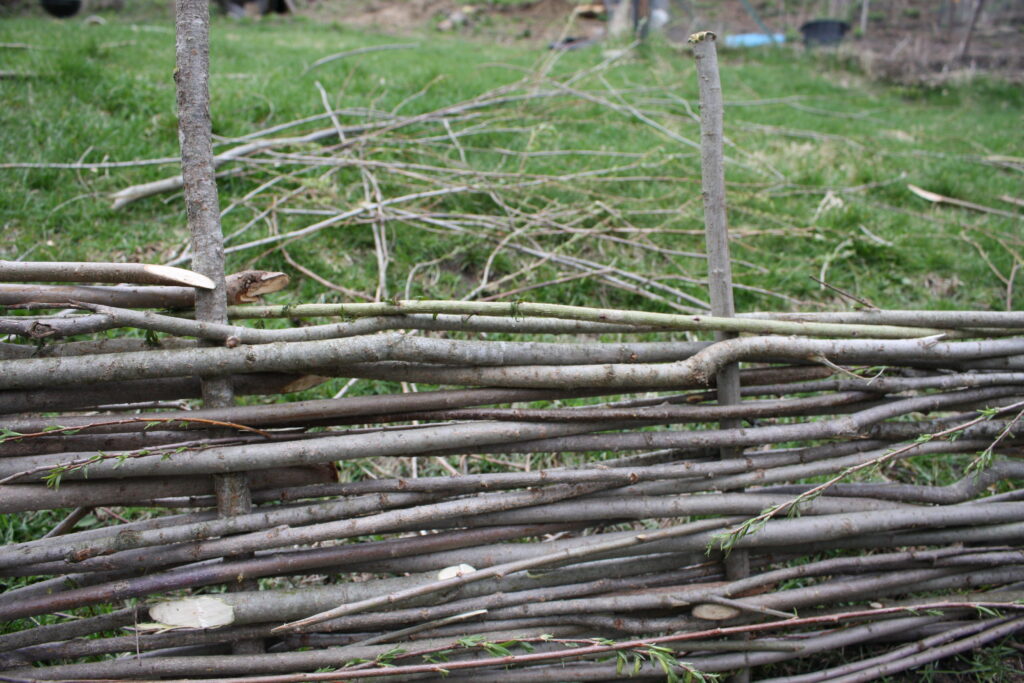
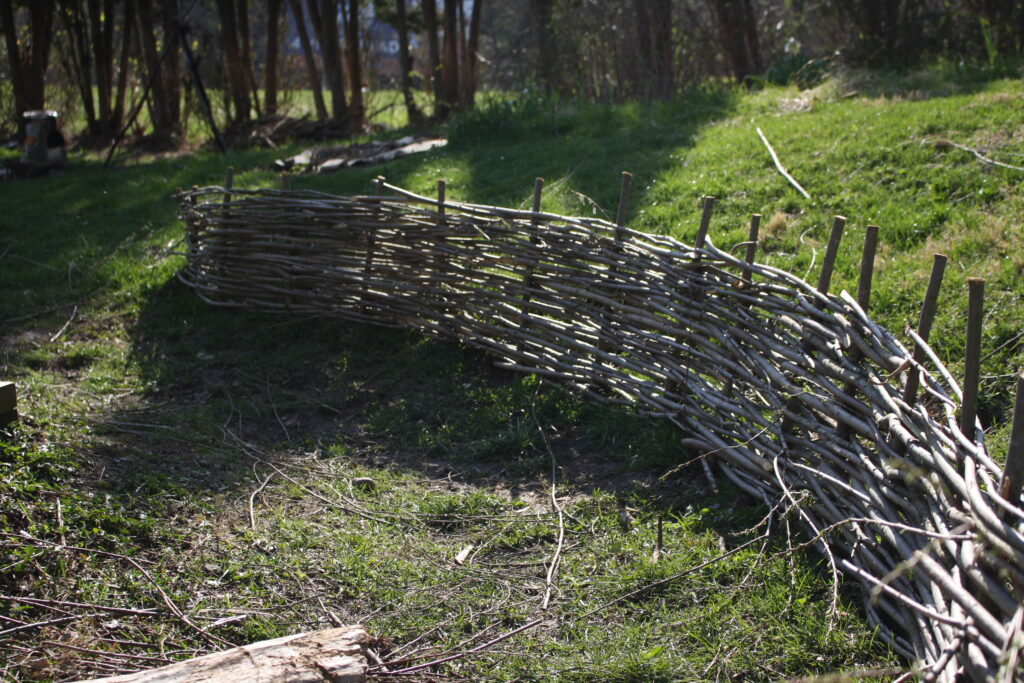
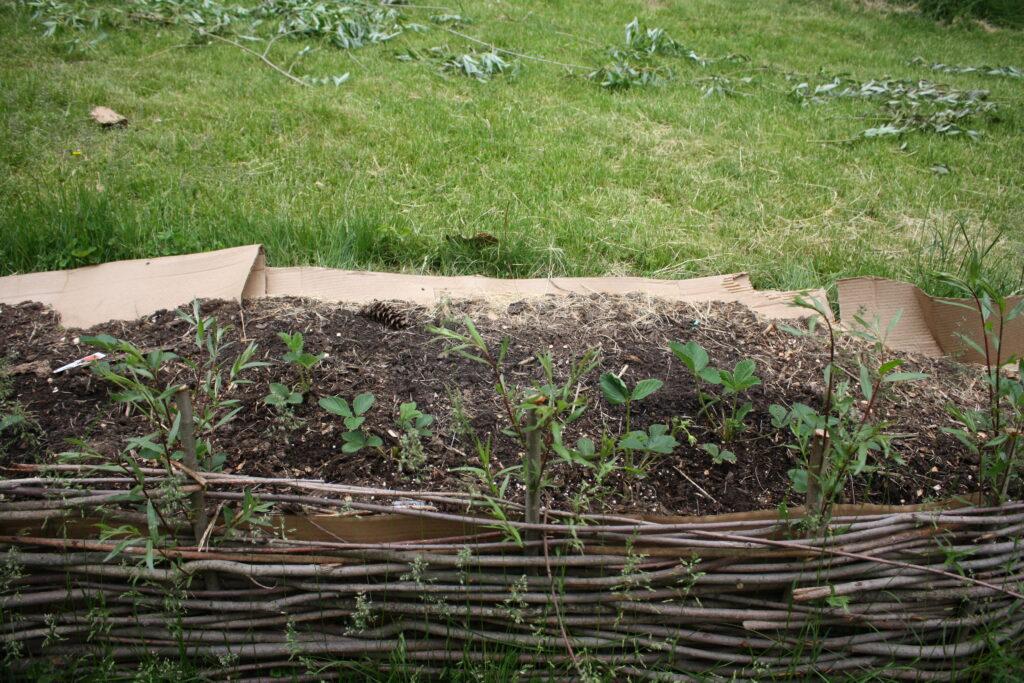
4. Line the interior of the bed with a weed barrier or old tarp to help stifle the weeds and retain the soil along the fence. In order to make the entire project bio-degradable, I use flattened cardboard boxes.
5. Now to fill the bed with soil. Tamp it down good and plant with whatever you may please! Myself, I decided to plant a strawberry patch. It would be nice having strawberries. But with my flock of children and all, we will see how many I actually get to taste.
Some things to consider with a Wattle Fence
Of course, being made of natural materials, a wattle fence garden bed will eventually rot down. For some folk consider this a drawback. But for others, this is may be a positive thing. Deciding to build a wattle fence garden bed come with the decision of living a slightly different rhythm of life. You know that it won’t last forever, you are planning to eventually tare out a rotting fence in order to cut fresh withes and build a new fence. However, in a world that is continually cluttered with plastics, pre-fab whatnots, and poly-whatevers, being able to work with natural materials is increasingly becoming an attractive alternative. Dare I even say that buzz-word “Sustainable“? ooooo…trendy!
Just something to consider…
—Nathanael


Leave a Reply