
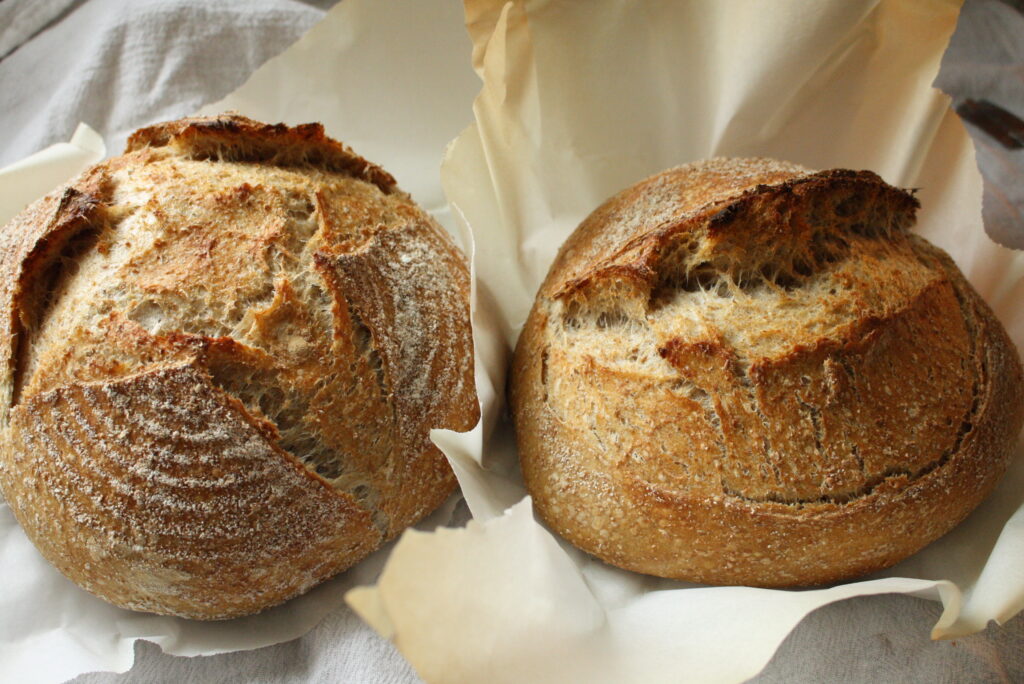
Sourdough has been all the rage for awhile now. If you’ve been baking for awhile or if you’re just getting started here is another easy wheat sourdough recipe to add to your list.
This is a ‘how to’ for a basic, easy wheat sourdough boule. There are five basic steps to baking each loaf of bread. You can learn more about sourdough HERE.
the basics are this:
First, mix all ingredients together. Second, let the dough sit for awhile and do 3-4 ‘stretch and folds’. Third, bulk ferment the dough for 8-12 hours (or until doubled) depending on the temperature of your home. Fourth, shape the dough and place it in the fridge in proofing baskets for at least a couple hours. Fifth, bake the bread!

It seems like the rustic loaves that now dominate much of social media only began a few years ago. My husband (as you can tell from the theme of our blog) absolutely loves history and living it! So, he was always interested in sourdough in it’s historical context. Sourdough is something I started to do because I was having a lot of issues with digestion eating regular ‘store’ flour. Only to find out that sourdough has amazing properties and is literally the best way you can consume gluten (it’s one among many benefits)!!! It’s been a journey over the years as to what is best for my family and myself especially in regards to wheat. But, that is a post for another time.
For this recipe…
I am using white, finely ground wheat, and coarsely ground wheat. The white flour helps the bread hold together and have more structure and the coarse flour gives the dough that nice, hardy, farmhouse texture. You can definitely change it up with flours and proportions, but this is what I find works best: 100 grams coarse wheat, 350 grams fine wheat, 350 grams of white. This recipe will make 2 large loaves of bread.
So, let’s get into the bread!
What will I need for Wheat Sourdough?
ingredients
- white, fine wheat, coarse wheat flour
- water
- active sourdough starter
- salt
tools
- kitchen scale
- mixing bowl
- stand mixer or handheld mixer with dough hooks (optional but super helpful)
- spatula
- proofing baskets
- parchment paper
- dutch ovens
Making wheat sourdough
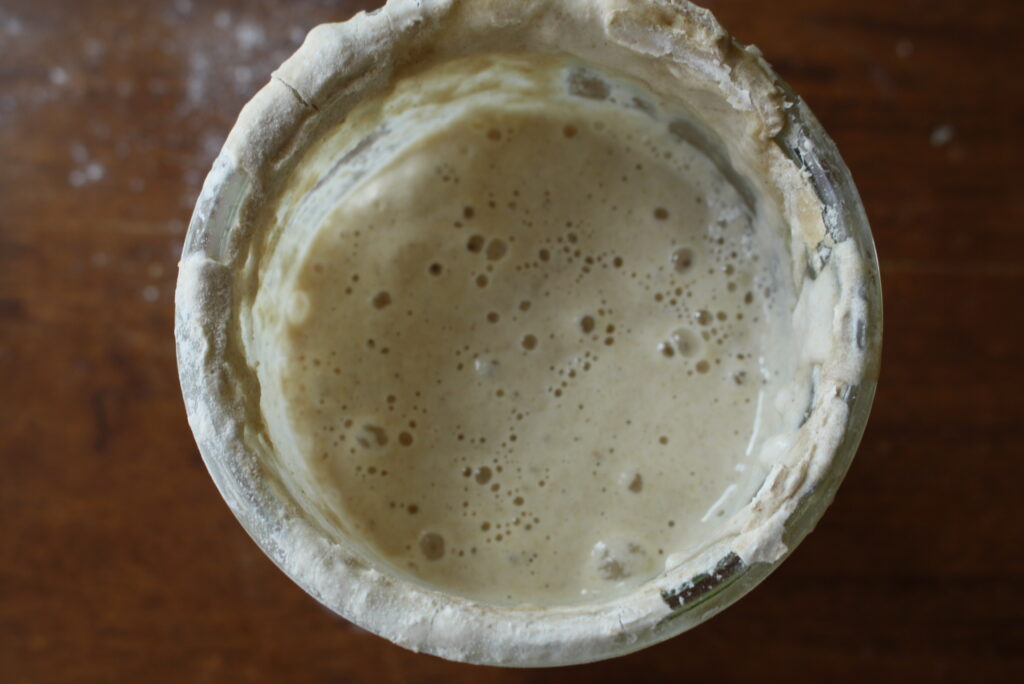
Before you begin make sure you have an active, bubbly starter. It should look something like this:
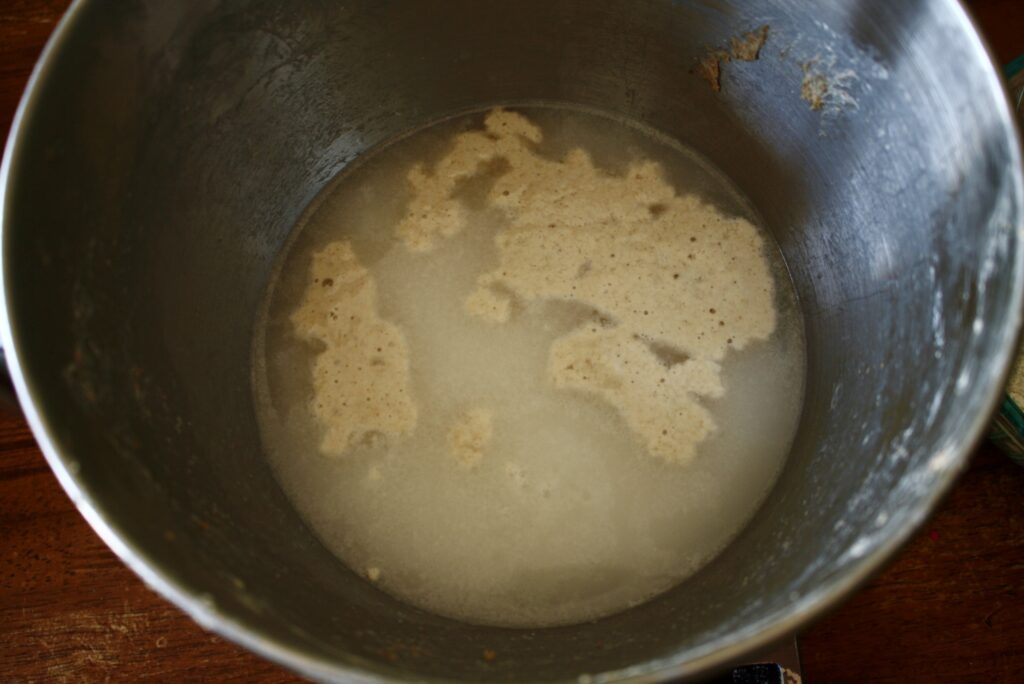
Step 1:
put your bowl on the kitchen scale and measure out 120g active sourdough starter and 640g water.
Step 2:
Add flour and salt. 100g coarse ground wheat, 350g finely ground wheat, 350g white, and 16g salt.

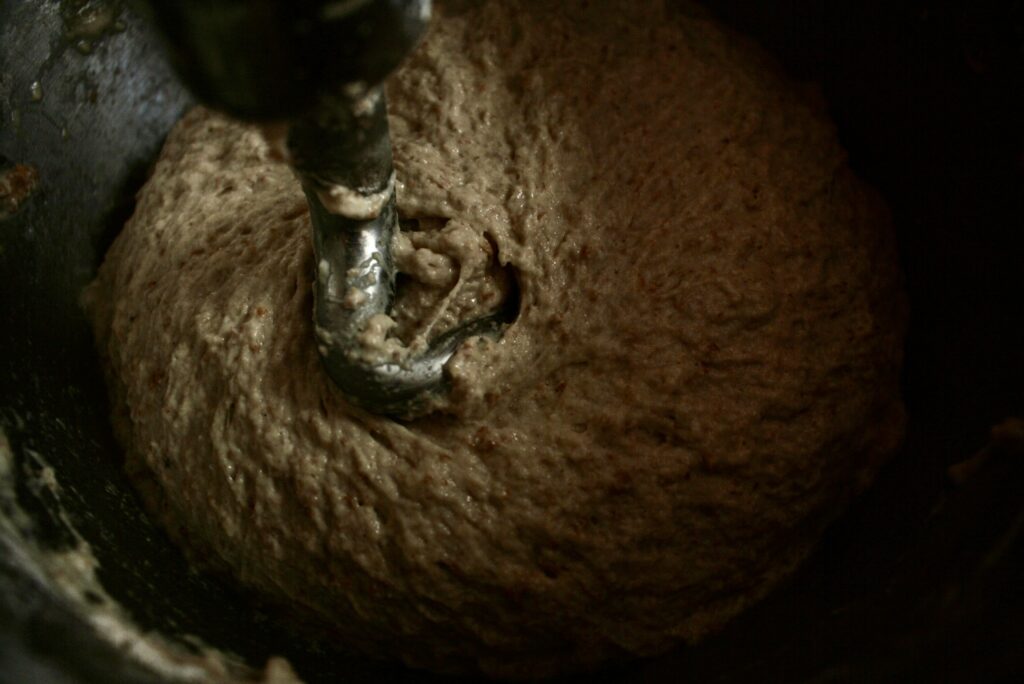
Step 3:
Mix in your standing mixer or by hand or with an electric mixer. If you use a mixer make sure you have a dough hook attachment. You may need to scrape the flour or dough off the sides of the bowl while it’s mixing to make sure it all gets incorporated evenly.
When the dough is done it should look similar to the photo below. It should be stretchy
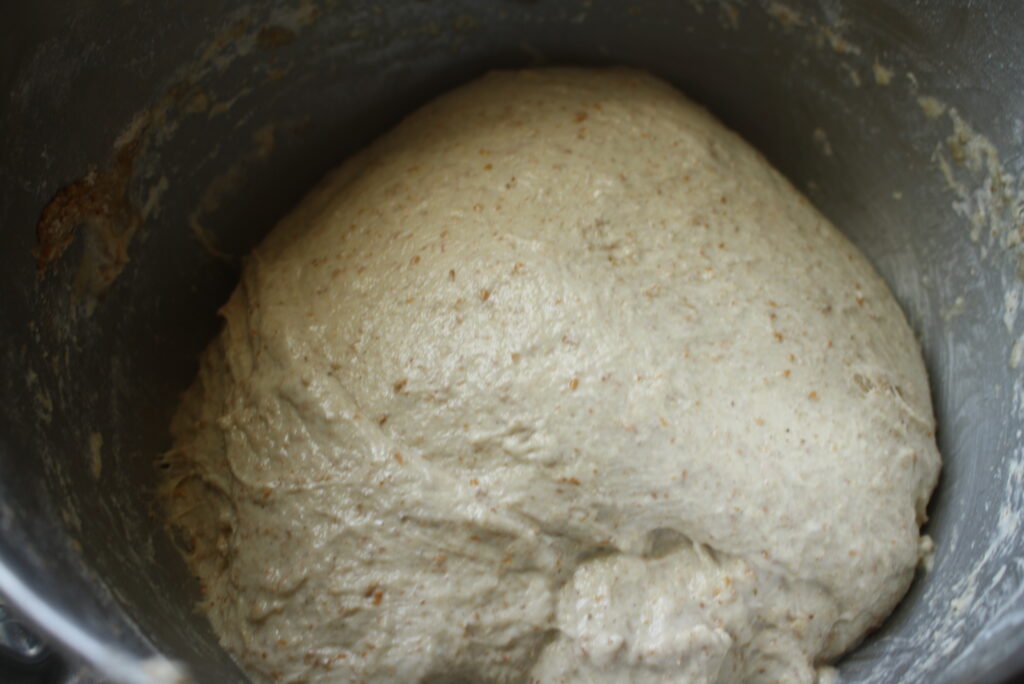
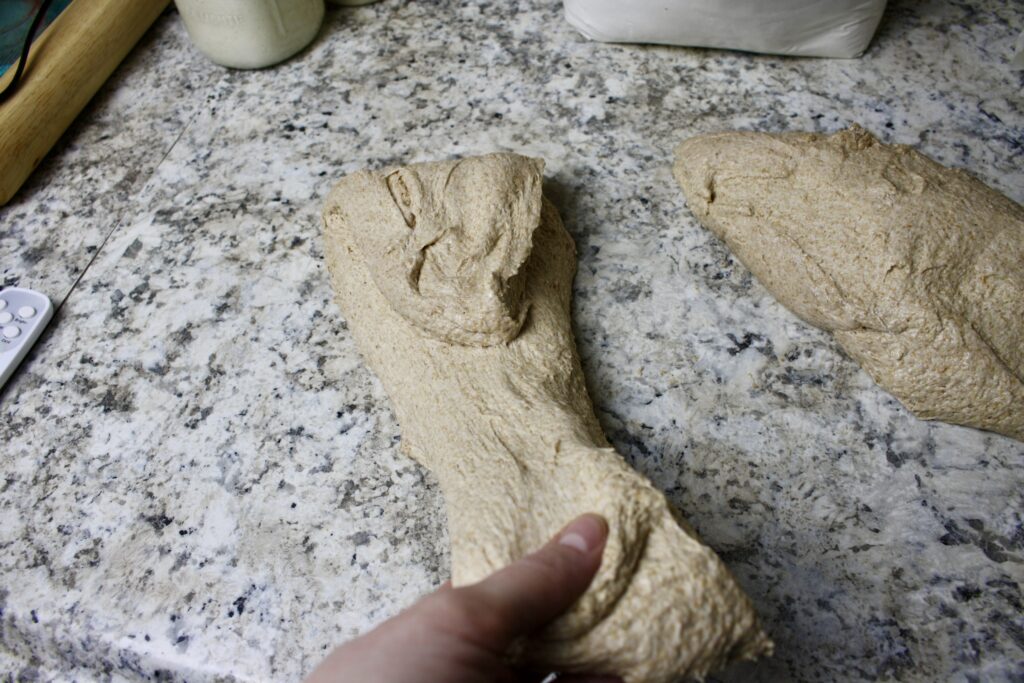
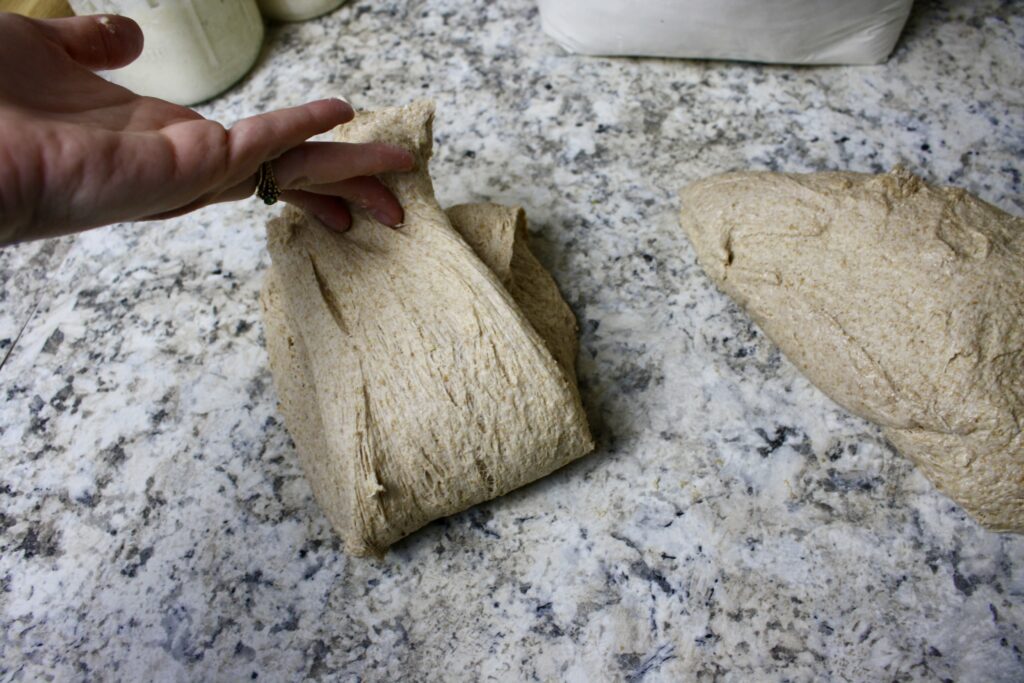
Stretch and fold
Now, time for the stretch and folds. If you’re not familiar, stretching and folding is literally gently grabbing a chunk of dough and firmly stretching it upwards far enough that you can fold it over but not so far that it rips. Generally, the first stretch and fold the dough is not as elastic. By the third and fourth it will be much more elastic and be able to stretch even a foot.
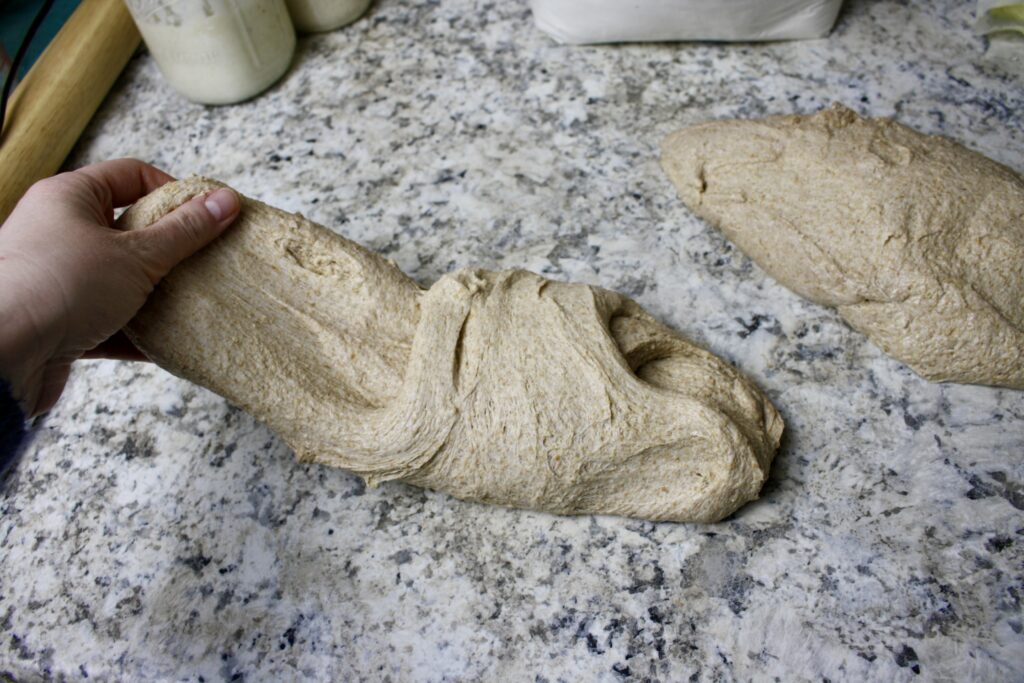
This is what the dough looks like after a couple stretch and folds.
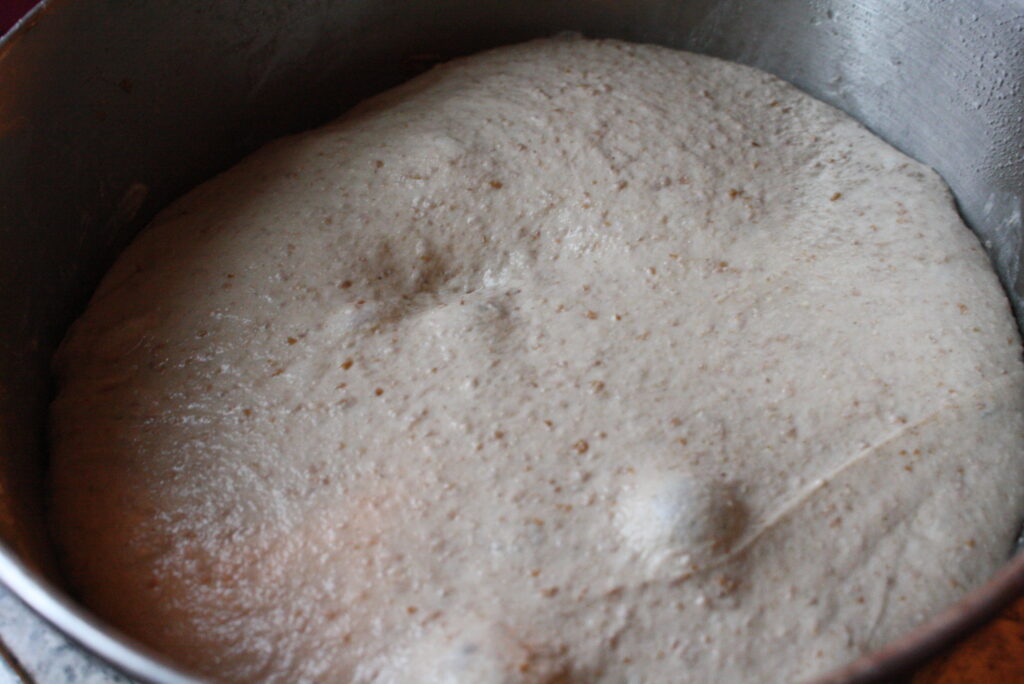
Bulk Ferment
After three or four stretch and folds it is time for the bulk ferment. As you may already know, the amount of time this takes depends on exterior factors. In a chillier air the dough will take longer. On average at a temp of 65-70F it will be between 8 and 12 hours.
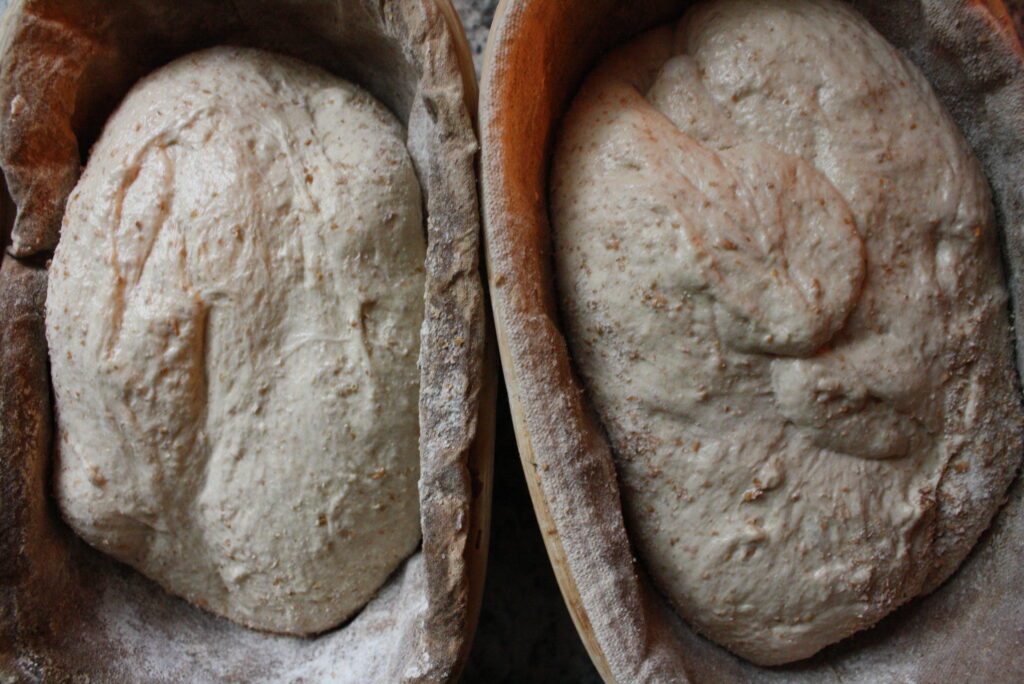
After the bulk ferment the dough will look something like this: big bubbles, and doubled in size.
Your dough is done fermenting and it can be divided into two parts. Use a butter knife or a dough scraper to do this. Fold each edge of the dough into the middle and flip it upside down so that the seam side is on the countertop. Pull the dough towards yourself so that the outside gets tight with each pull.
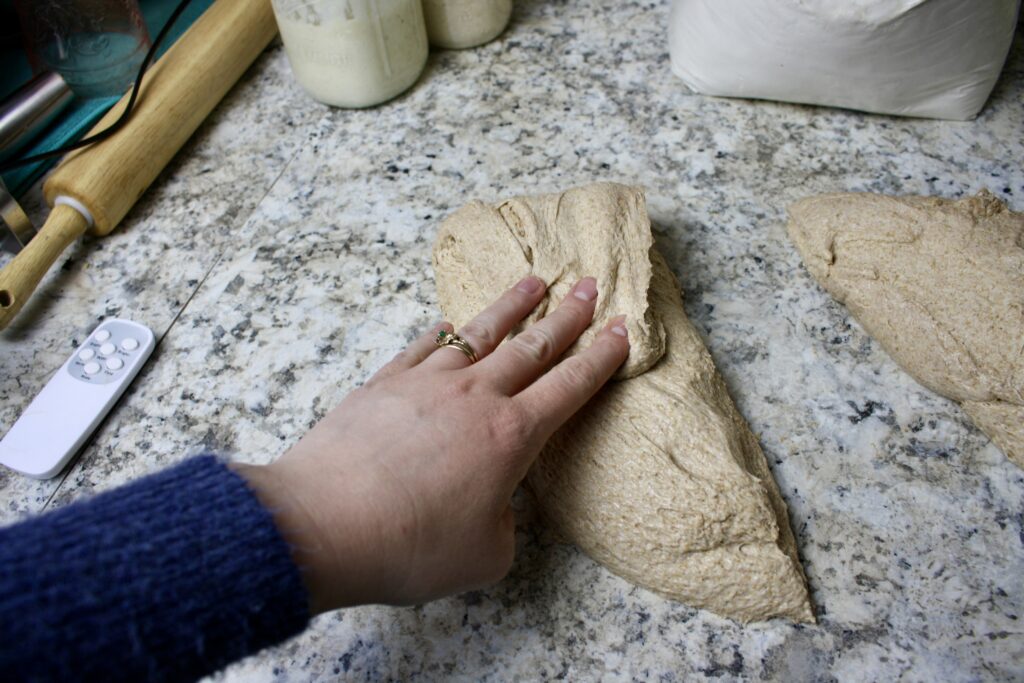

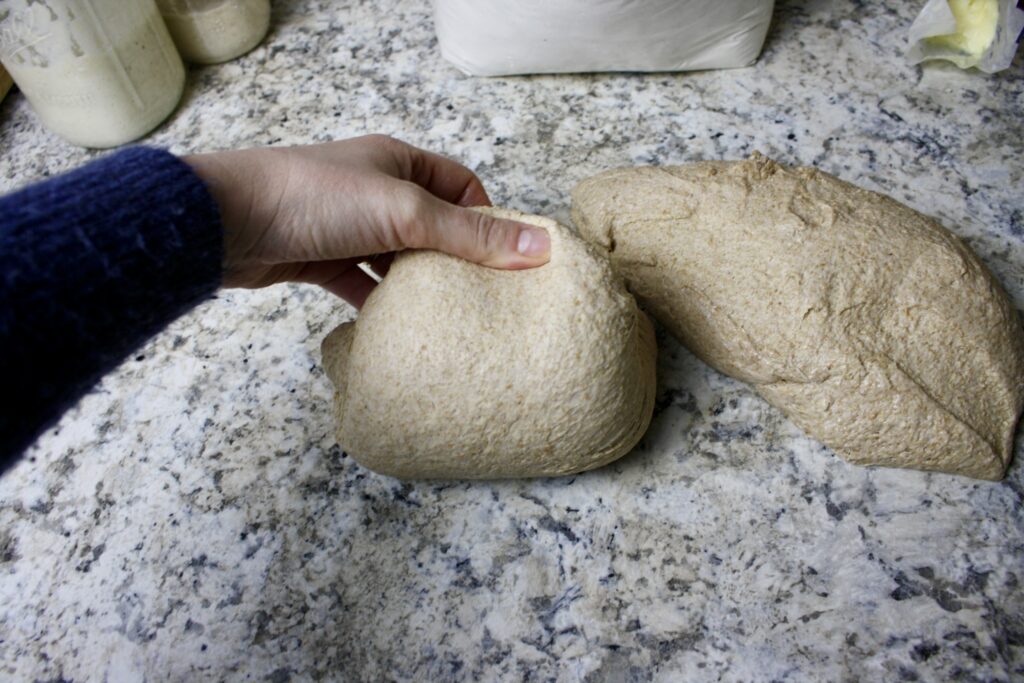
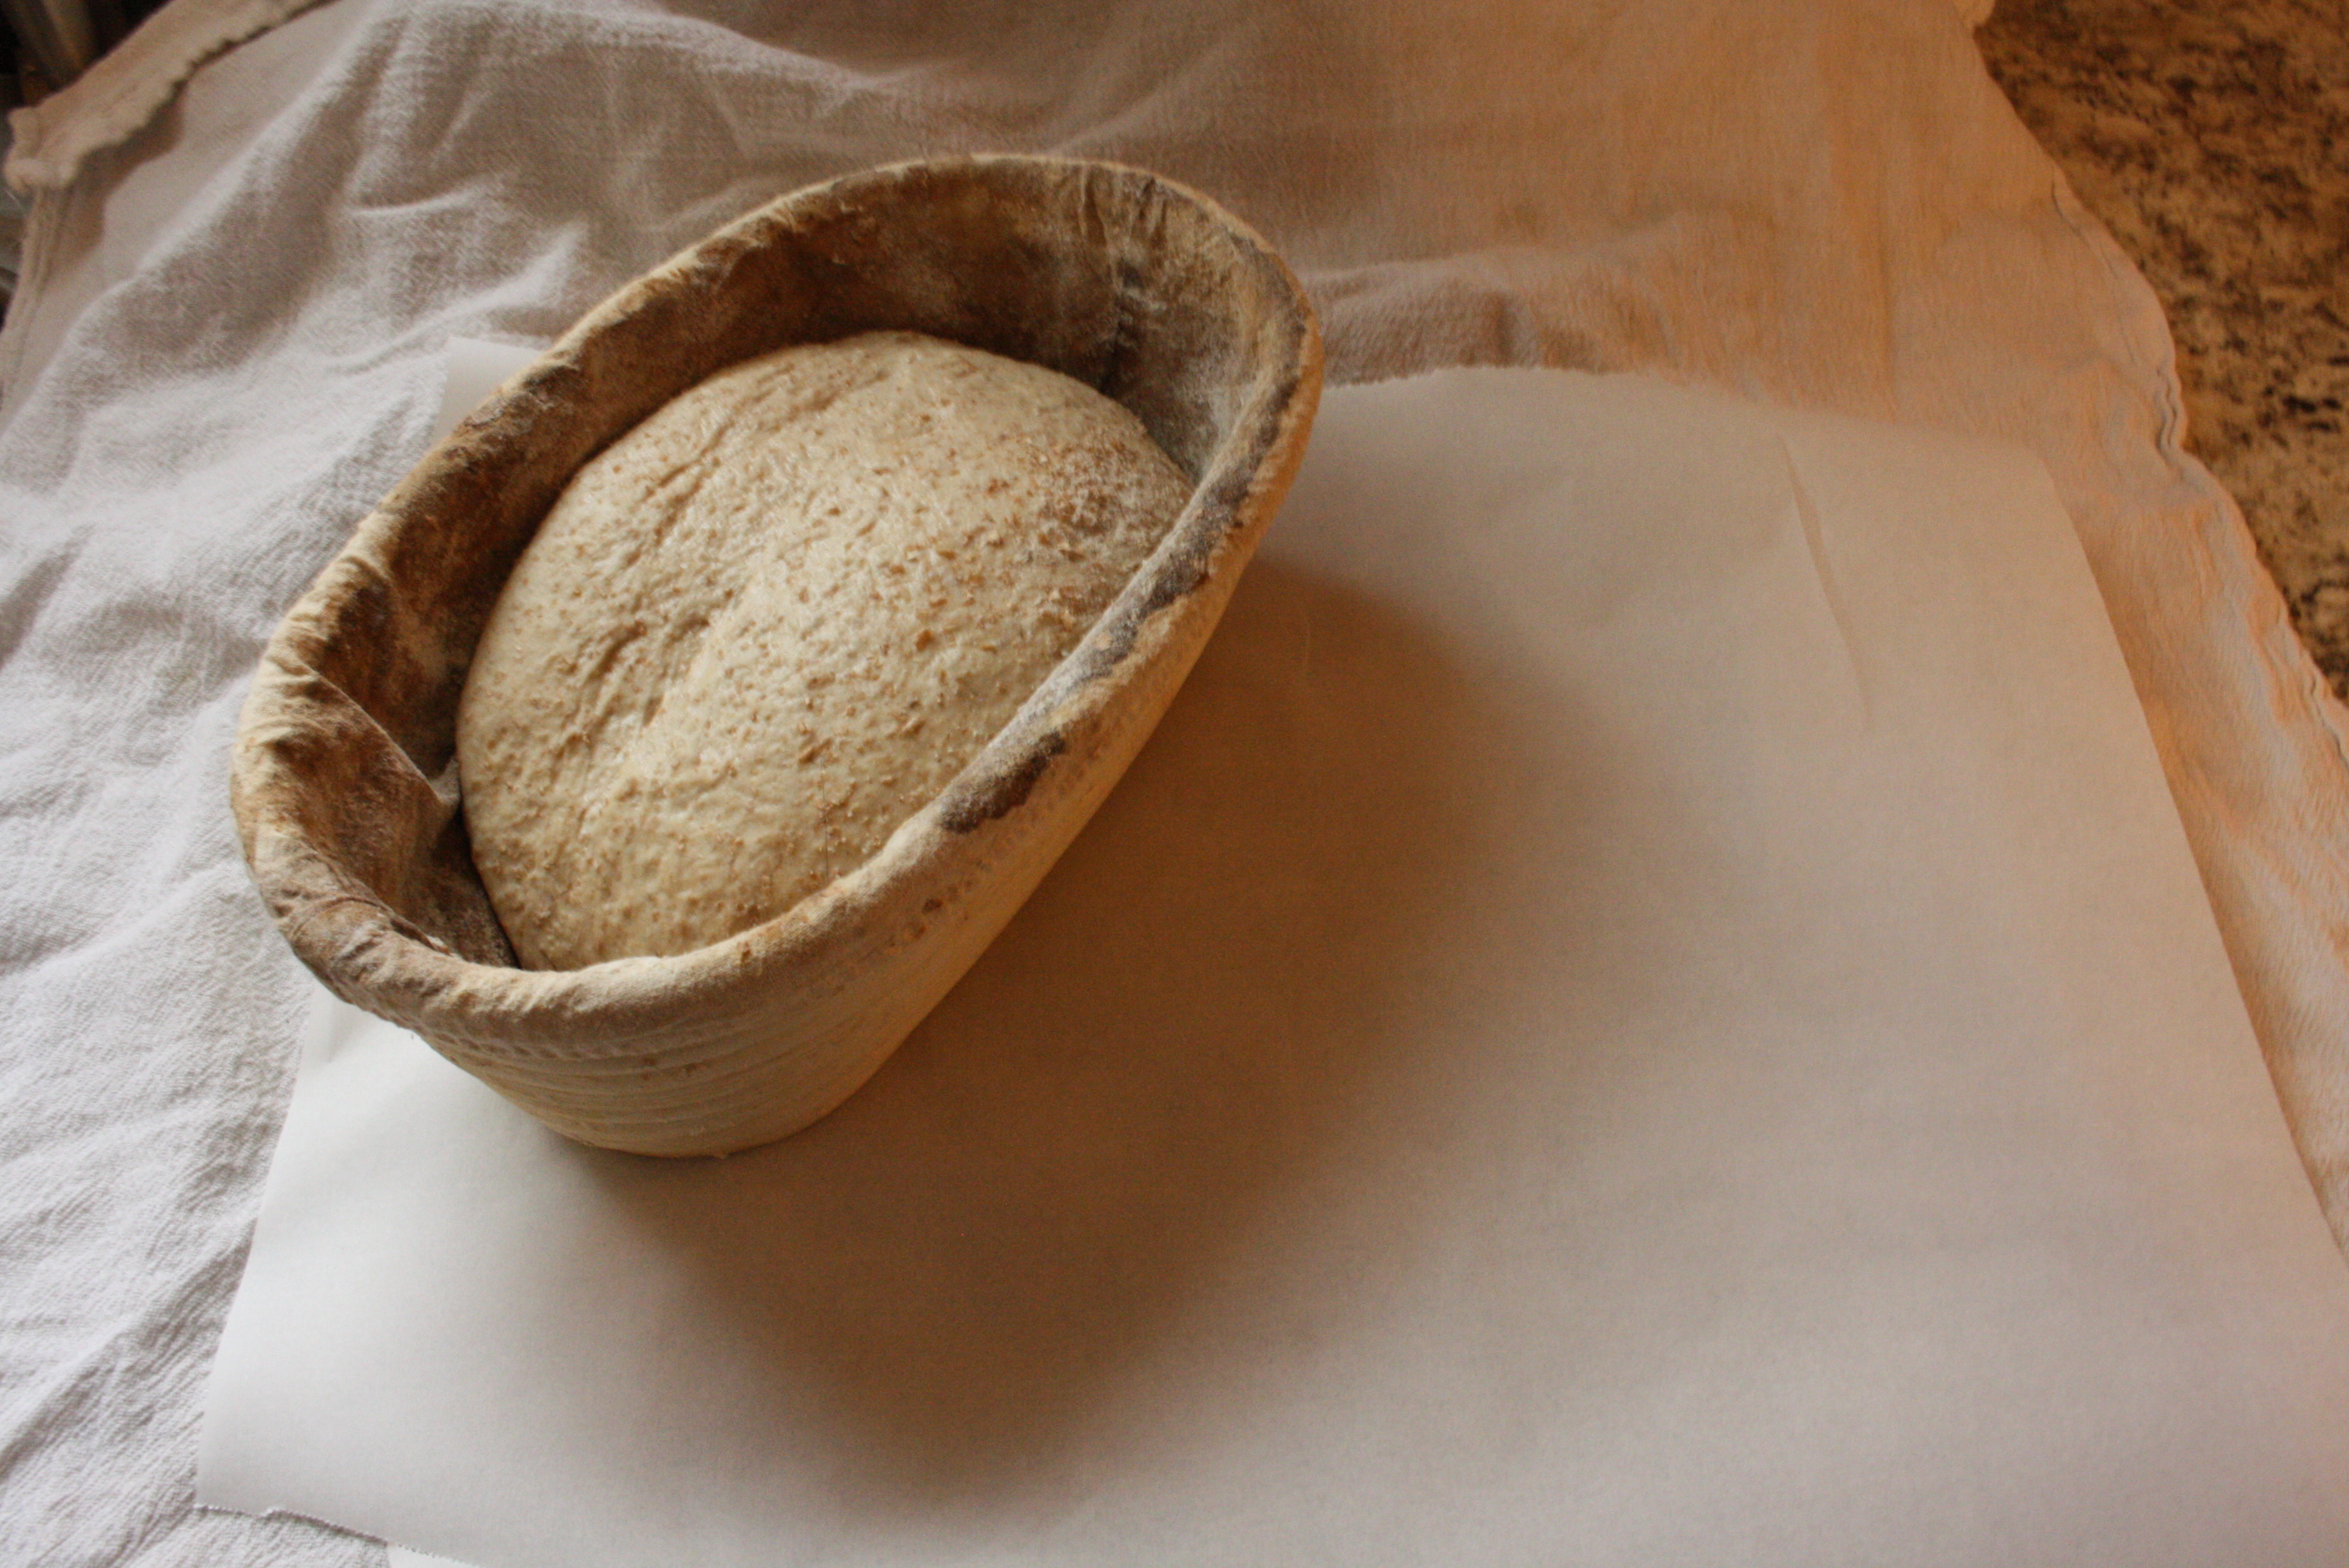
It can now be placed into proofing baskets and put into the fridge for at least two hours.
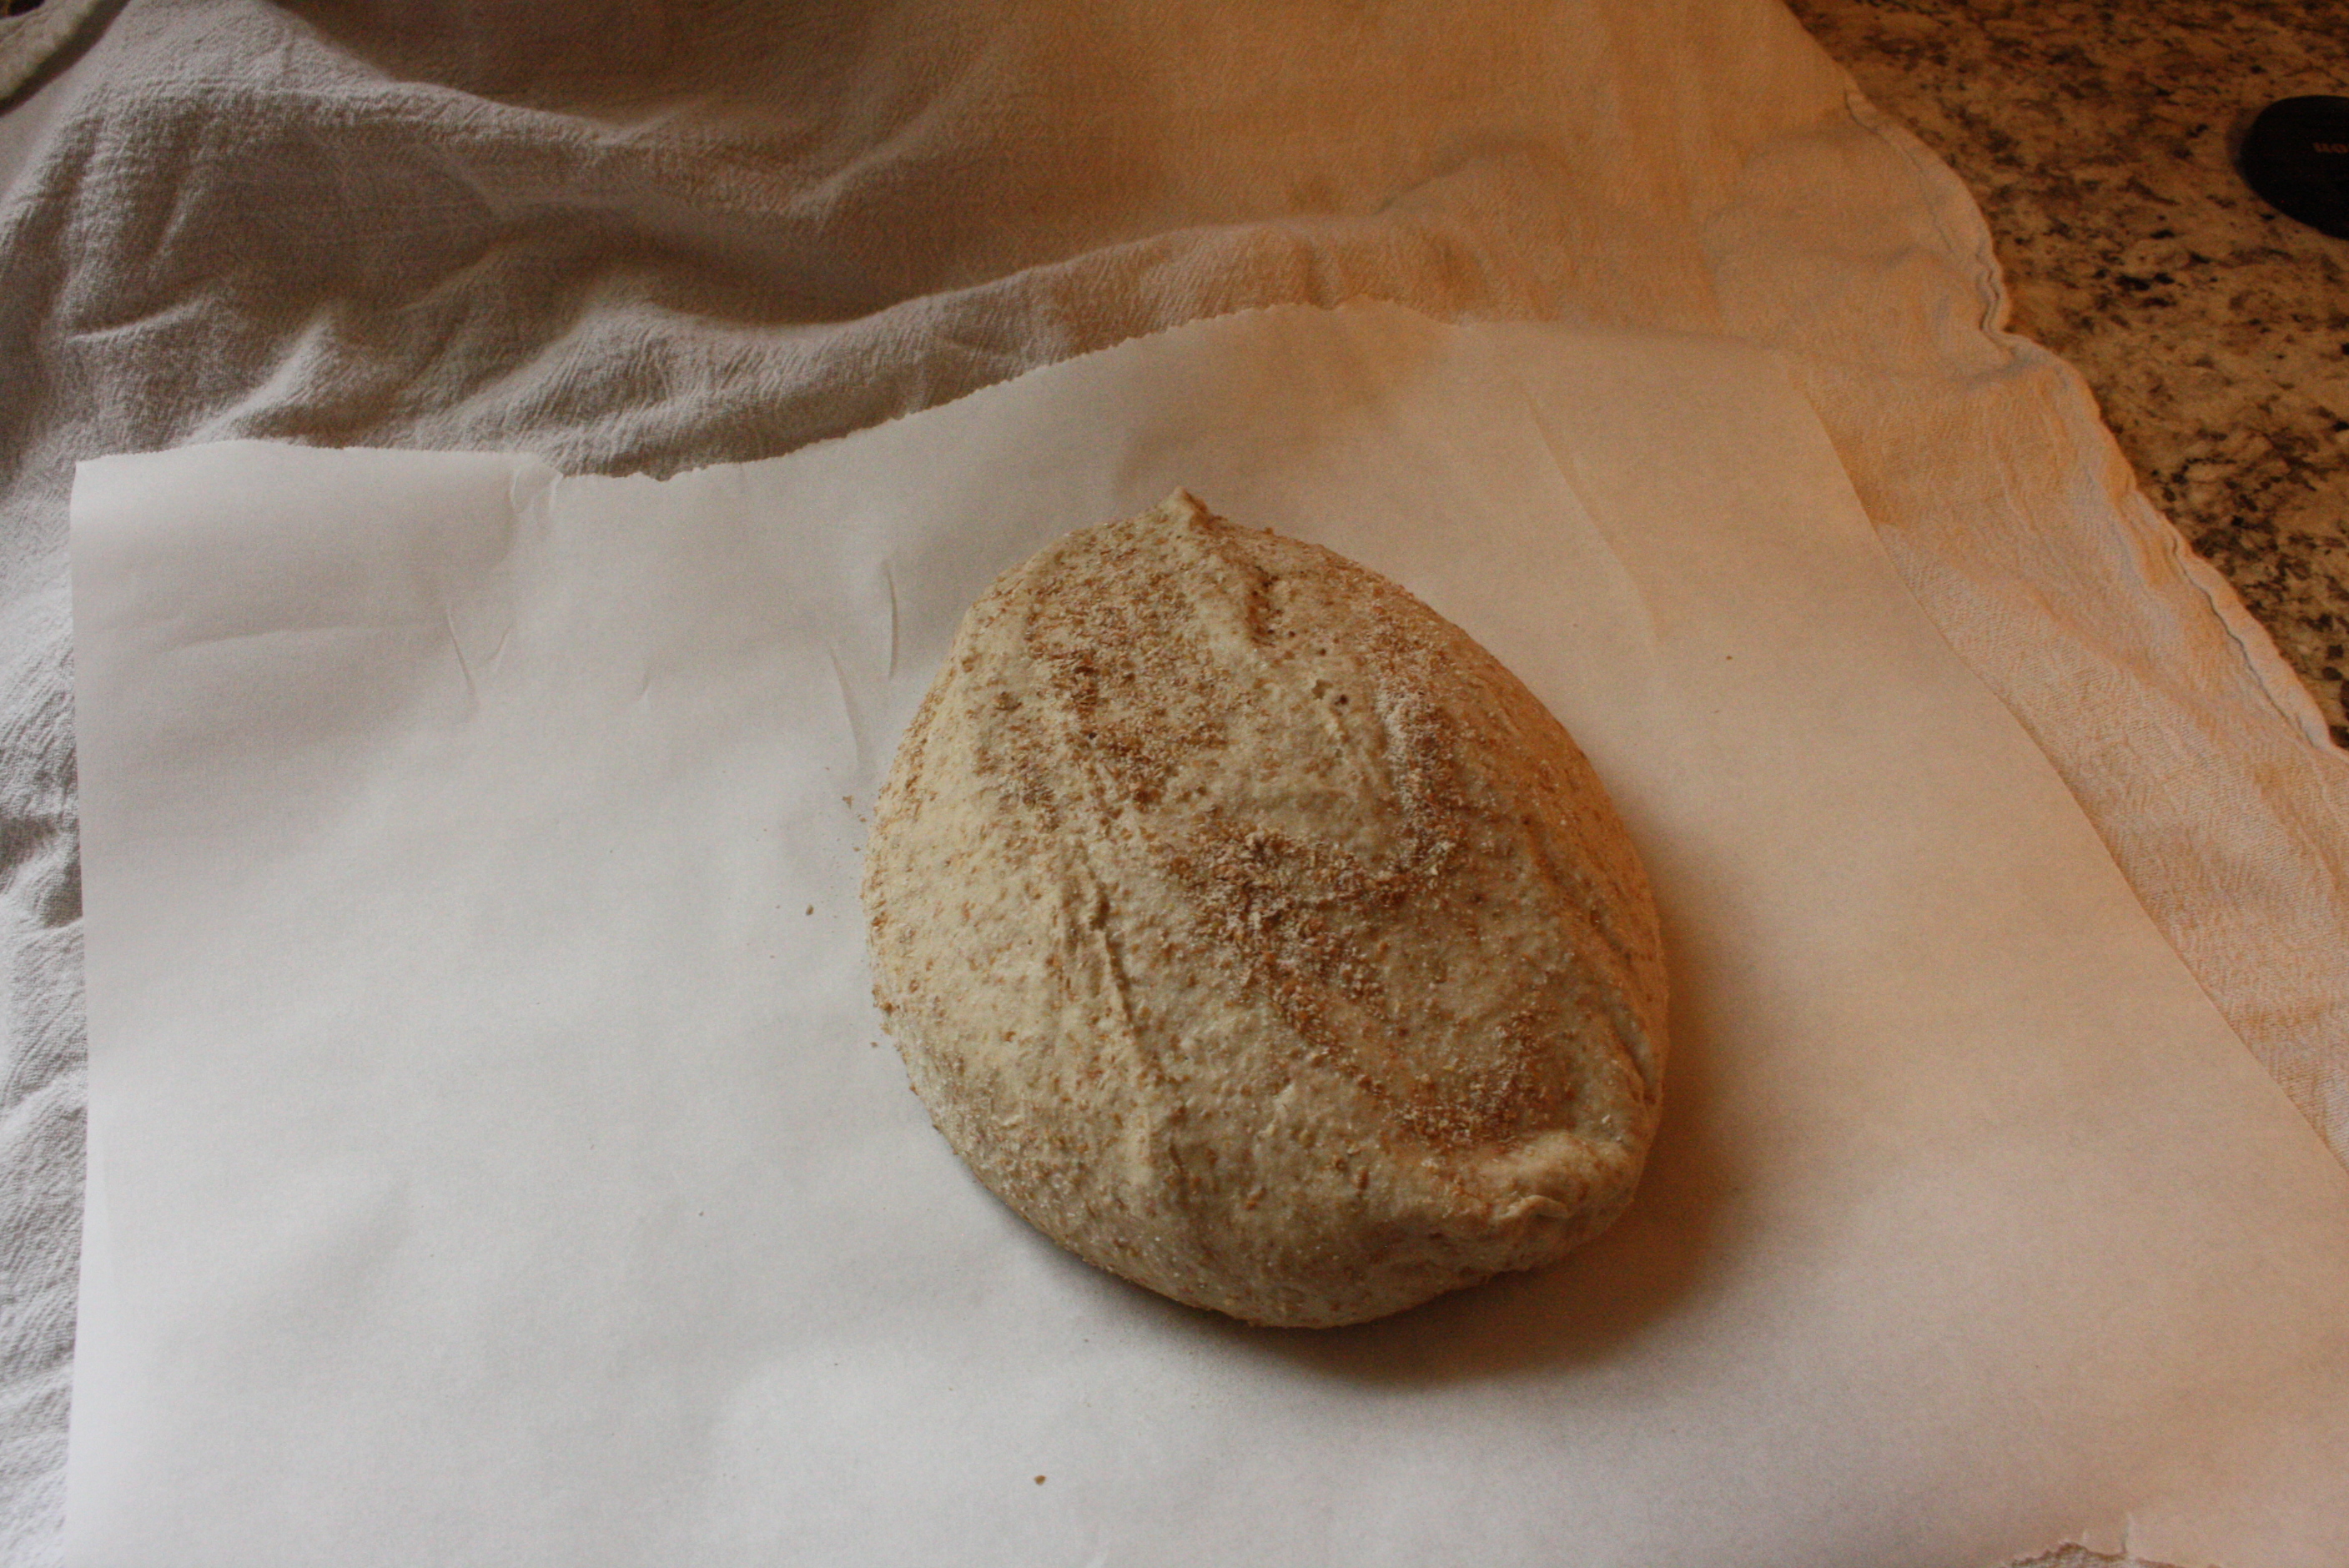
Time to bake
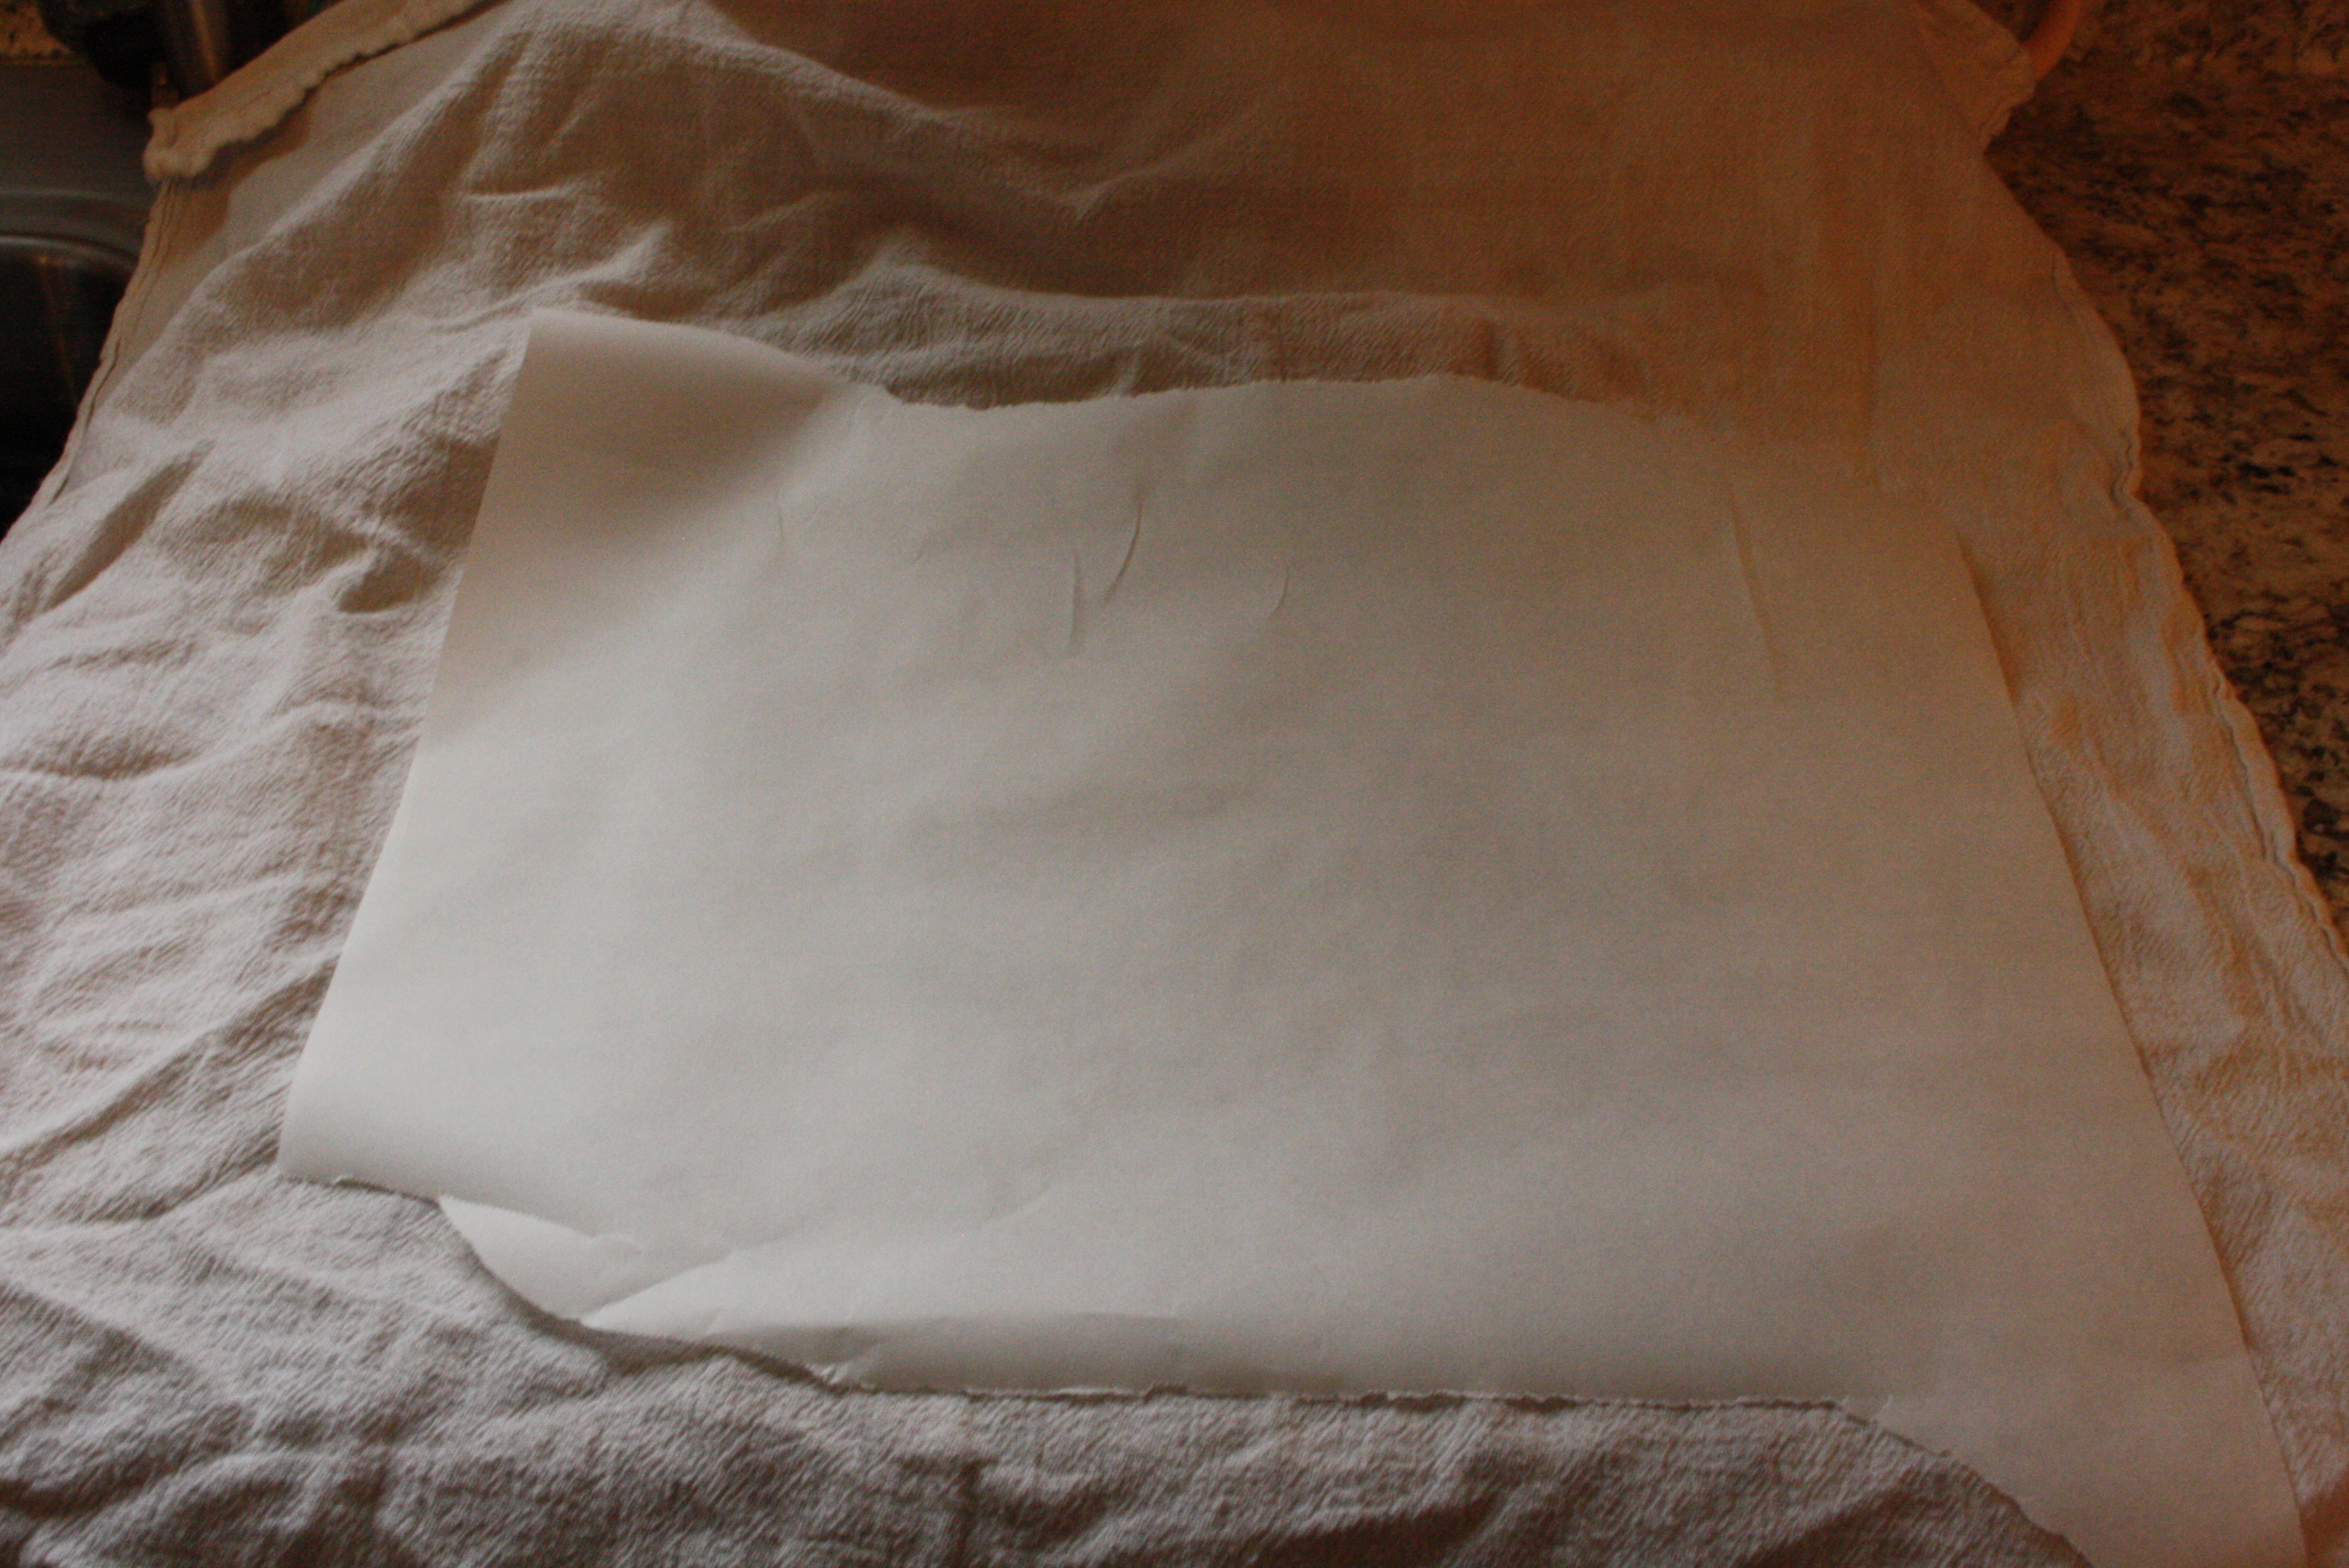
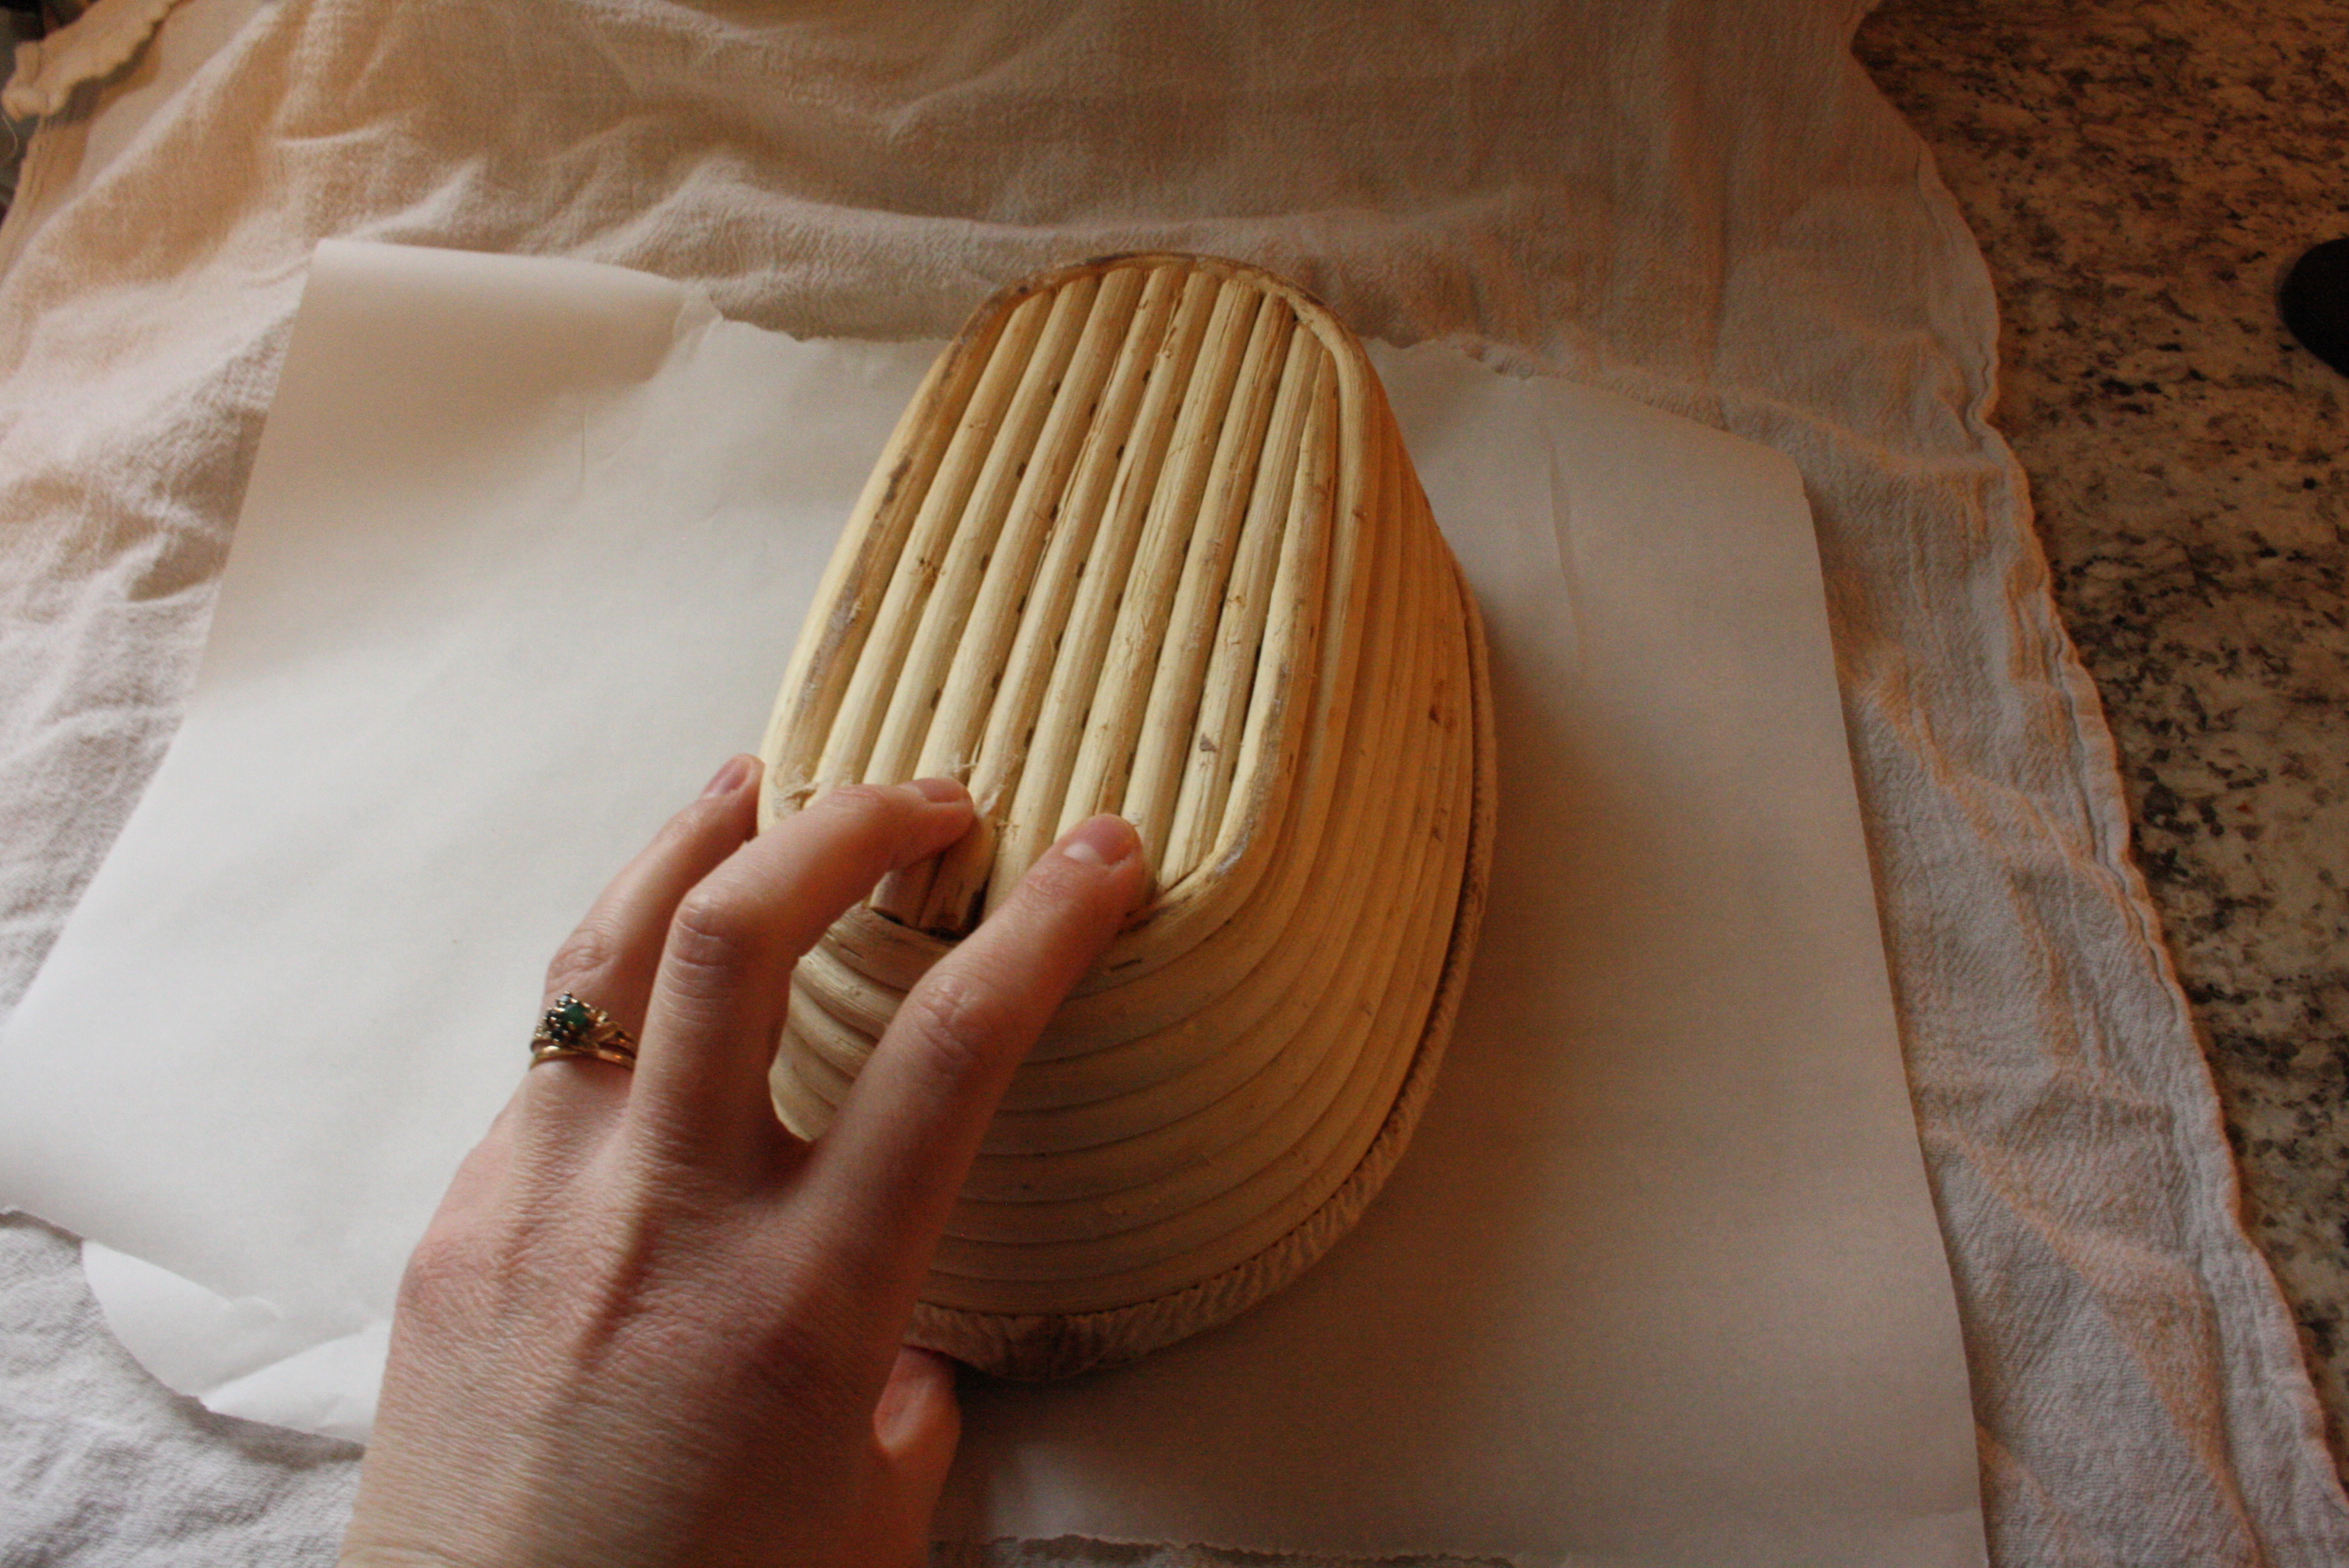
Preheat your oven to 450F with you dutch oven INSIDE so it can heat up too. Place the dough onto a piece of parchment paper, score, and place inside the dutch oven while quickly putting the lid on.
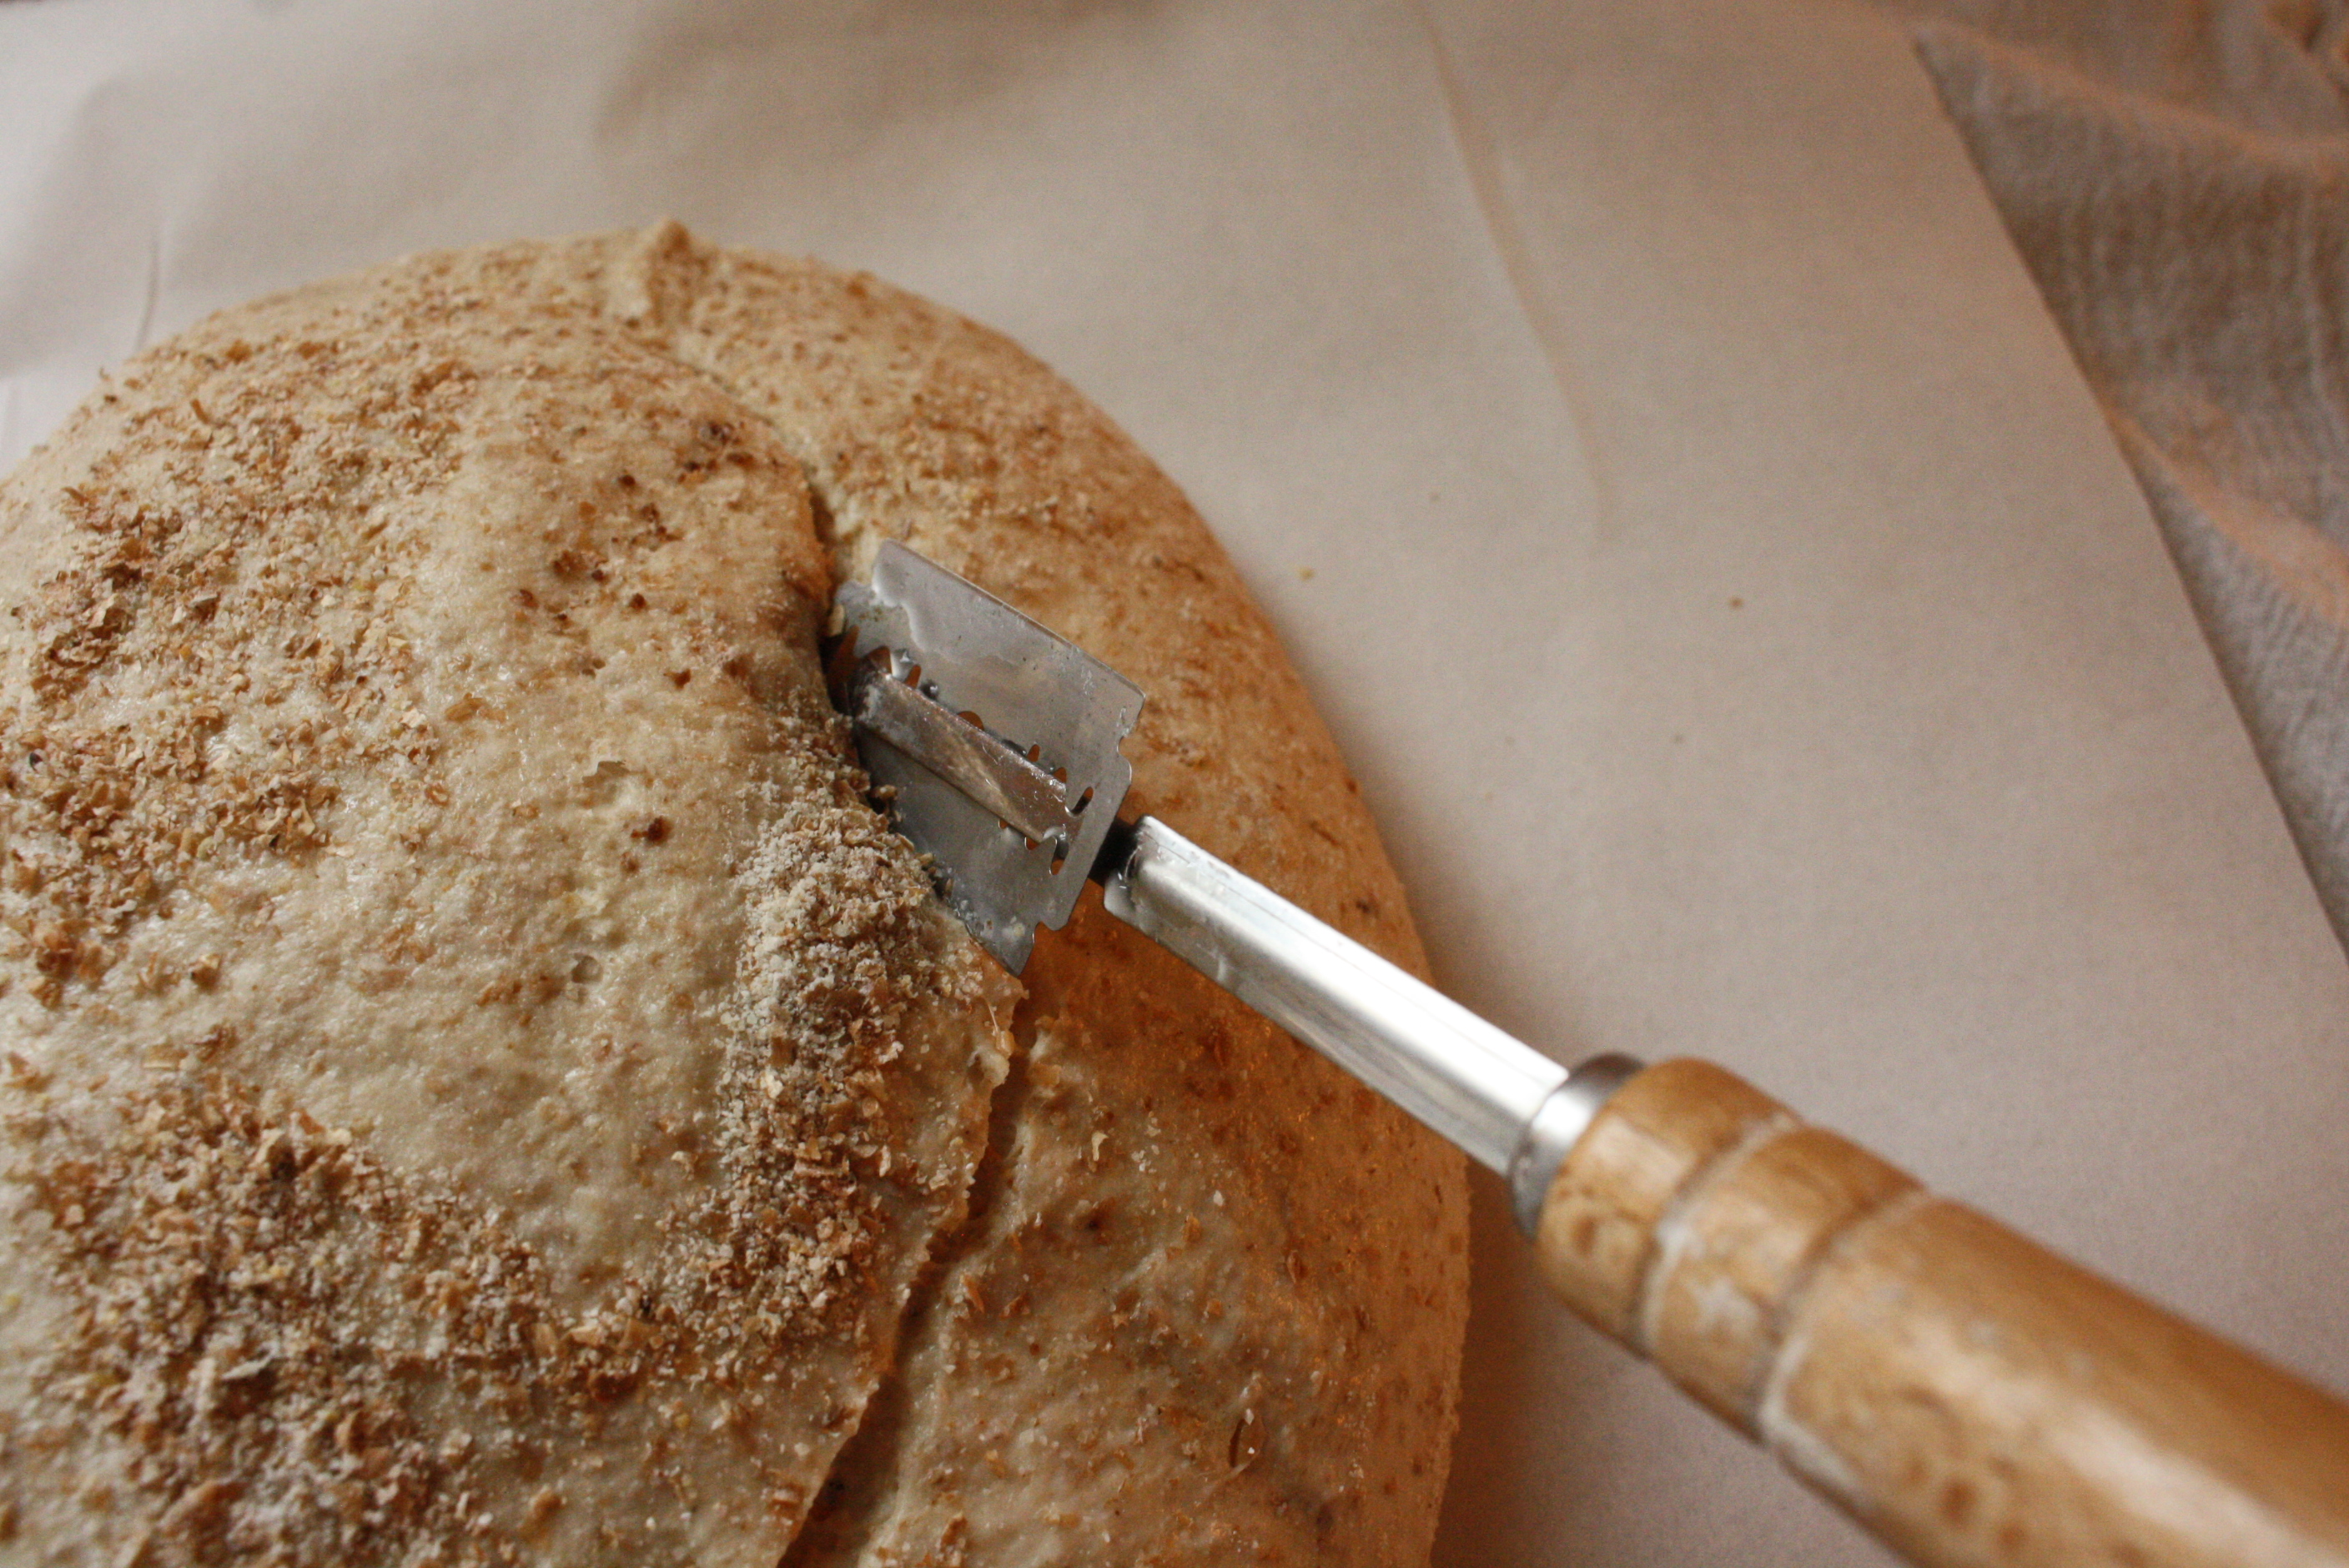
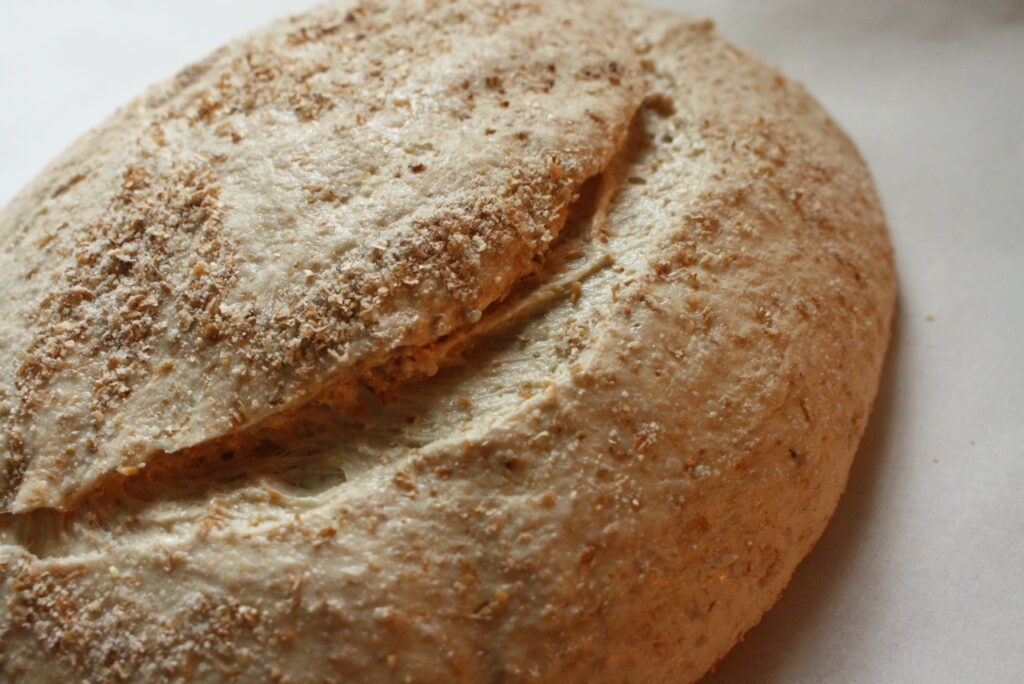
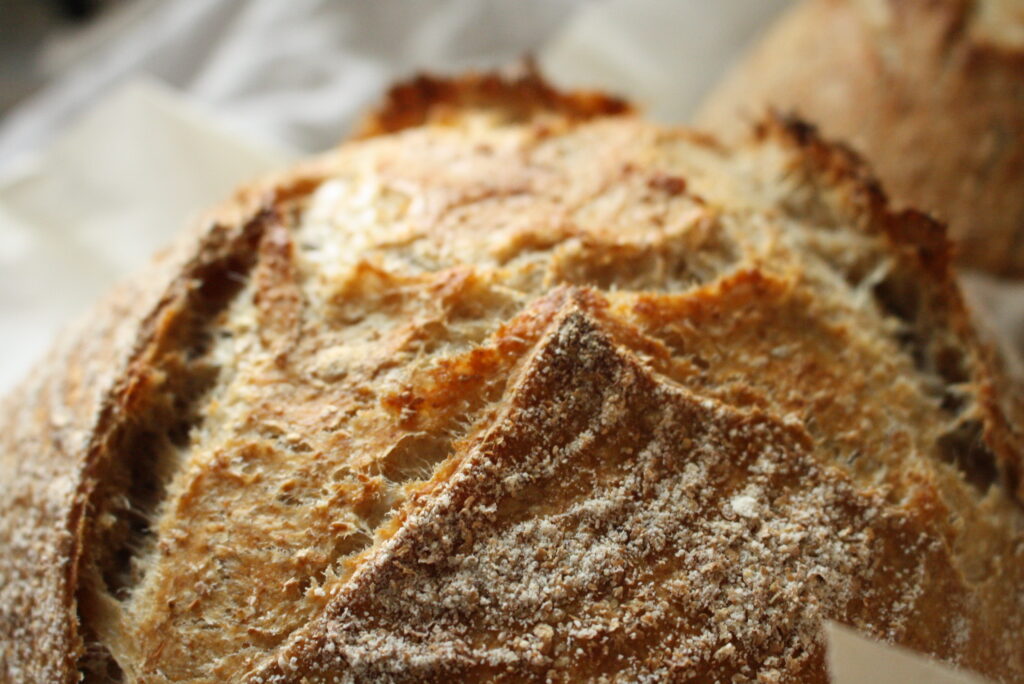
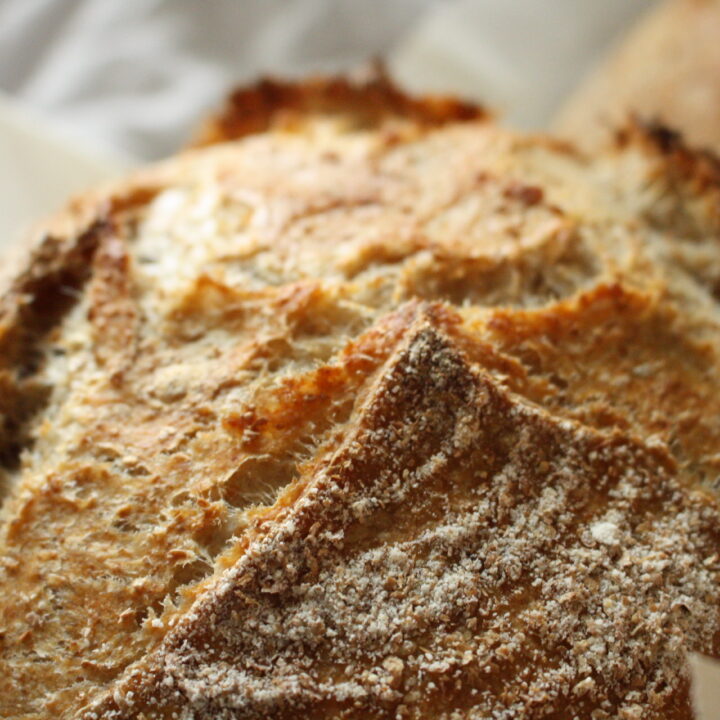
When scoring make quite a deep cut by putting gentle pressure on the dough. For the scoring in the photos above, the more horizontal and deep the cut, the bigger the ‘ear’ on the finished product as seen below.
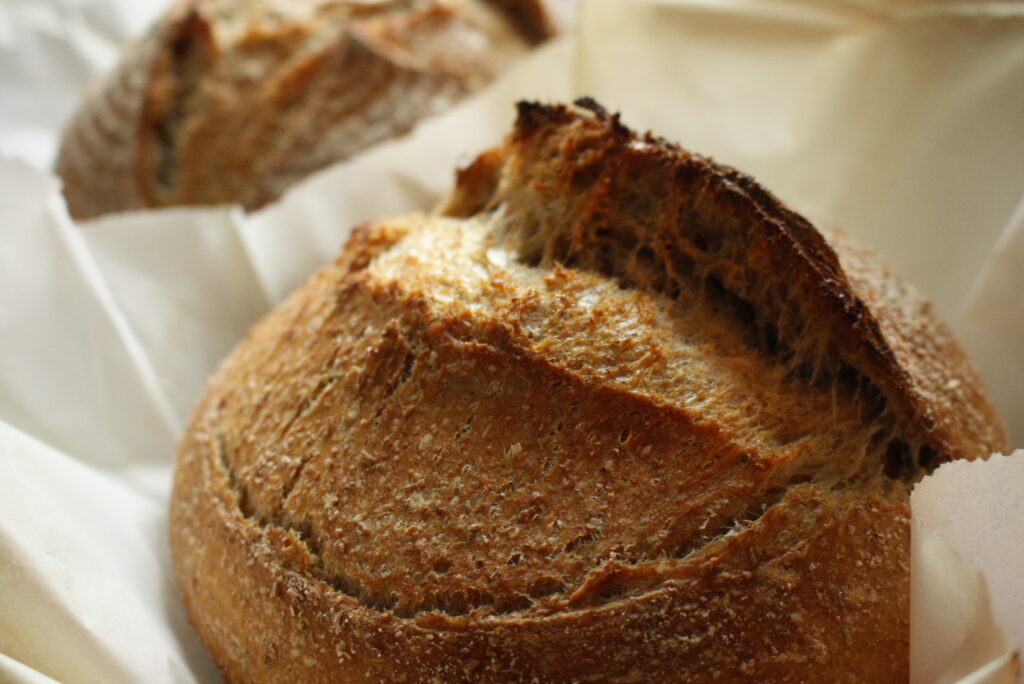
I so hope your bread comes out delicious! Remember, sourdough is something that takes a lot of practice and, if you keep with it, you will develop a ‘feel’ and someday might not even need a recipe!
~Emily
Sourdough supplies
beginners kit: proofing baskets, scoring blades
For those who mill their own grain, I love Azure Standard’s organic hard red wheat.
Easy Wheat Sourdough
A delicious, rustic, long-fermented wheat sourdough
Ingredients
- 350g White flour
- 350g Finely ground wheat flour
- 100g Coarsely ground wheat flour
- 120g Active sourdough starter
- 16g Salt
- 640g Water
Instructions
- In the bowl of your stand mixer on your kitchen scale, measure in starter and water
- tare your scale and measure in flours and salt
- put your bowl on the stand mixer with dough hook and mix on the lowest speed until all the dough comes together smoothly. Alternately you can use a hand mixer or knead by hand. Use a spatula to scrape side of bowl if necessary
- once dough is mixed and in a nice ball (if it's not in a ball it's not done mixing yet, be patient)
- stretch and fold at least three times with a 20 min. interval in between each one
- bulk ferment dough for 8-12 hours
- divide and shape dough, place in floured proofing baskets for at least 2 hours but up to 2 days
- preheat oven with dutch oven inside to 450F
- place dough on parchment paper and score. place into preheated dutch oven by holding the sides of the parchment paper
- bake covered for 25min
- bake uncovered for 10min

Leave a Reply