
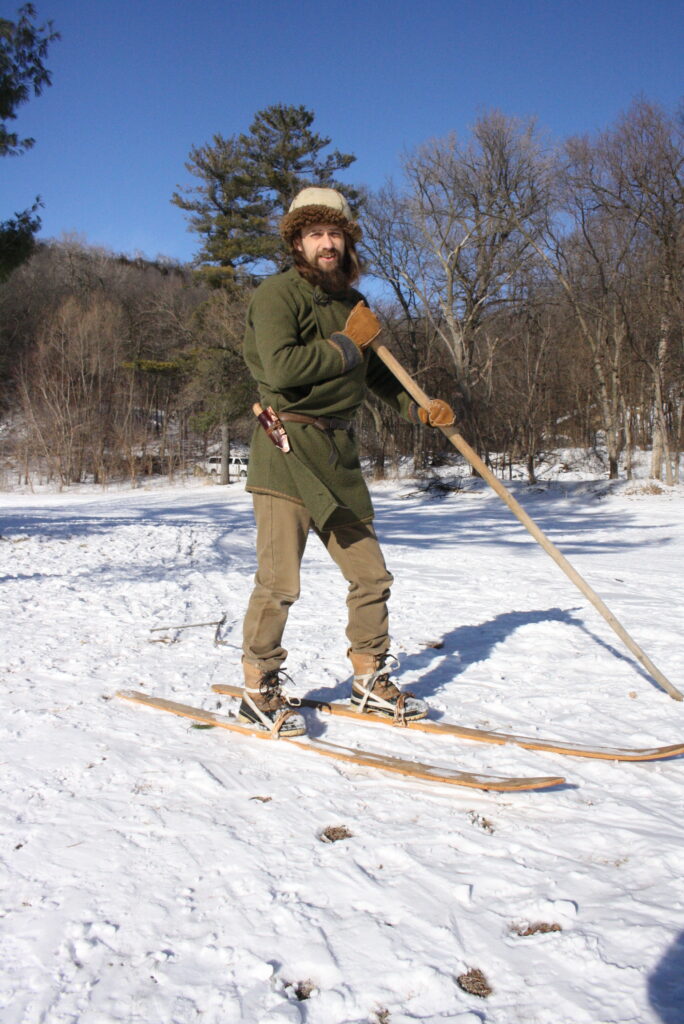
These “Medieval-style skis” are my version of old Nordic wooden skis. My inspiration comes from a long history that stretches from Prehistory, right through the Middle Ages up to the turn of the last century. Here is a bit of the process I go through to make a pair…
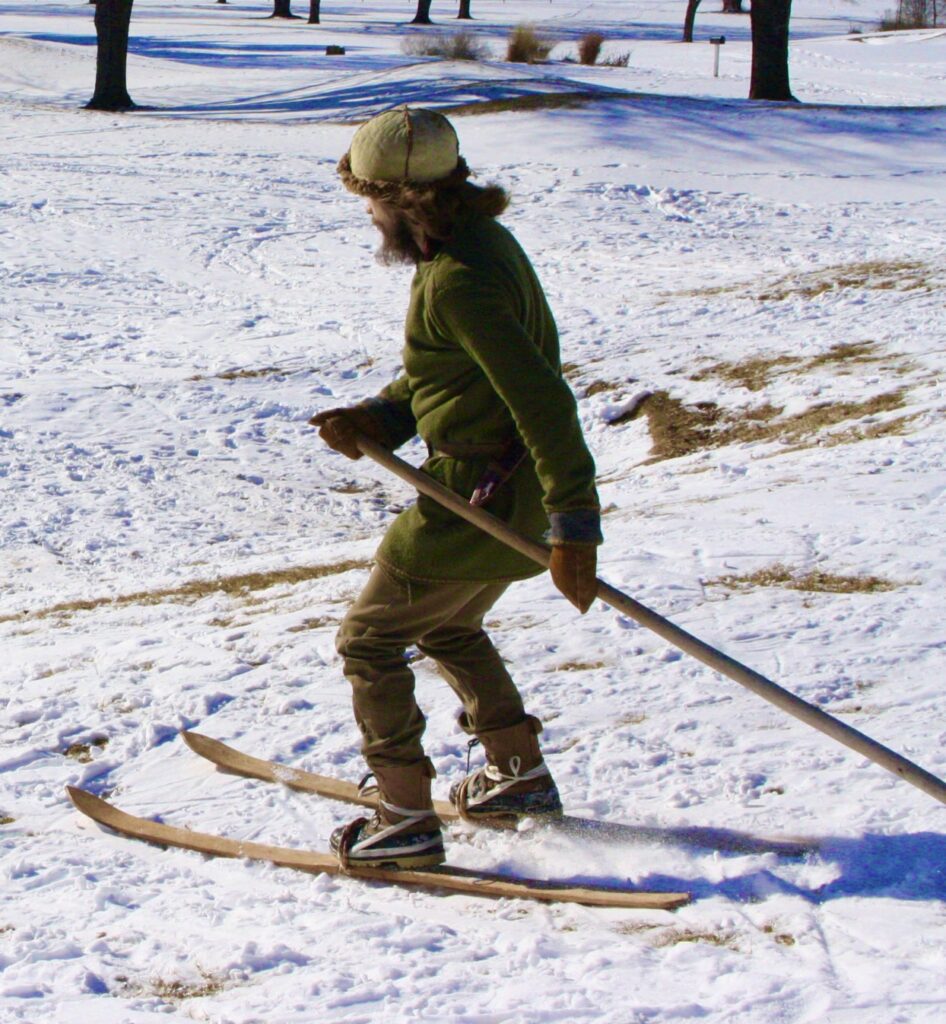
Medieval-style skis are an exciting subject to get into. I wrote a previous article that gives you a good intro to the ancient history of skis. I recommend reading that for some further context. These skis are designed to have simple bindings. No need to wear special ski boots. They make the perfect option for the backwoodsman and winter-camper as you can wear your normal snow boots.
The study of ancient skis is a steadily growing field of interest. One of the most recent and exciting archaeological finds fueling this interest is a pair of pre-Viking era skis found in the Digervarden ice patch, Norway. Read more about this and more fascinating finds at Secrets of the Ice.
What Wood to Use for Skis?
Traditionally, skis were most commonly made from birch, spruce or pine. After all, the birthplace of skiing culture was in boreal regions, where these trees were the most common. They also have the advantages of being light and tough, if worked right. However, ash is also a very serviceable wood, if available in your local area. Up to this point, this is the wood that I have used.
Building the Medieval-style Skis
This is not the comprehensive tutorial on how I build a pair of Medieval-style skis. It is just to give you an idea.
What wood-working tools are needed?
- sharp, medium-sized axe
- at least two wooden wedges for splitting the log
- hand plane
- drawknife
- various grits of sandpaper.
- Drill (for boring out the holes for the bindings)
Splitting the Log
I first start out with a length of ash log, long enough to accommodate the full length of the ski. The important key to working with wood is working with the natural grain. Maintaining the integrity of the inner grain keeps the strength in the wood, even when shaved down to a thin plank. Thus wooden wedges, the most ancient of carpentry techniques, are used.

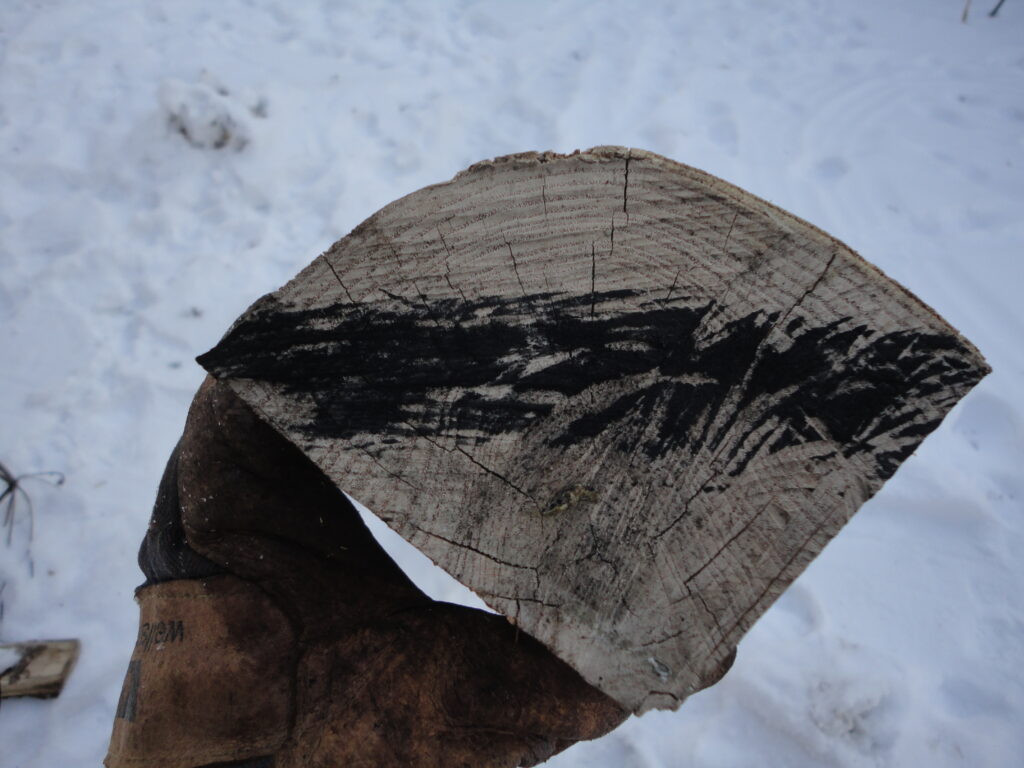
After cleaving the log into quarters, one ski is fashioned from a quarter. For hardwood, you carve the ski from the top portion in the photo below. If one were to use a softwood such as pine, you would carve the ski with the grain running perpendicular to the flat bottom.
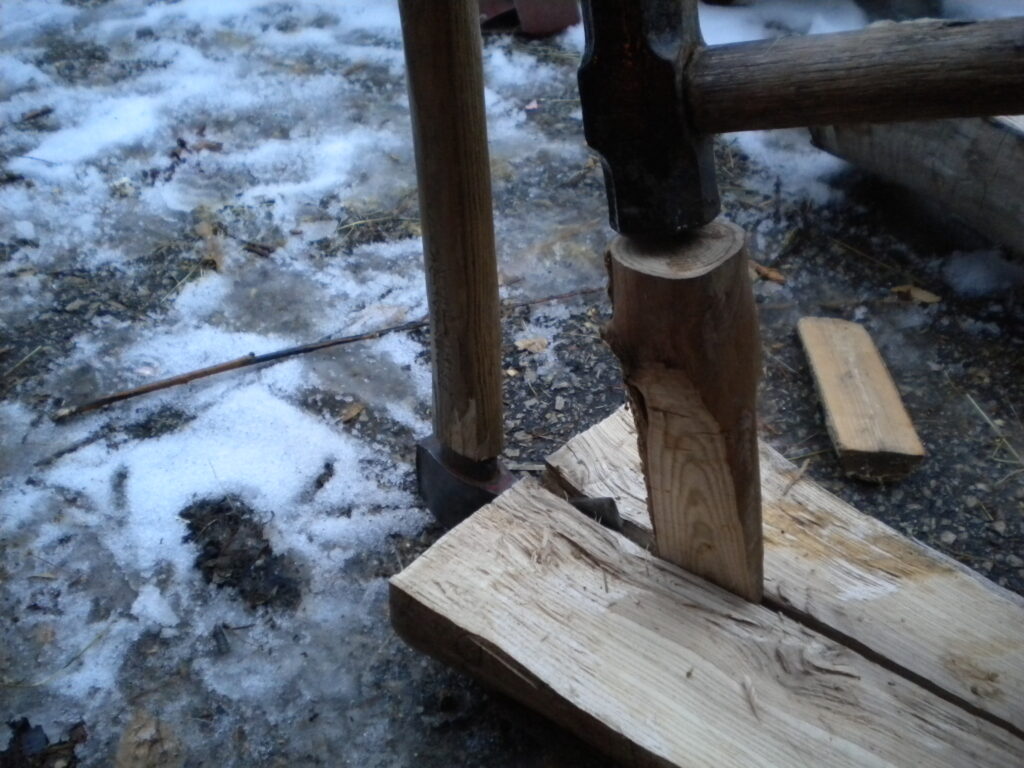
Begin with roughing out the ski with an axe.

The tricky part of building a straight plank from a log is that you have no straight edge to start with. You have to make that straight edge yourself. You start with making one straight line- most effectively with a carpenter’s chalk line. Then, measure off all other edges in relation to that line.
In photo above, there is still a lot of wood to be removed. But you see the straight lines starting to take form. The important thing is to shape the bottom of the ski first–getting it as flat as possible. After that, carve the ski down to final thickness from the top.
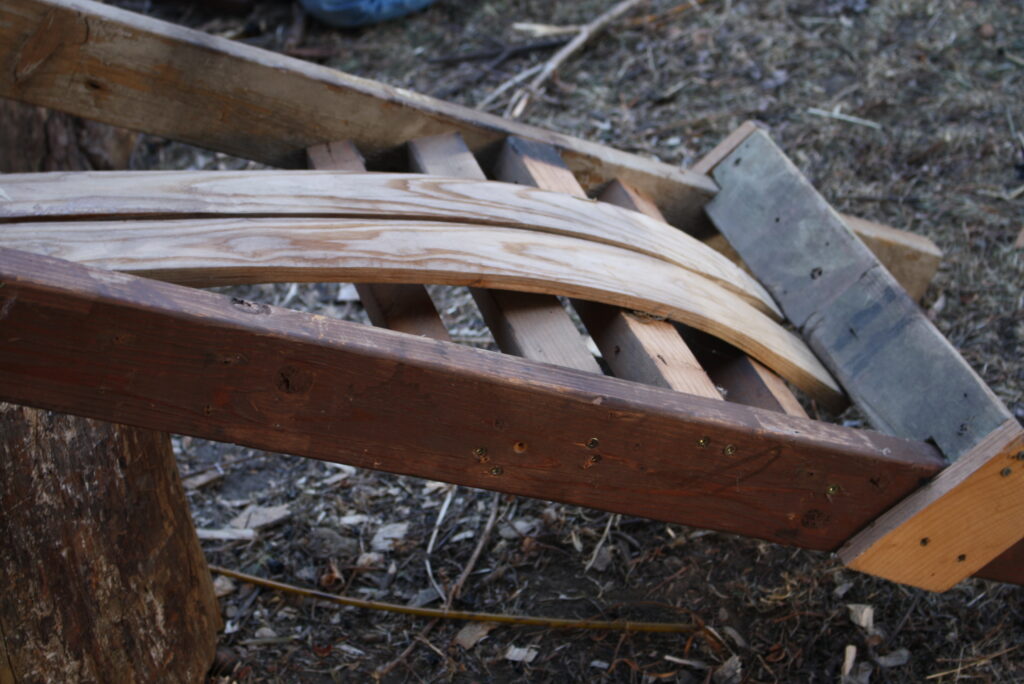
Bending the Ski tips
In order to bend the ski tips, you first need to build a form, or jig. I then submerge the ski tips under water overnight. After heating a pot of water over a fire, I soak the ski tips in the hot water. When the wood is nice and pliable, the skis are placed in the form.
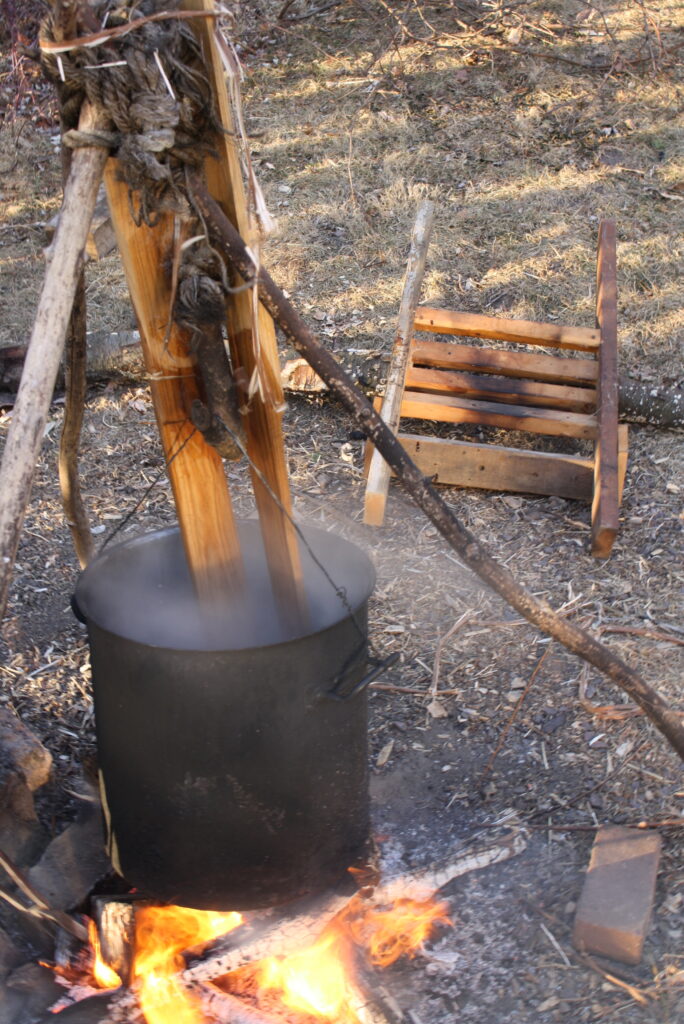
I let them stay in the form overnight. The next day, before removing them from the form, I rekindle the fire and sear the tips in the flame. This solidifies the bend wood into place.
The Forgotten Wonders of Pine Tar
The last step of building the skis before putting on the bindings is coating them in pine tar. This both seals them from moisture, and give them a good glide.
Another name for it is Stockholm Tar. For the longest time, this was an essential product of the Northern countries where pine was king. It is a most effective wood preservative. Tar is extracted from old stumps and root balls–where the concentration of pine pitch is highest. Not only used for skis, this tar was a vital resource to these maritime peoples, where it sealed and preserved their wooden ships and rigging. It also preserved their wooden buildings. Some wooden “stave churches” have been preserved for over 800 years by the faithful application of pine-tar.
Applying Tar to Skis
You are going to need:
- pine tar: Nowadays, you can get pine tar as a product for equine hoof care. How about that, eh?
- A source of heat: an outdoor camp-fire or blow torch on the lowest flame will do.
- a brush
- rags
This can potentially be a messy project. So yes…best to do this outside.
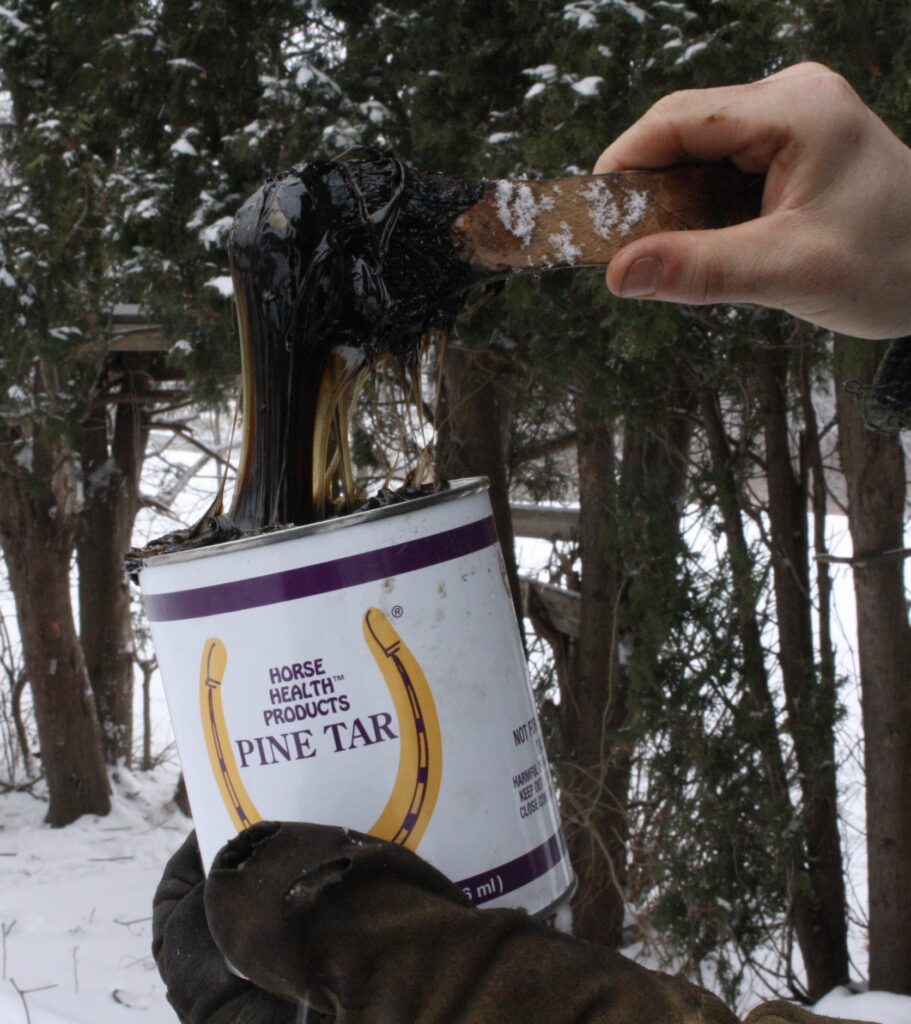
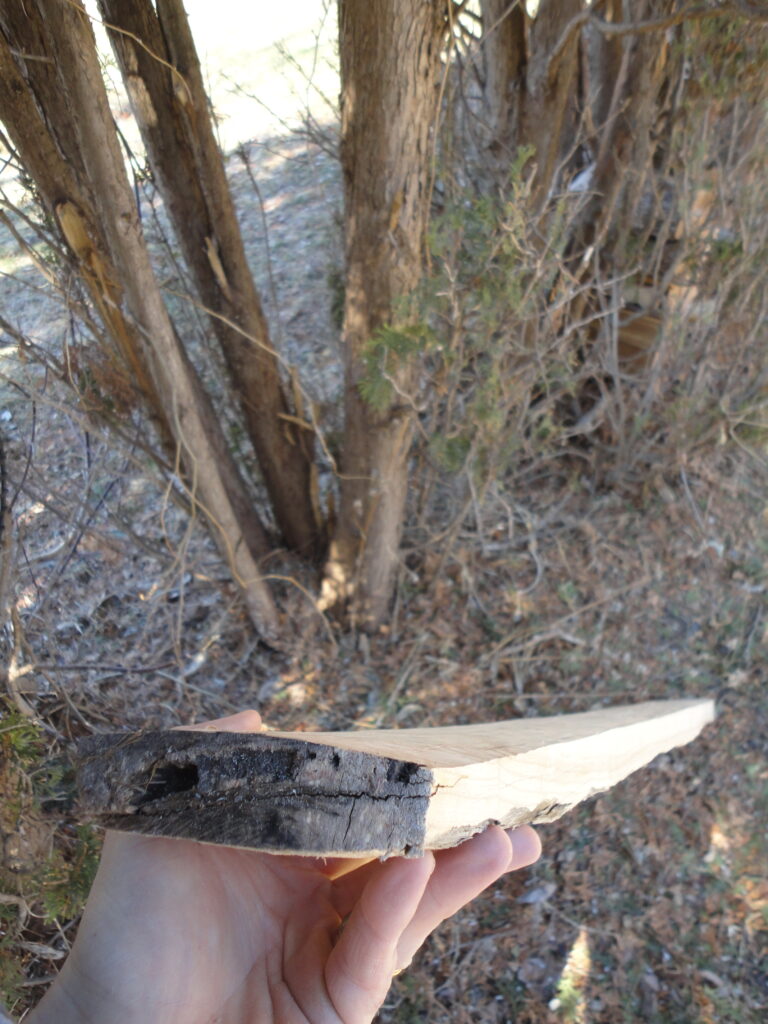
Application is simple. The pine tar at room temperature is like the consistency of thick caramel. In order to get it soft, heat up some tar in an old can over a fire. Brush the tar onto a small section of the wood of the ski.
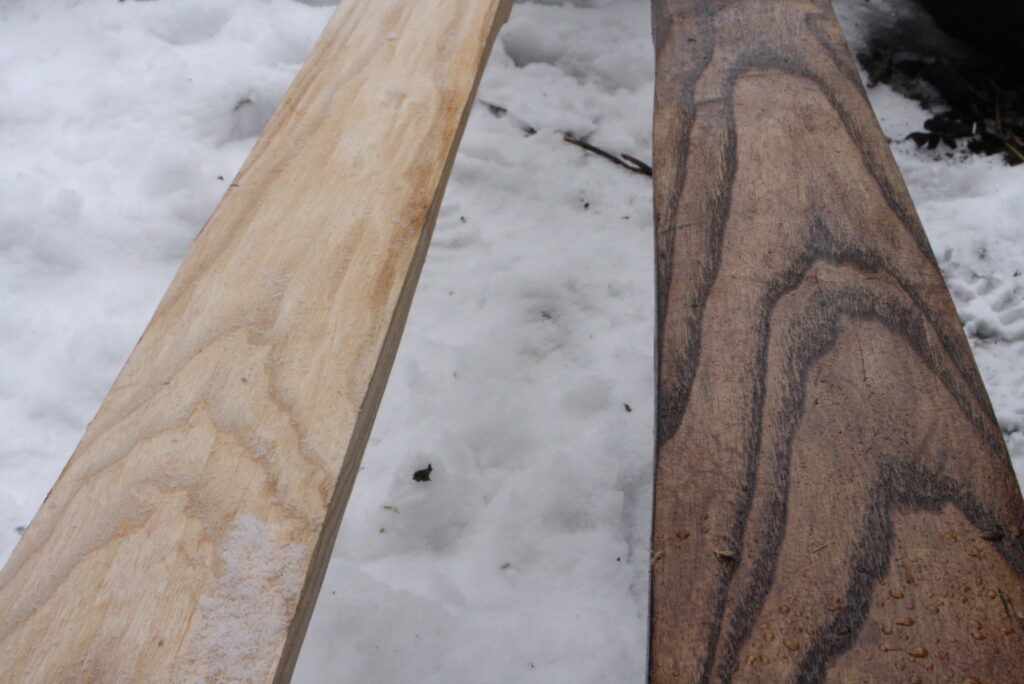
Next, hold the ski over the heat until the tar is really runny and almost bubbly. Then, with a rag, wipe off the the excess tar till the wood is smooth. Coat the entire ski, both top and bottom.
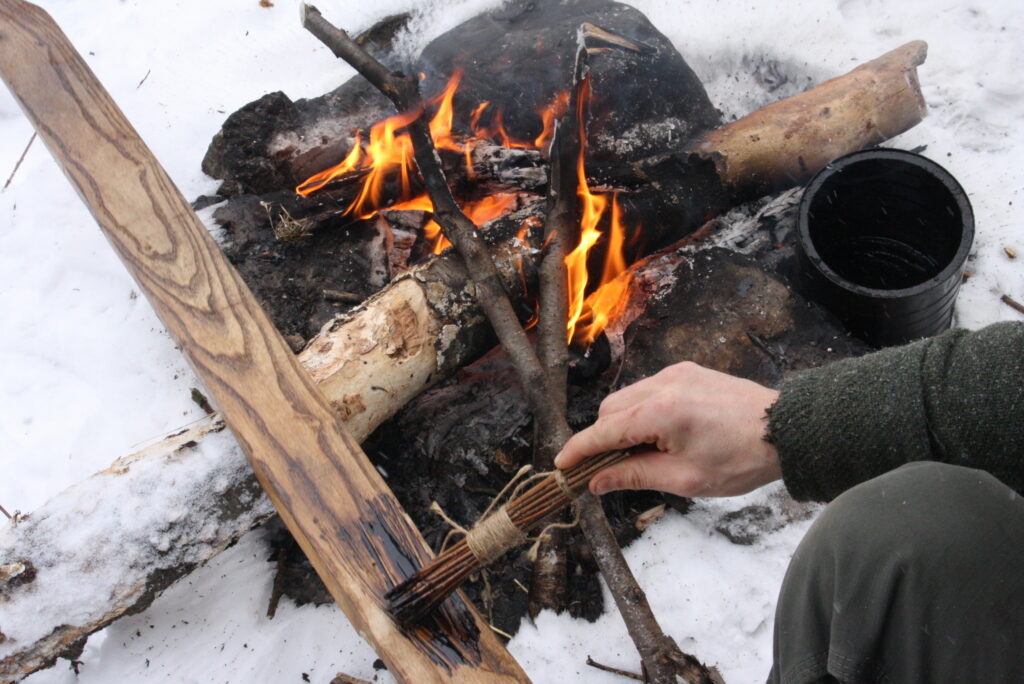
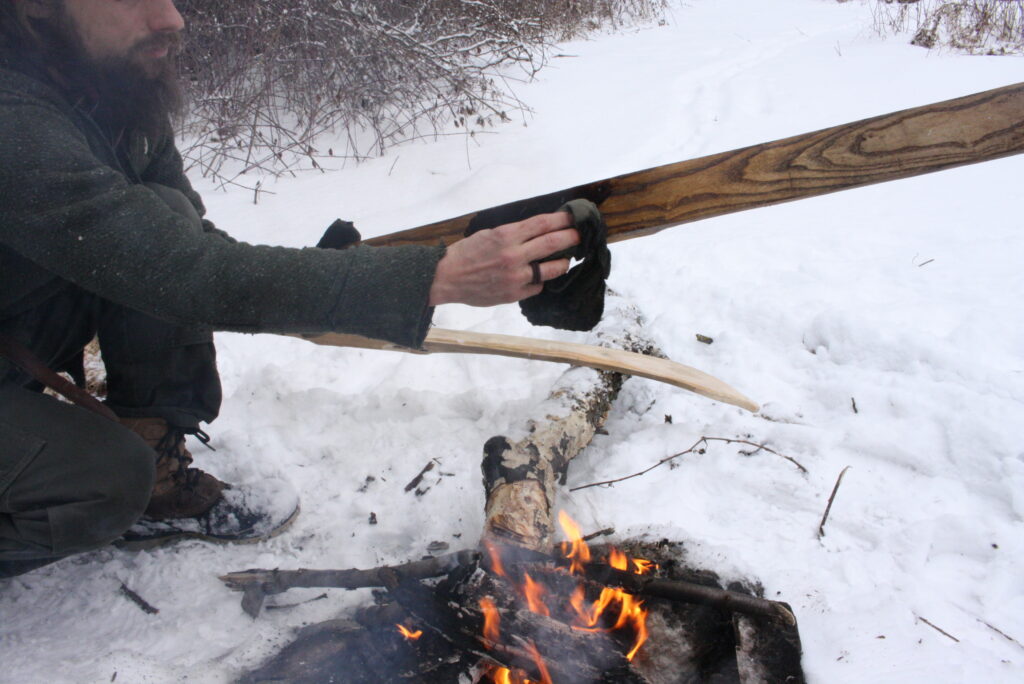
The end result should look like the ski on the right.
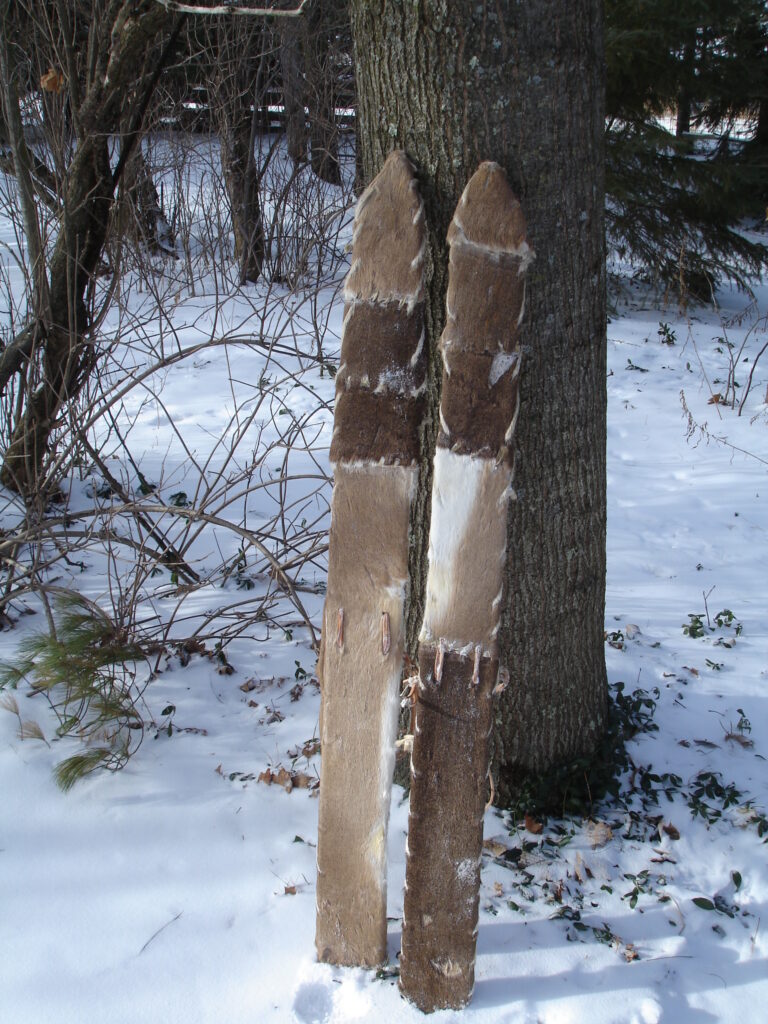
The Fur Option:
For extreme backwoods trekking, fur bottoms are also a prime option. This takes a bit of extra work, stitching pieces of hide together to make the hairs all running straight back. In the past, these furs were fixed to the bottoms by drilling tiny holes along the entire edge of the ski and sewing the hide on. The rewards are fantastic: a ski that is essentially the marriage between a ski and a snowshoe. Going up slopes and through rough country is no problem.
Ski Bindings
This is probably the most difficult part of building skis from scratch. The tricky part of ski bindings is that they take the most mechanical stress. They need to be flexible and strong enough to remain fixed to the toe of your shoe. At the same time, they also need to be durable enough to take the wear and tear of constant motion of your foot. This is probably why modern ski bindings evolved into the complex and sophisticated contraptions that they are. But with that, modern skis also require the special shoes that click into the bindings.
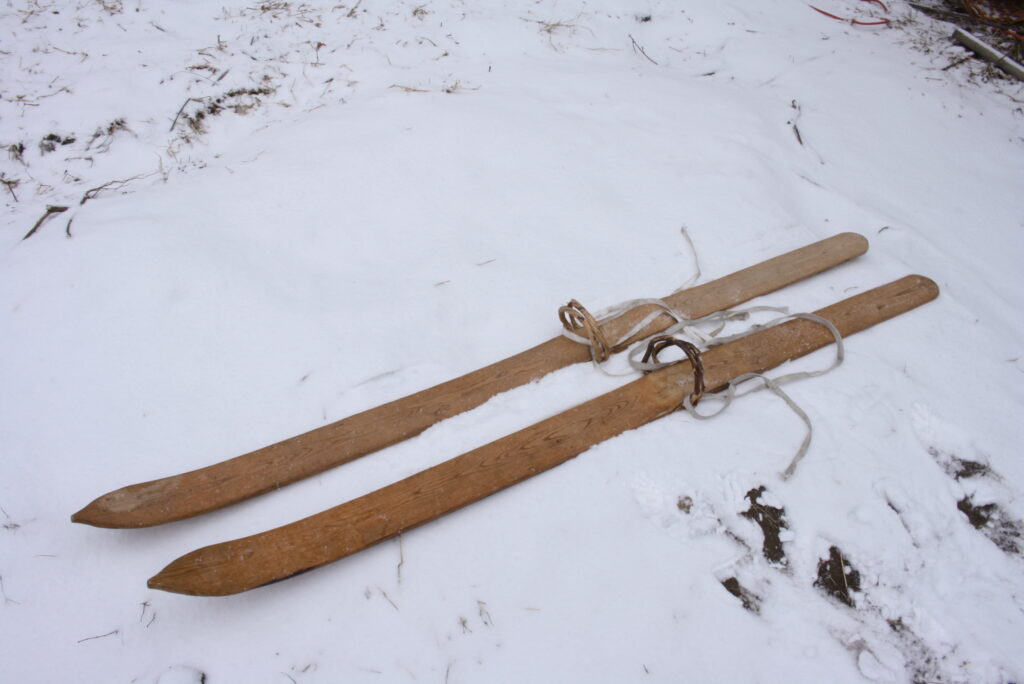
When I set out to build my own pair of skis, I wanted bindings that my normal winter boots could fit into. Over the years I have experimented and researched different methods of ski bindings. In the end, the kind of binding that suits my purposes is the traditional ski binding–simply, a twisted wooden withe paired with a thong heel-strap. I found that a withe of birch is quite serviceable and durable.
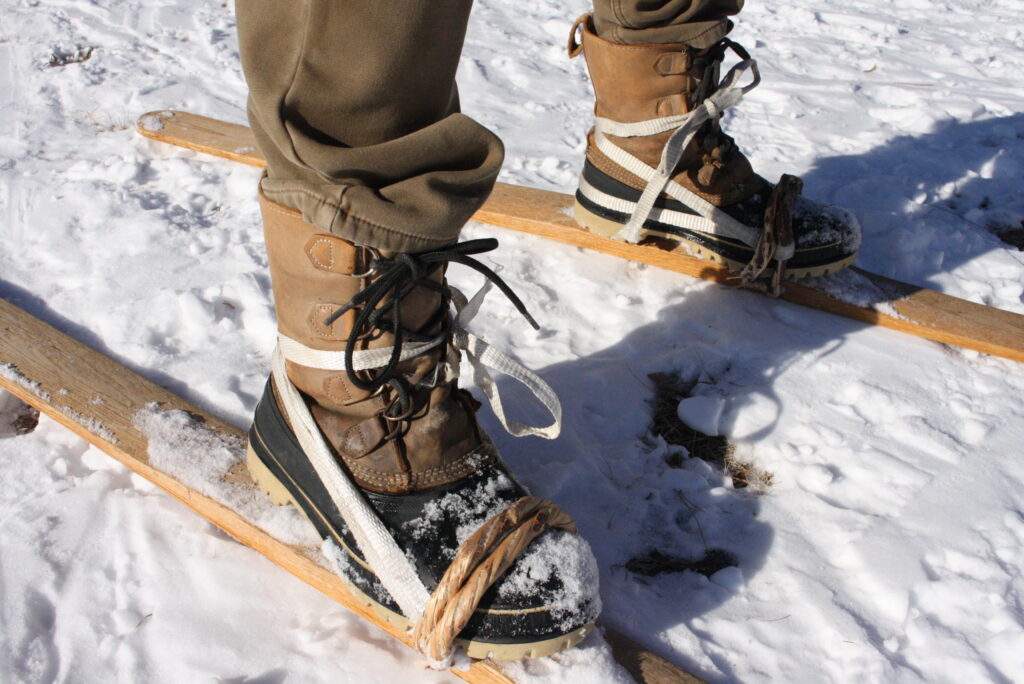
Bear in mind, withe toe-bindings eventually wear out. But they are so simple in construction and readily available in material that they are also simple to replace. That is one of the hallmarks of true “peasant technology”.
There you have it. It is amazing how some bent planks and transform life in the Winter. Where deep snow would hinder movement and travel, skis turn it to Man’s advantage. Building skis and watching my own children learn the old way on them is also a thrill. It is an exciting way to teach them history and their heritage.
~ Nathanael
Find out how Northern folk kept their feet warm all day outside on their skis:

Leave a Reply