A double sided muslin cotton baby blanket is one of the easiest sewing projects and also the best gifts! These are oh so soft and have a unique and cozy look. What I really love about this fabric is that it is a natural fiber and keeps baby warm while it’s able to “breath” at the same time. Not only is the fabric great but the project itself is very easy- even for a beginner!
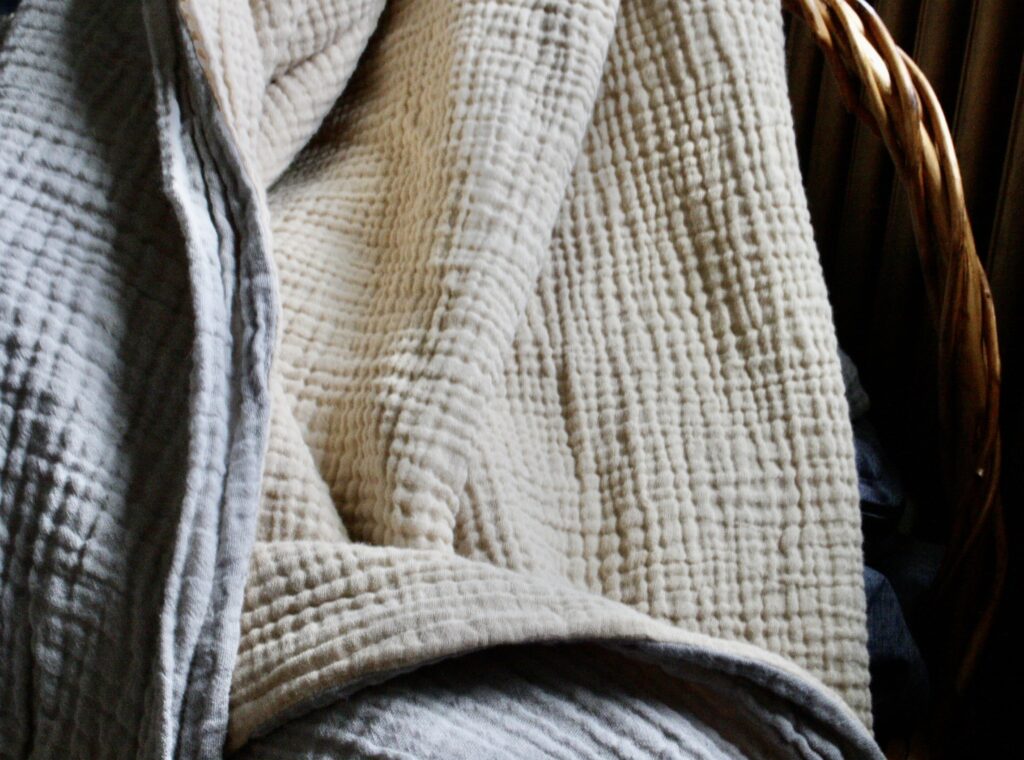
Supplies You’ll Need
- Fabric- I suggest at least one yard of each side/layer
- Sewing Scissors
- Matching thread
- Sewing Machine
Before you begin this or ANY sewing project, make sure you WASH and DRY your fabric.
Step 1
First, make sure your fabric is cut into equal lengths and widths. Most fabric is sold in 54 inch widths, so if you get your fabric by the yard, this step has already been taken care of for you! .
Next, line up the edges.
I don’t think cotton muslin necessarily has one “right side” and one “wrong side” like many other fabrics do. However, if you prefer one side over the other, line up your fabric with the “right” sides together. Meaning, the “right” sides on the inside and the “wrong” sides facing out. This is done because the blanket is started by sewing it inside out.
Pin edges all the way around.
Note: This kind of fabric can be a little tricky. For this particular project though, the edges are sewn twice so it’s not a super big deal if they’re not perfectly even when sewn the first time around
Step 2
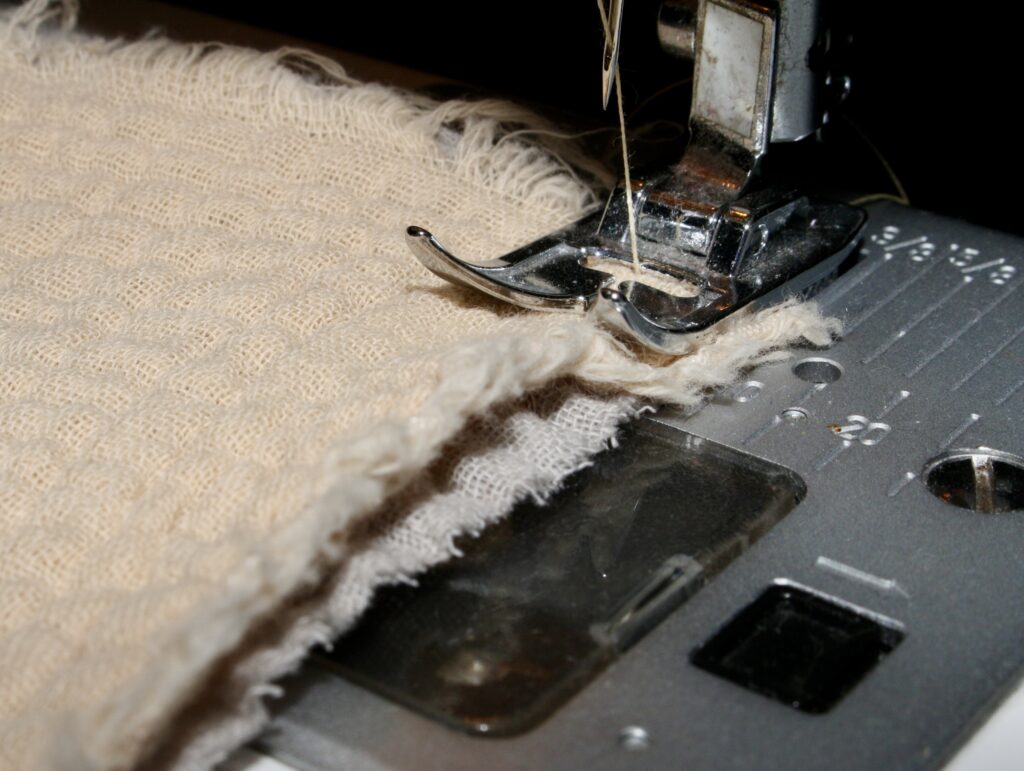
After your edges are pinned, sew all the way around the perimeter of your blanket. Leave about six inches of space at the very end.
Step 2
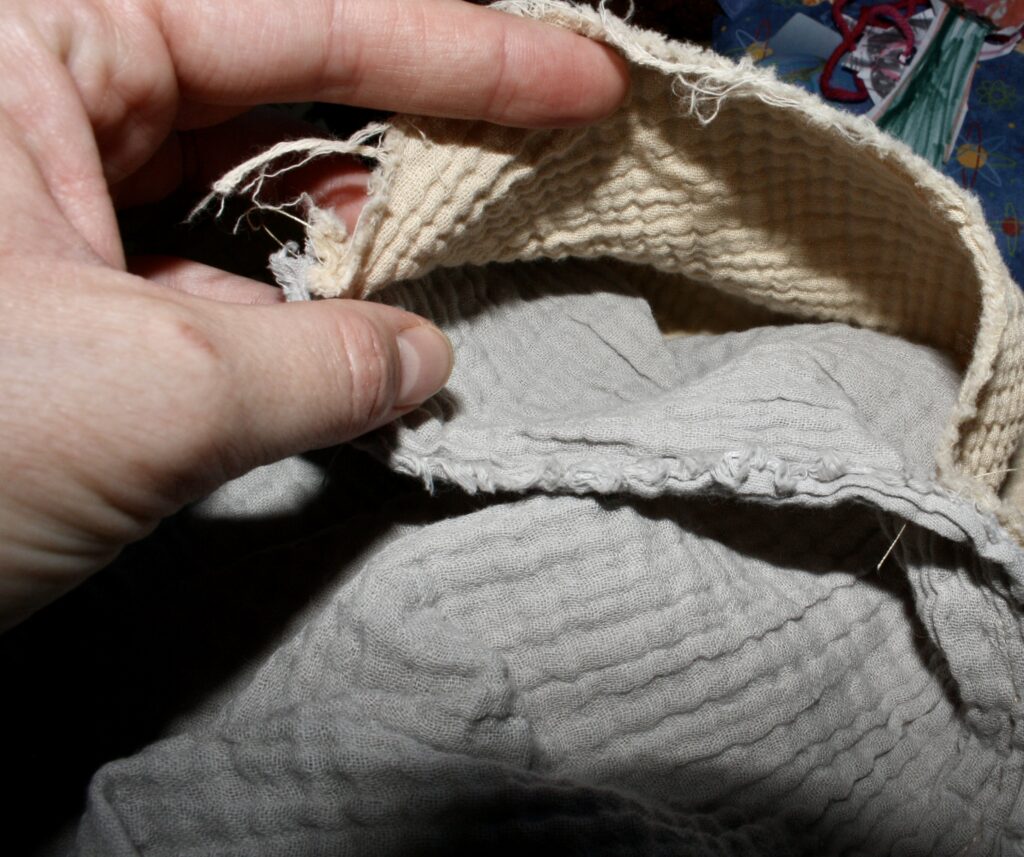
Pull all the fabric through the opening.
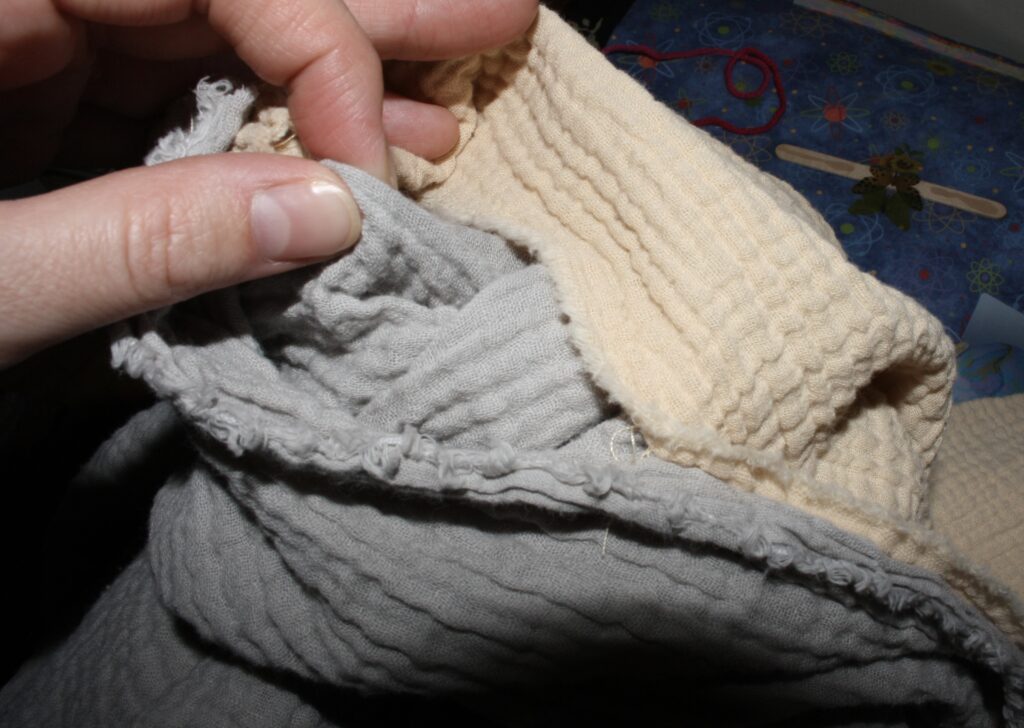
Now that all the fabric is right side out, the seams of the perimeter can be sewn again for the final time. This will keep all the “raw” edges of the fabric on the inside of your blanket. The additional seam around will keep the edges from fraying and also looking nice with a crisp finish.
Step 3
When beginning the final edge of your project set the foot of your sewing machine a half to a whole inch from the edge of the fabric. Sew around the entire outside of the blanket stopping where you pulled the fabric through.
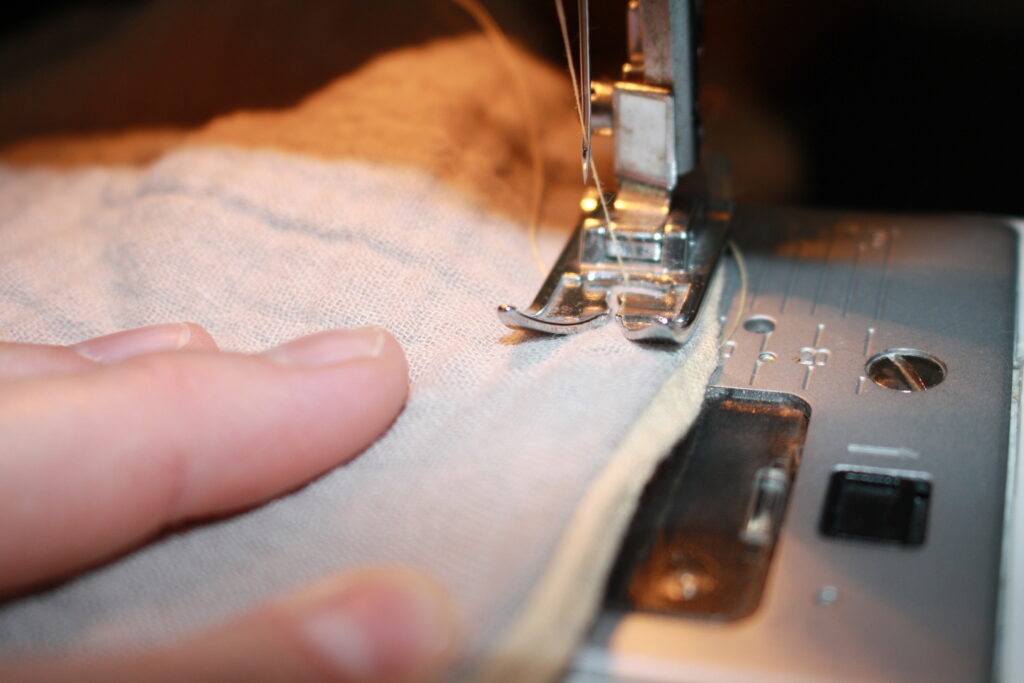
You can make rounded corners like shown in this picture or sharp edges depending on your personal preference.
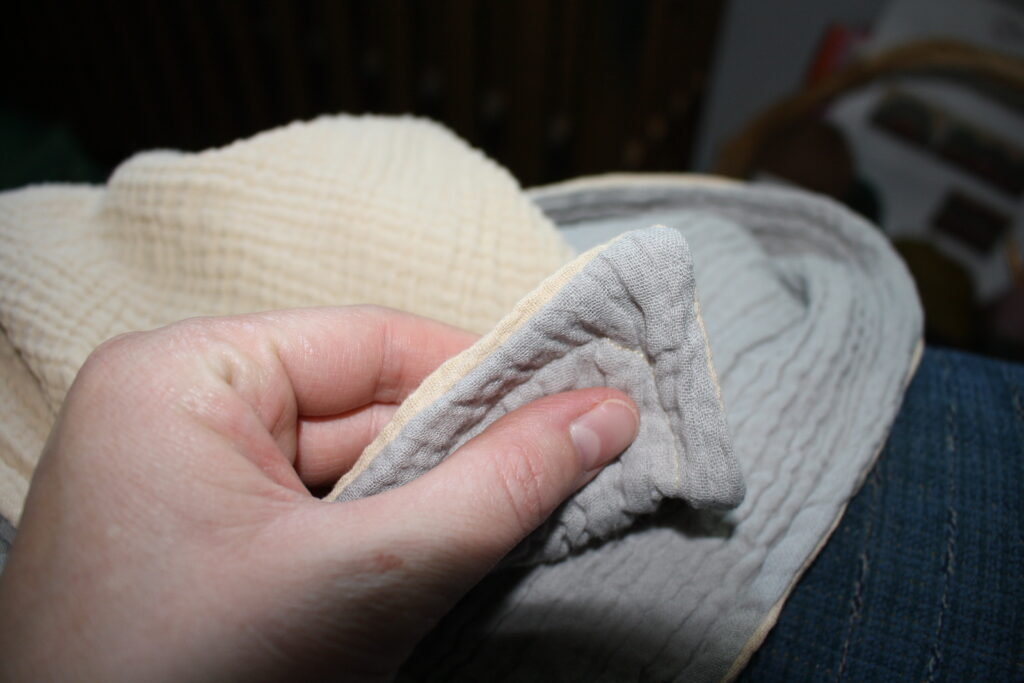
Step 4
When you get to where you pulled the fabric through you’ll want to tuck the edges in and sew just like you have been over that area until you meet up with your starting point.
When the stitching meets where you began, sew about an inch overlapping your starting point. Here, you will want to backwards stitch over that inch and forward stitch over it one more time to ensure your thread won’t come apart during the many washings your baby blanket is bound to go through.
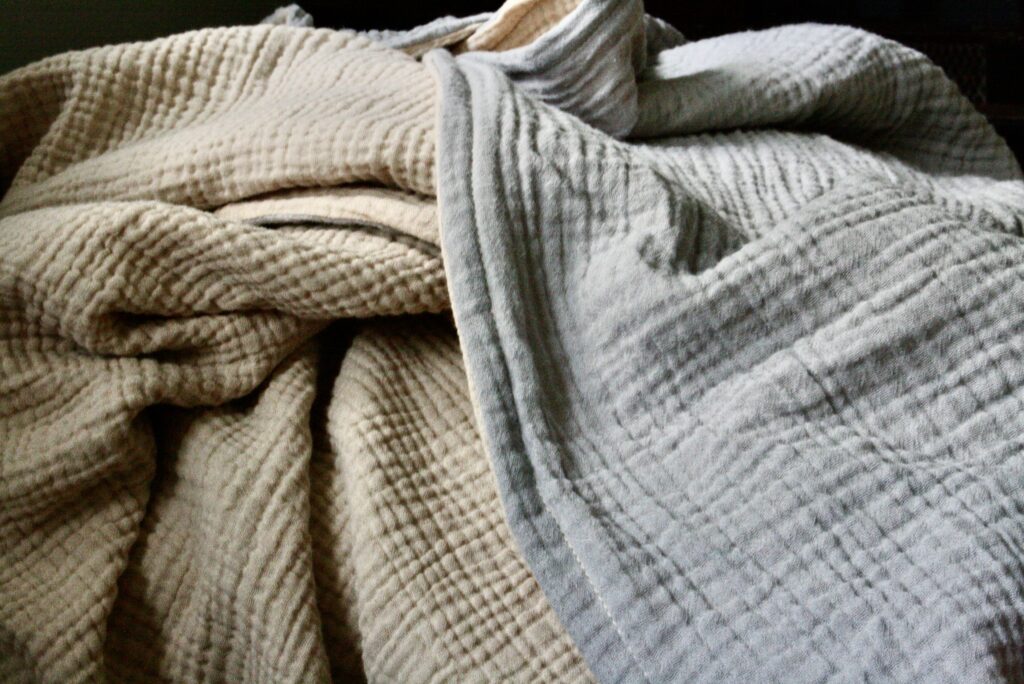
You did it! You finished your beautiful muslin cotton baby blanket! Now that sweet little baby can snuggle up with you wrapped in the soft blanket that you made yourself.
Other notes:
- You can make a blanket like this in ANY dimension you’d like
- Muslin cotton comes in basically any color and many different patterns too


Leave a Reply