Brewing beer at home in your own backyard is not as difficult as you may think. After all, that is how beer was made for most of its history–from home! Here is a method that harkens from traditions passed down from the Vikings and beyond.
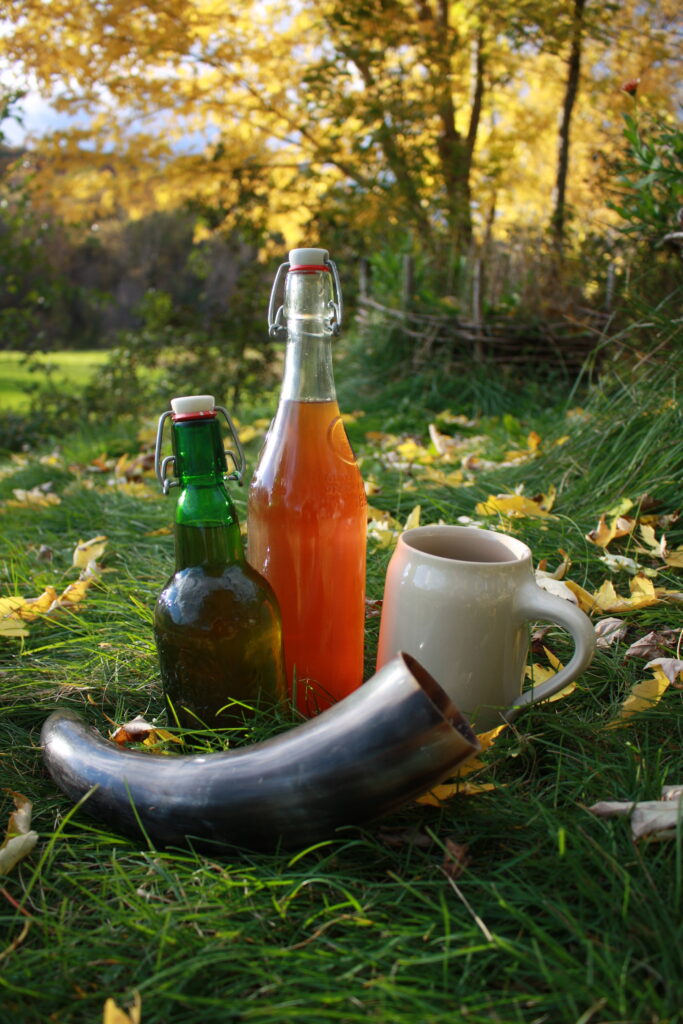
What exactly do I mean by brewing “Norse backyard ale”? This is a term I use that has been inspired by traditional brewing methods in the Nordic cultures. I must refer you to a great book called: “Historical Brewing Techniques: The Lost Art of Farmhouse Brewing” by Lars Marius Garshol. I highly recommend it, as it will open your eyes more fully to brewing culture through the centuries. Most specifically, it will shift your focus to when brewing beer was a homestead-based activity rather than a commercial one. This following recipe is loosely based off of the several methods described in the book.
In this article I will bring you through my whole process of brewing beer in my backyard. It may be perhaps a bit more of a rustic method, but therein lies the attractive aspect to my approach! First of all, if you are completely new to the brewing process in general, I recommend you read Part 1 first. Along with telling you the meanings of terms such as “mashing”, “sparging”, and “wort”, it will help you understand what is actually going on in each part of the process and why.
A Taste of Viking Ale
So, what makes this brewing method particularly “Norse”? In short, it is the use of both an infusion of juniper branches and a special Norwegian farmhouse yeast with its own unique properties, called kveik. These are methods that were used throughout the Nordic and Baltic lands for millennia up to the present day. Most of these “recipes” were never anything standardized or written down. In true rustic, peasant fashion, they were oral traditions–passed down from generation to generation. The methods and processes varied greatly from region to region.
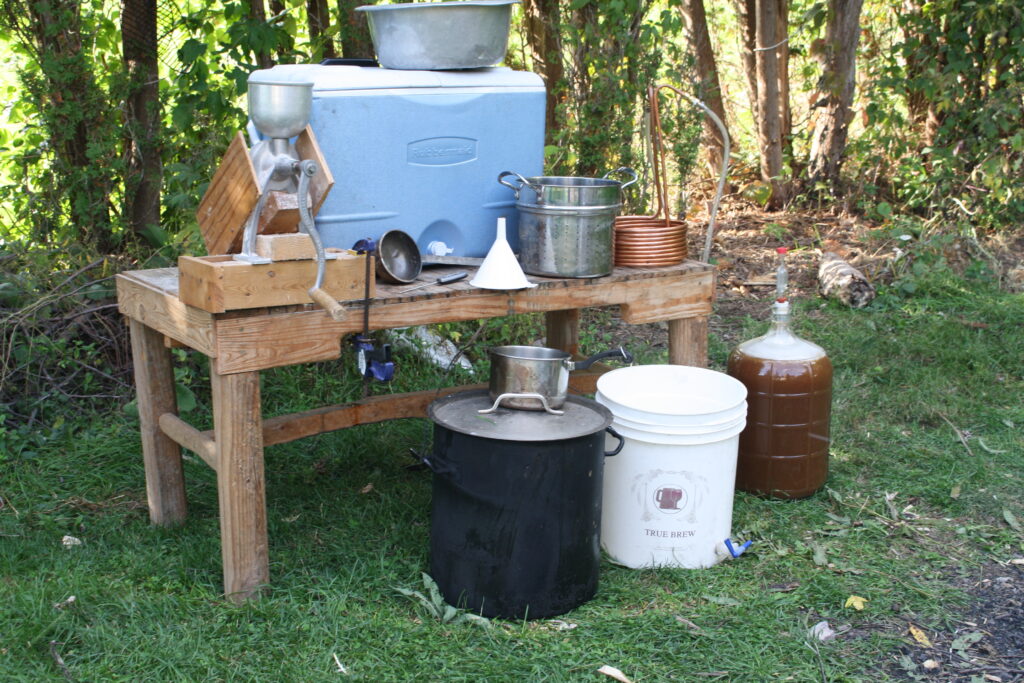
What equipment do you need to brew beer?
- Grain Mill
- 10 gallon pot. This will make your juniper infusion and also boil your wort. Mark on the inside on the 5 gallon level.
- Cooler with a drain hole. This will be your “mashing tun”
- sauce pan and ladle. These will be for ladling and transferring liquid between containers
- kitchen thermometer.
- funnel
- 5 gallon food-grade pail
- metal strainer.
- wort chiller. This is to cool the wort to temperature before pitching in the yeast
- glass carboy. This is where the fermentation will occur.
- airlock
Ingredients
- Hot water (about 8-10 gallons. Actually its better to have too much than too little)
- 10 1lbs of malted Barley (no specific variety. I buy whatever is on sale from my local brewer supply shop)
- Optional: 1 lb. of flavoring malt. This is if you want a particular color and taste from the grain. Traditionally speaking though, this was not usually done.
- 5-10 freshly cut juniper branches (about the thickness of a pencil. Traditionally, juniper branches without berries on them were preferred for the brewing process. The juniper variety I use actually is Eastern red cedar.
- 1-2 heaping handfuls of hop cones. Whatever variety is fine. Mine are growing on my porch for free.
- kveik yeast. You can buy kveik online now from brewing supply companies. Check out Northern Brewer
The Brewing Set-up
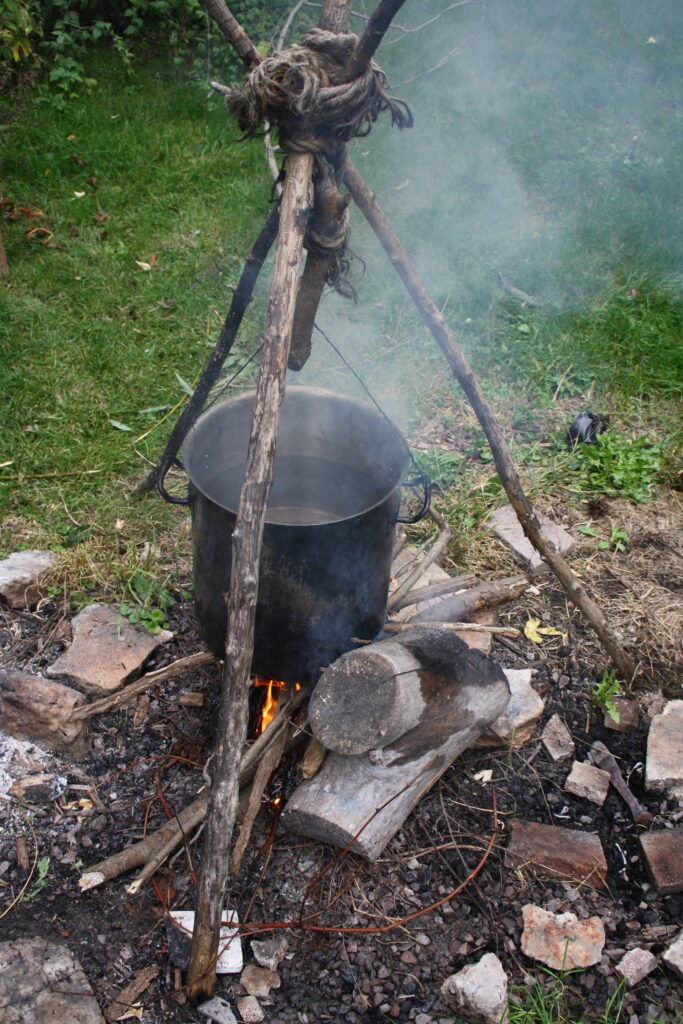
I like brewing beer outside on an open fire. That’s just how I do it. I like an excuse to work on a project outside in fine weather and I like the woodsmoke aroma. Plus, I stay clear of taking over the kitchen so that my wife can remain unhindered in making me delicious food. Thus, a simple table and a sturdy tripod over a fire-pit are what I need for a set-up in brewing beer outside. I will be using large amounts of water so it is also helpful to be have access to a garden hose.
Step 1) Getting Started
Get your fire going. Set up your tripod with the large pot full of water to start heating. Here’s a tip: suspend your pot empty first on your tripod hook, then fill it with water from the hose. This saves your back from lifting a full, heavy pot.
Step 2) Mill your Malt
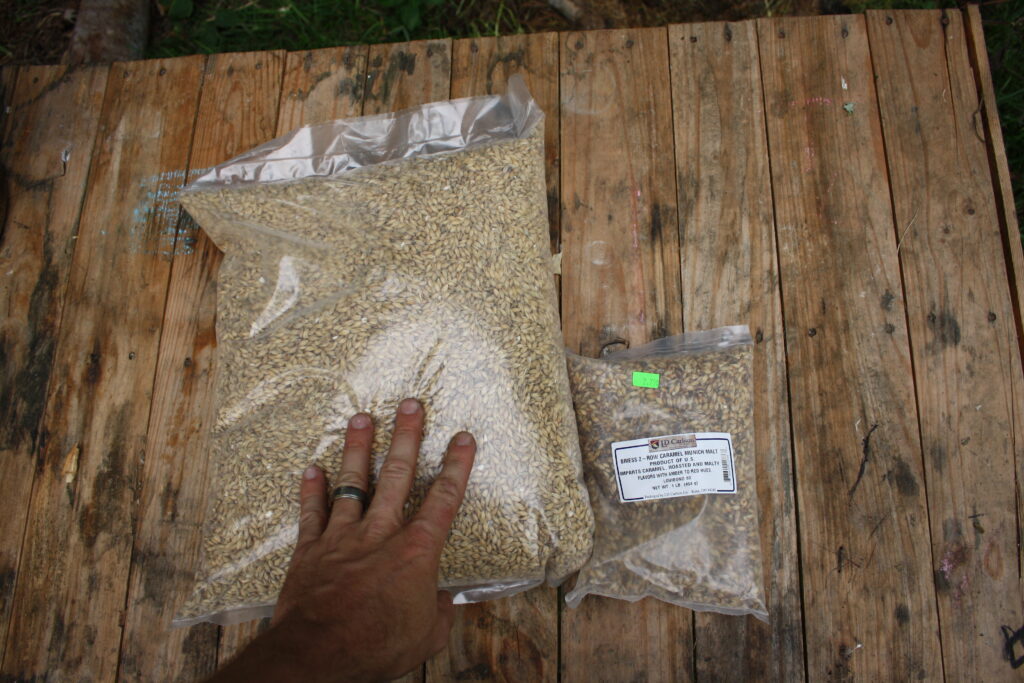
I acquire my malt from a local brewing supply shop. It comes in 10 lb bags as pictured below on the left. I usually get whatever is on sale as I am not too picky on the variety. It is optional, in my opinion, to buy another 1 lb bag of flavoring malt. This adds a color and a different taste to the beer.
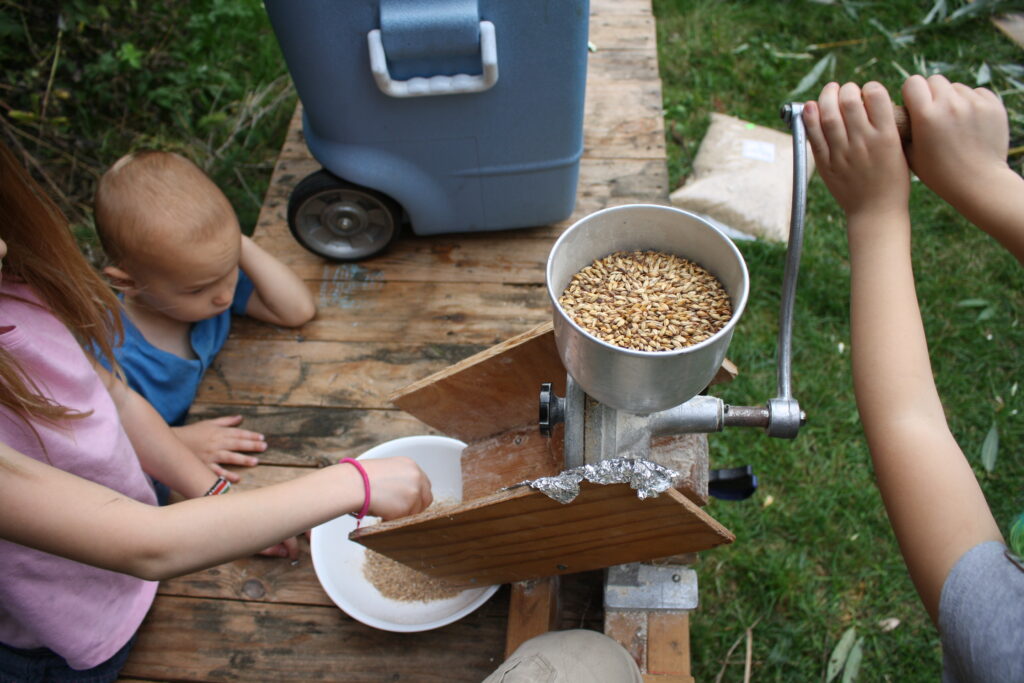
There are all kinds of grain mills one can acquire. I got this old mill from a friend who didn’t use it anymore. Set your stones to grind the grains coarsely. You are not making fine flour here, just breaking up the kernels. Get your kids in on the work for a bit! They might be insisting on it, as mine usually are.
Step 3). Prepare your Juniper Infusion
As I said above, I actually use a sub-group of the juniper family called Eastern Red Cedar. This grows wild in my local area along sunny, rocky outcrops. Traditionally, back in Europe, the ancestors would have used the common juniper.
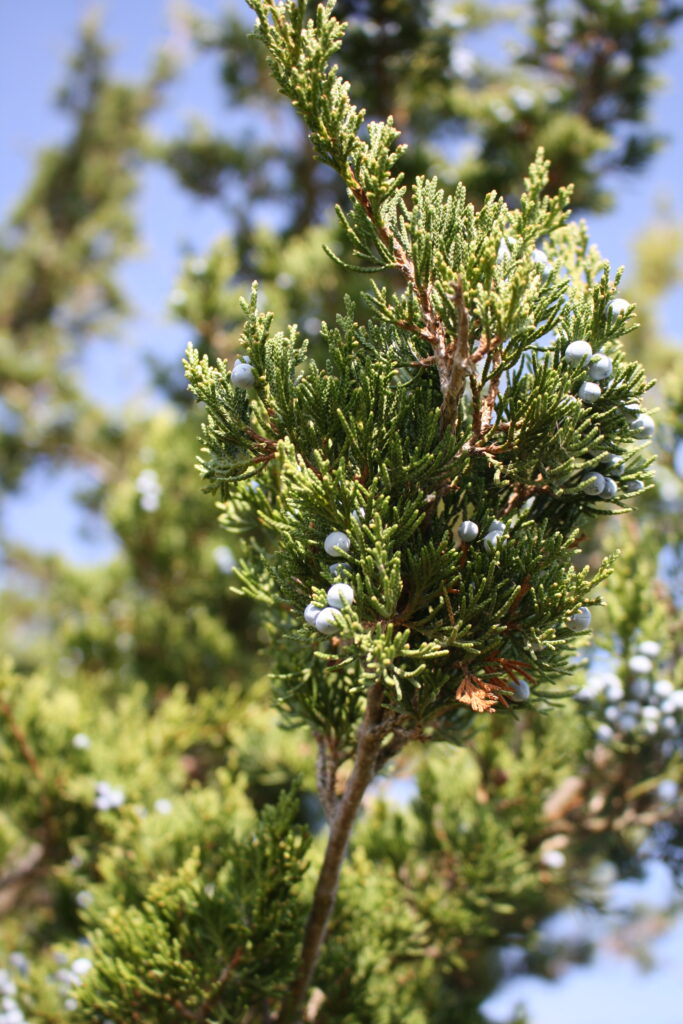
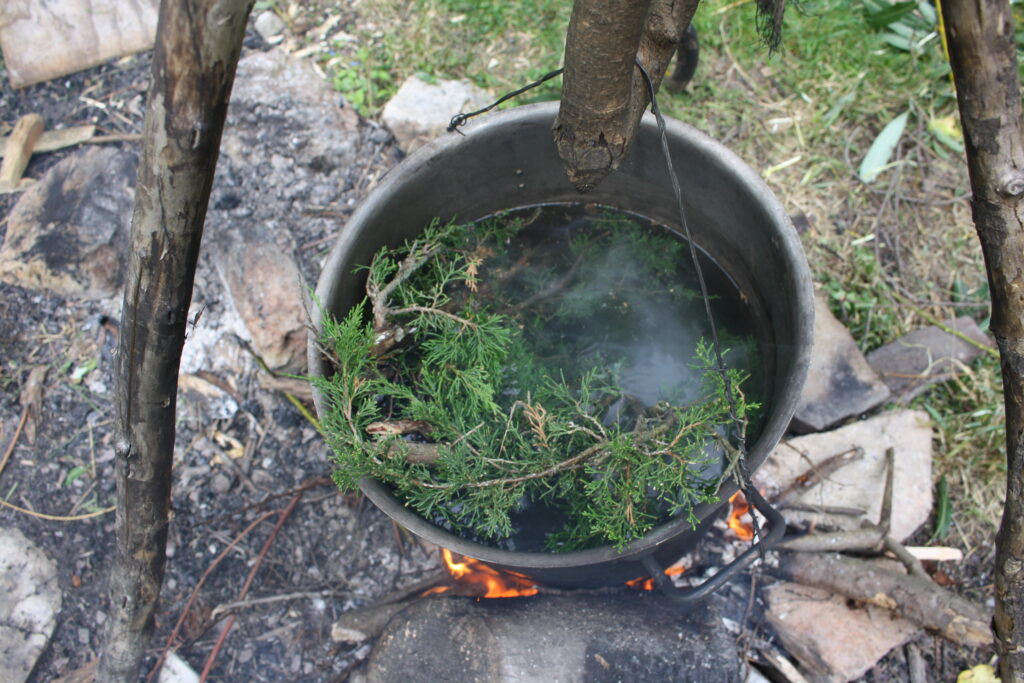
As your water on the fire starts to get hot, add in the freshly cut juniper branches. You are going to essentially brew a tea out of this. The unique use of juniper in the brewing process is a defining trait throughout the Nordic and Baltic regions. Interestingly, there is thought that it has antimicrobial effects. This was particularly essential in pre-industrial times when much of the brewing was done in wooden tubs and barrels. Wooden containers are not as straightforward to sterilize; yet it is absolutely necessary in order that unwanted bacteria doesn’t creep in. Failure to do this could cause the beer to go sour.
Furthermore, the juniper imparts its own coniferous flavor which I find to give it a wild and Northern appeal.
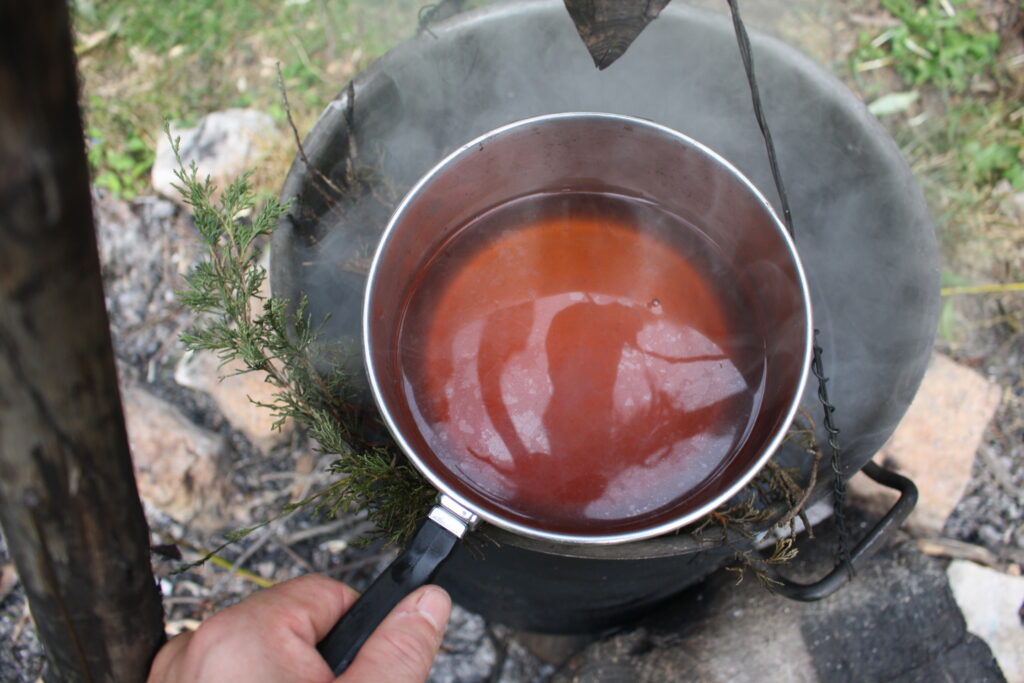
Steep the branches in the water till the infusion takes on an amber colour like this:
Step 4). Prepare the Mashing Tun
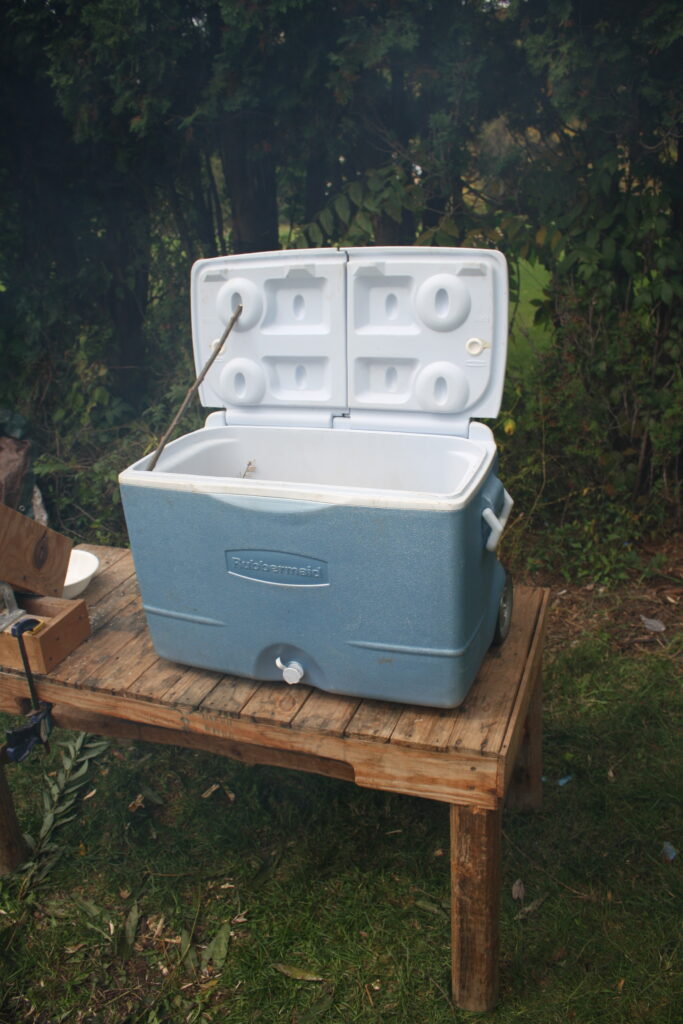
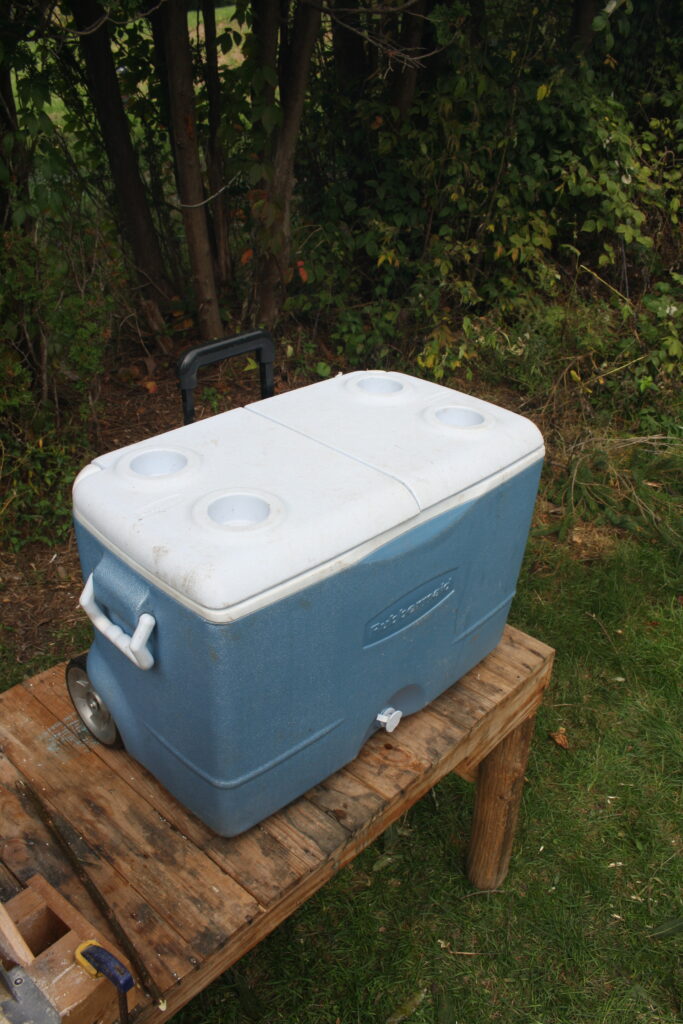
aka, the cooler. Back in the day, this would have been done in a wooden tub or barrel called a tun. In Finland, they actually would mash in a large trough made from a hollowed out pine log! For our purposes, a cooler will work fine. What is important is that there is a drain hole on the bottom with a working plug or tap.
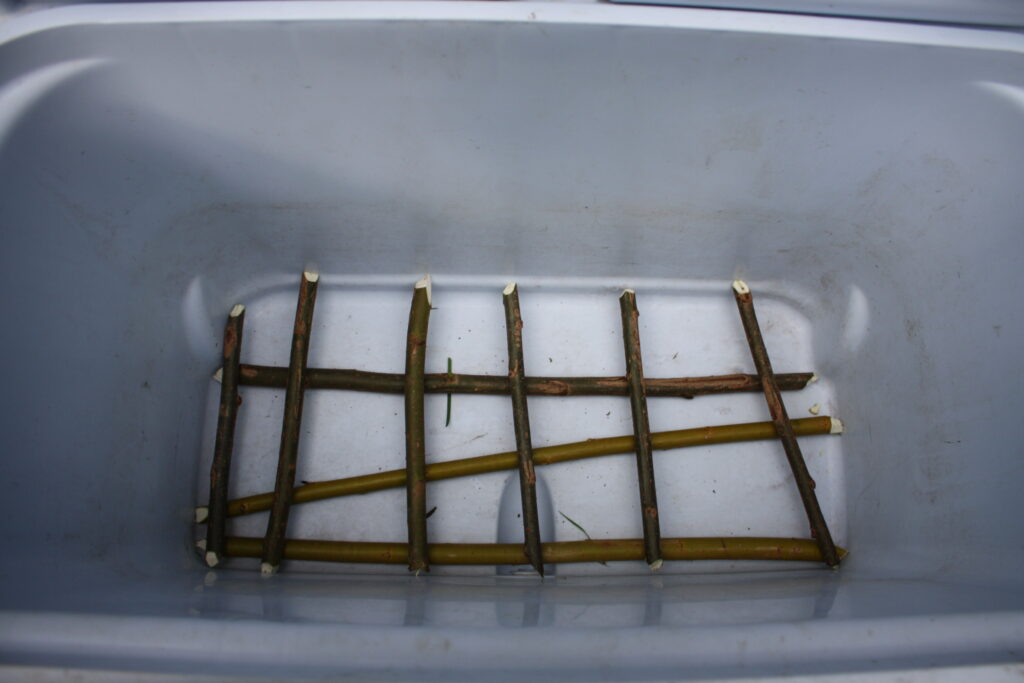
We will combine this modern piece of equipment with an ancient method of filtering. First, lay some sticks along the bottom like so:
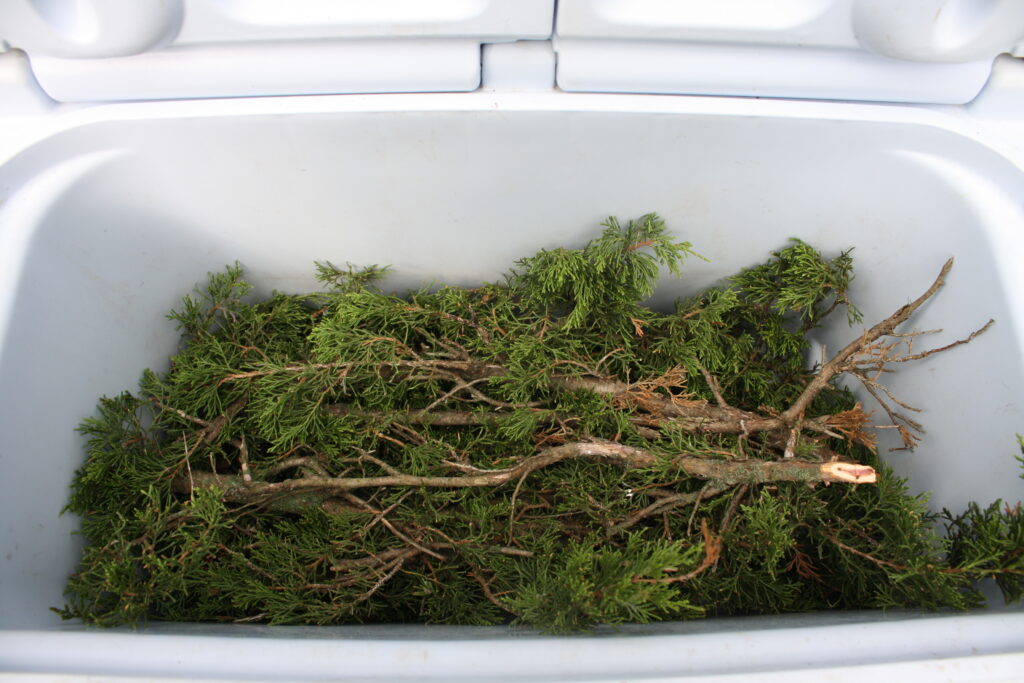
Next, lay a thick layer of fresh juniper branches on top. Make sure that there is good thick layer of branches. You should not be able to see the bottom.
Now, pour your milled malt directly on top of of the juniper branches.
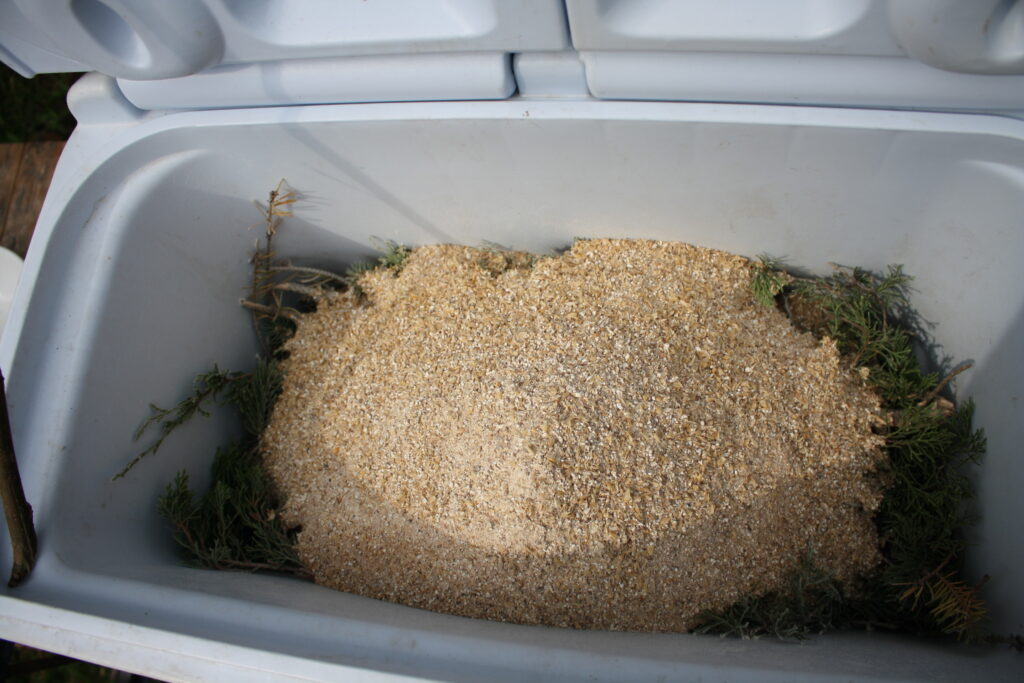
You’re all set for mashing! The juniper branches serve as a natural filter. The grid of sticks at the bottom creates a cavity into which the percolated liquid trickles down and out the drain. On a side note, there are other options if you don’t want to use the natural filter method. For instance, you bag the malt in a large cheese cloth, or fine mesh net.
Step 5). Mashing
Your mashing tun is ready and your hot juniper infusion is ready. Time to mash! Start ladling the hot liquid directly onto the malt.
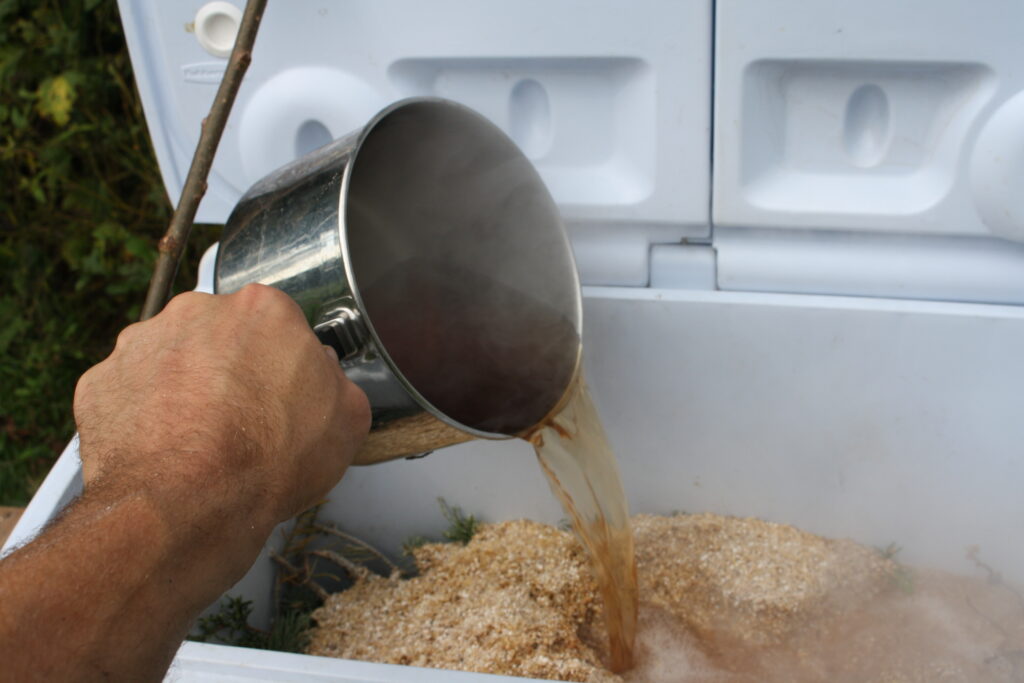

Cover the entire malt until it is all steeped in water. Close the lid of the cooler and let it sit and steep for one or two hours. The important thing to do is to keep it warm. Wrap it in a sleeping bag if you have to. While this is happening, stoke your fire and fill up your pot of juniper branches with more water to heat up.
Step 6). Sparging
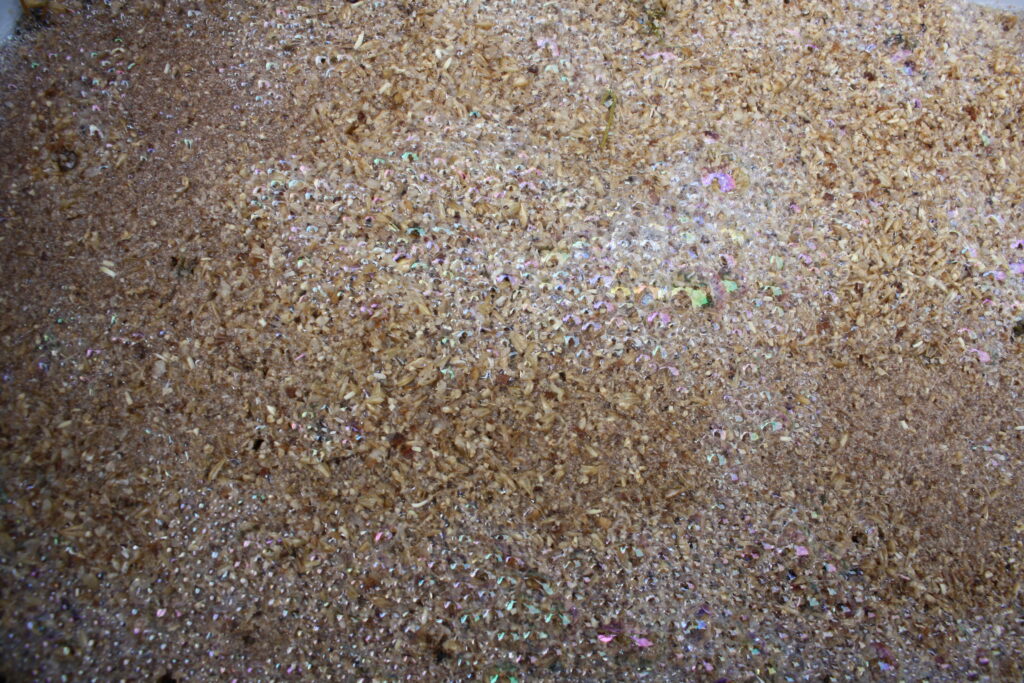
Now that you have let the mash sit for a while, open up the cooler. It will look like this:
Now, position your empty pail underneath and open the plug to start draining the wort from the mash. As it drains, start ladling hot juniper water on top.
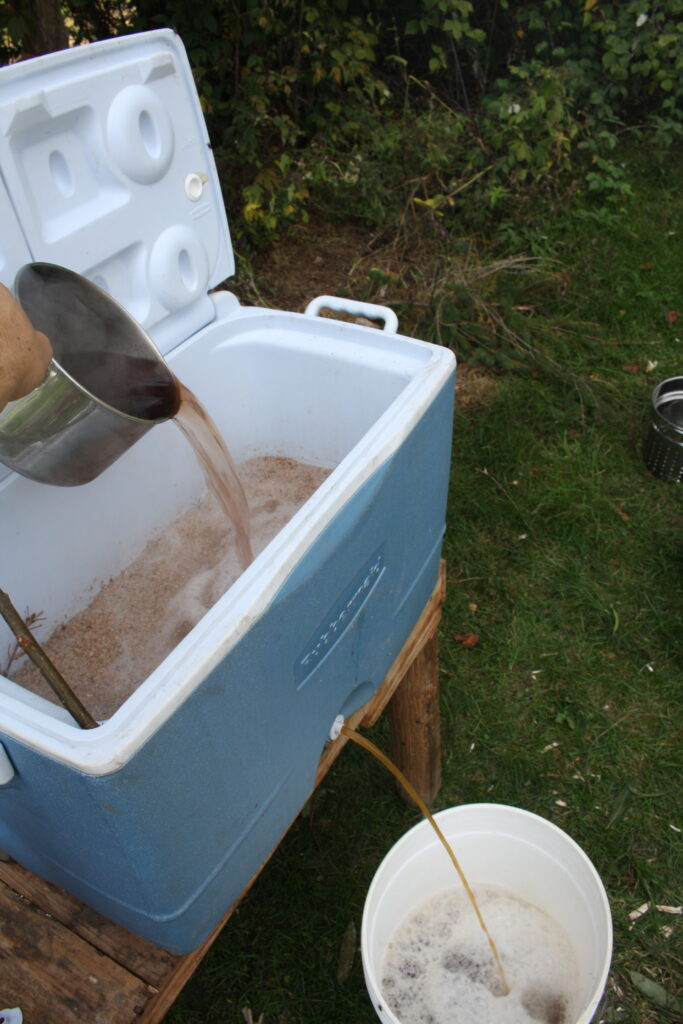
You can let run off between 5.5 to about 6 gallons of wort. My pail here holds about 6 gallons. If your pail is smaller and you are running out of room, run off the rest of the wort into a spare pot.
Step 7). Boiling
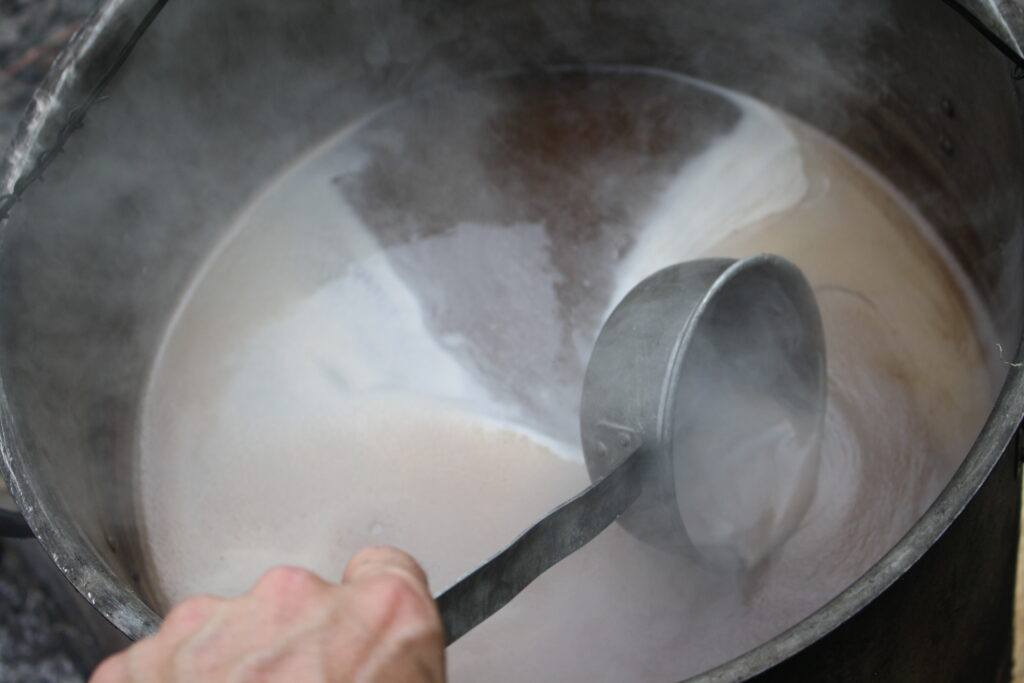
At this point, you can dump out whatever juniper water you have left in the big pot–you are done with it. Transfer in the wort and put it on the fire and bring a rolling boil. As you are getting it up to heat, keep an eye on it: it can easily boil over. To avoid this, skim off the foam head off the top of the wort with a perforated spoon as it forms. This is called “removing the headache”.
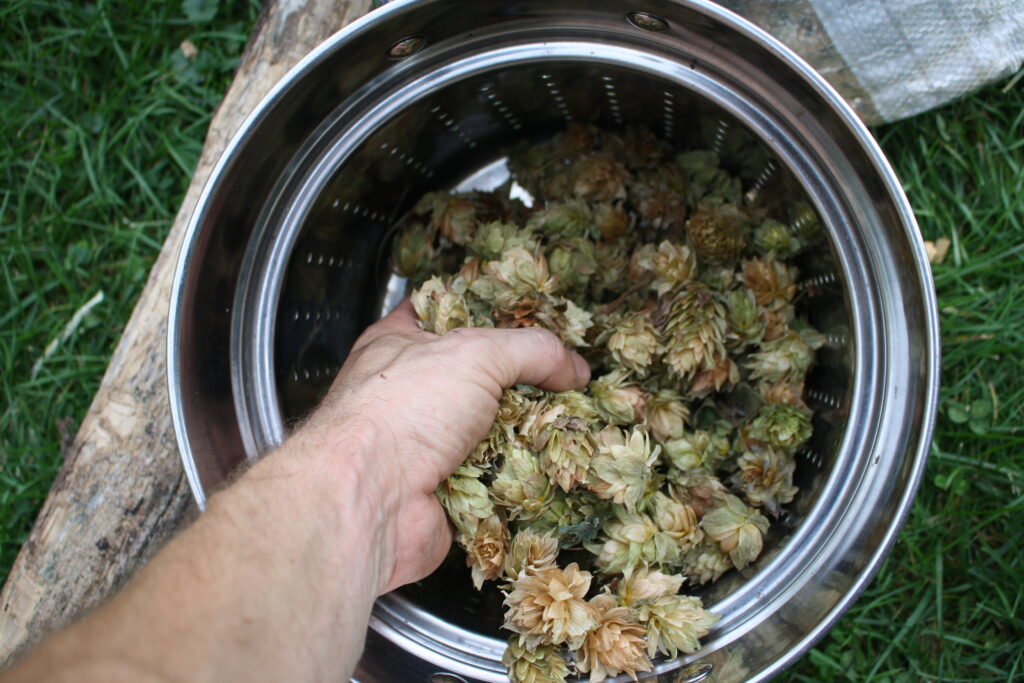
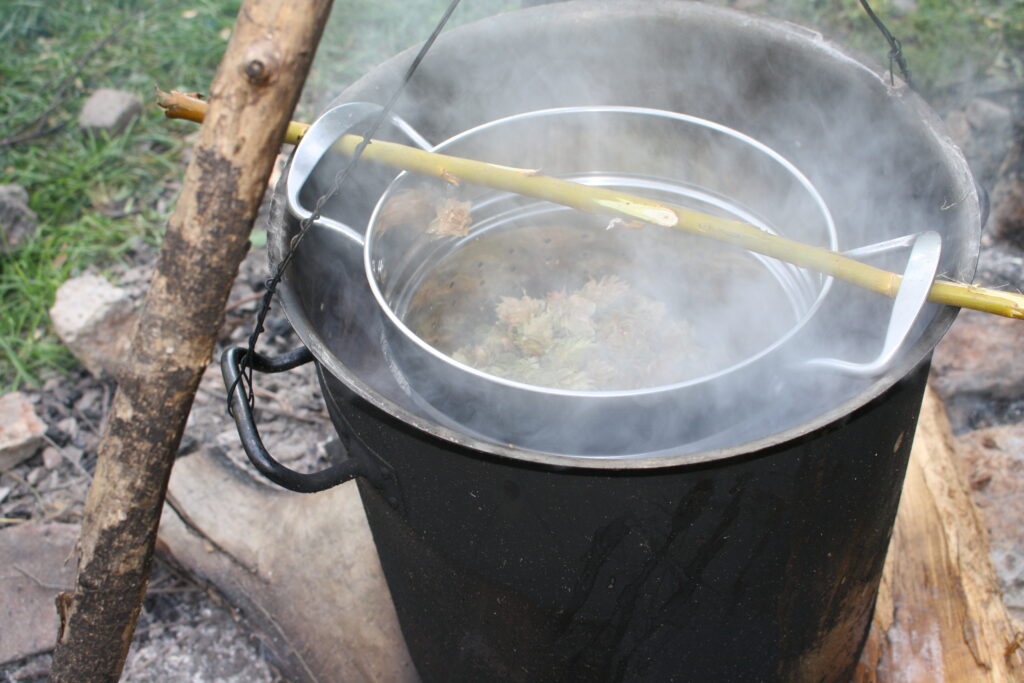
As it boils, you can now add the hops. Roughly, I use 1-2 heaping handfuls of my dried hops that I grow on my porch roof. Put these in your metal pot strainer. Using a stick, I suspend the strainer inside the boiling wort. You can let that steep in there for around 15 minutes.
Let it boil down to your 5 gallon mark on the inside of your pot.
Step 8). Cooling the Wort
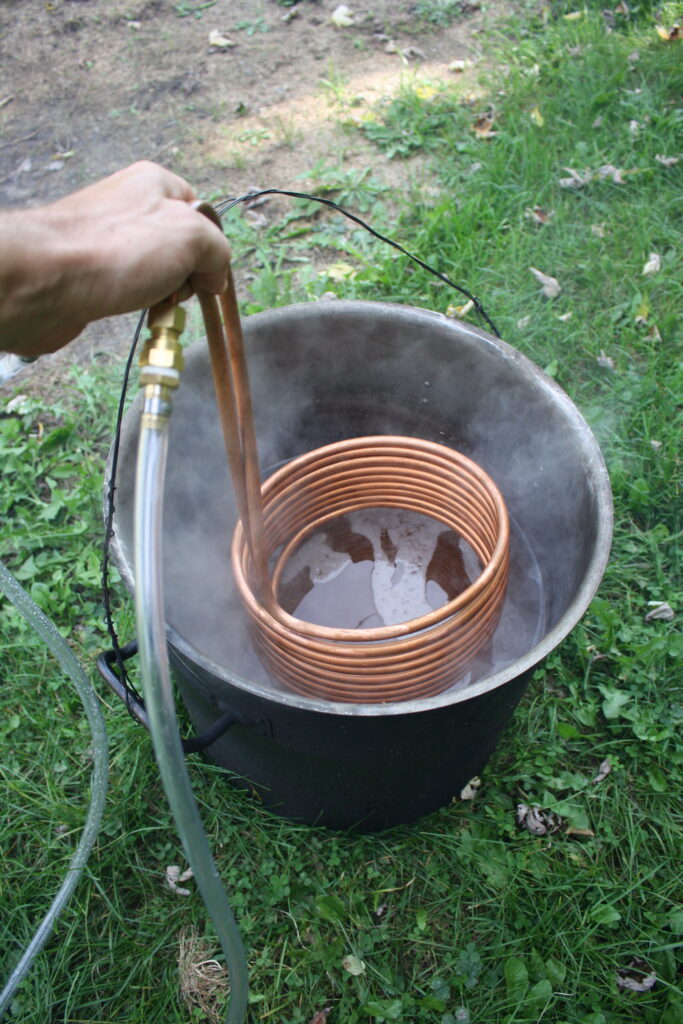
Remove the pot off the fire because it’s now time to cool the wort. There are several ways to do this. The modern method is done with a cooling coil. My generous in-laws gifted me with one of this expensive copper contraption. This is the fastest and most convenient way of cooling your wort down as you can attach it to your garden hose. However, if you are new to brewing beer and are not ready to leap into that expense, there are other ways, such as:
- place a clean pot full of ice in the wort. Make sure the pot is extra clean on the outside.
- place the wort pot in a larger tub filled with cold water and/or ice
- If you are lucky to live and brew in the vicinity of a stream or spring, place your wort pot in there and make use of the free water. The flowing water will cool the wort much faster
- If you are brewing in winter, place the pot out to cool in the snow.
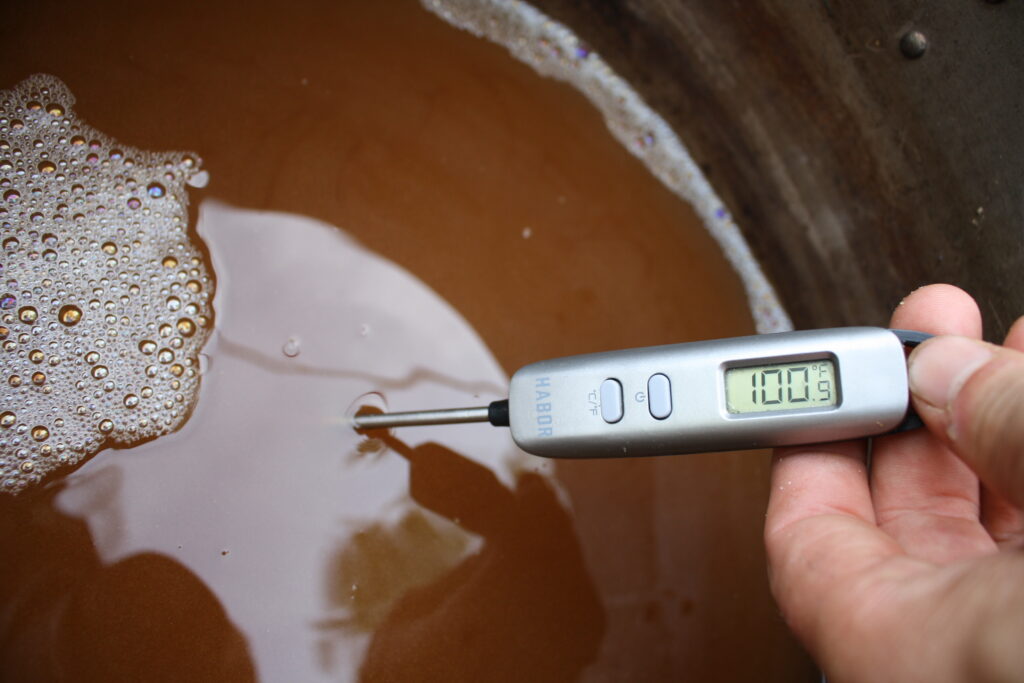
If you are using kveik yeast, you can cool the wort down to just around 100 degrees Fahrenheit (38 degrees Celsius). This is advantageous as it is much warmer than your conventional ale yeasts which need it more around 70 degrees (21 degrees Celsius). And that means that you don’t have to wait as long for it to cool.
Pitching the Yeast
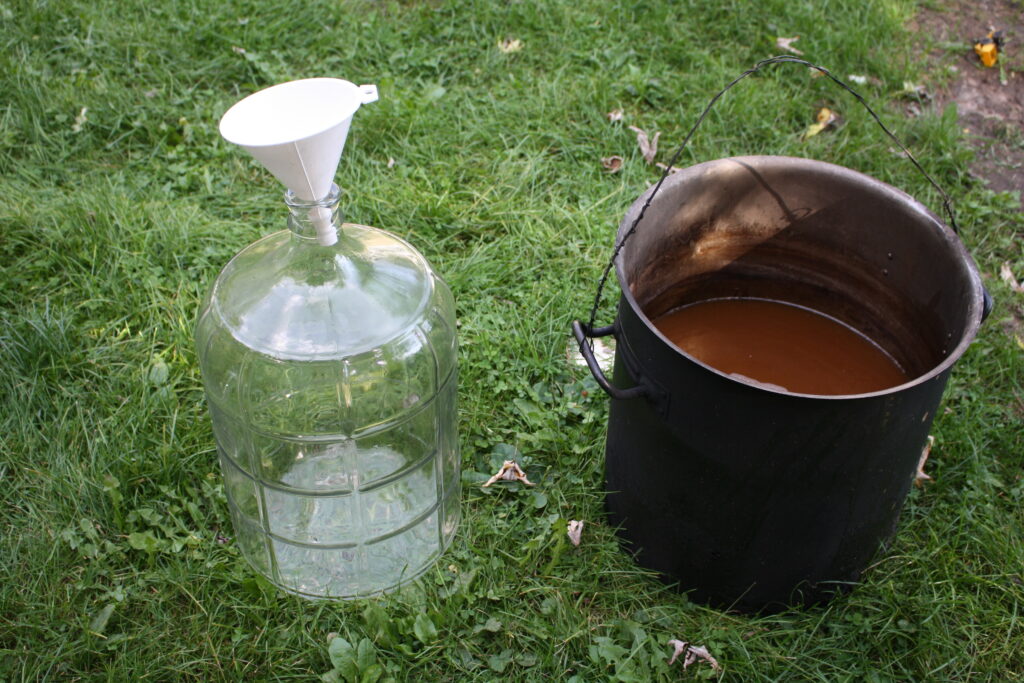
Now it’s time to transfer the cooled wort into the carboy for fermentation. Being the right temperature, you can also now pitch in the kveik. This is usually in the form of the packet of dry yeast purchased from the supplier. Since I am brewing beer on a regular period, I save the dregs from the last batch of ale, called ale-barm, in a jar in the back of the refrigerator.
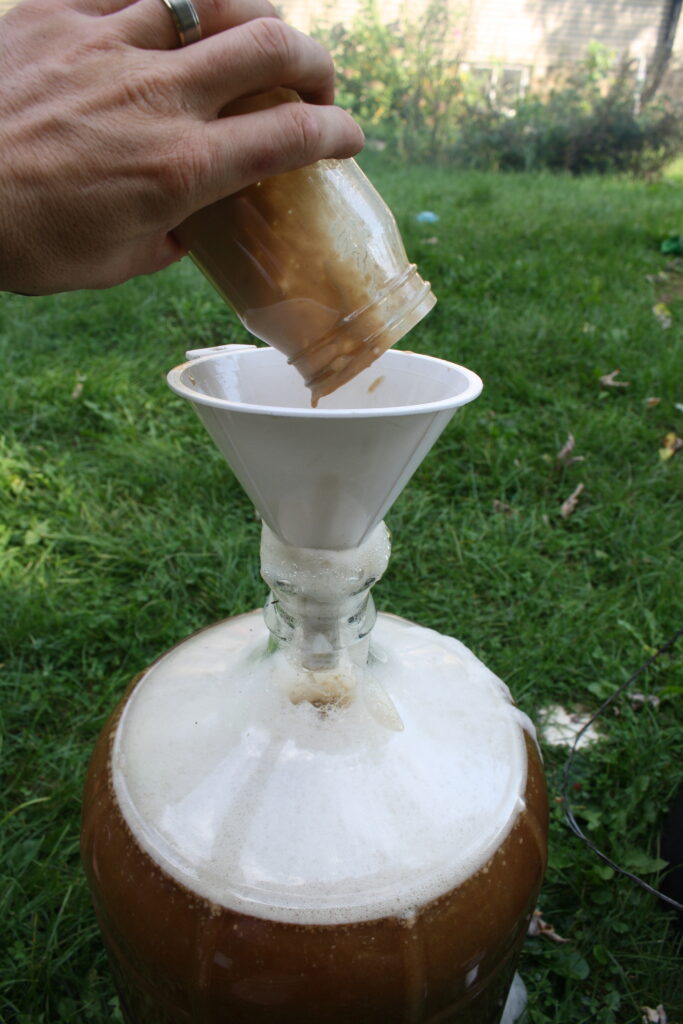
Put on an air-lock, clean up and you’re done for now! If it stays in a warm environment, the kveik should start bubbling in a couple of hours. By the next morning, the airlock should be bubbling like crazy. As I said before, it should take only between 24 and 48 hours for the batch to amazingly be fermented–so virile is this Viking yeast!
Through most of history, right up to recently, most cultures that were brewing beer consumed it flat. Modern bottling technology has made our palates prefer the carbonated beverage. So to satisfy that preference, read my next article on bottling your beer. —Nathanael


Leave a Reply