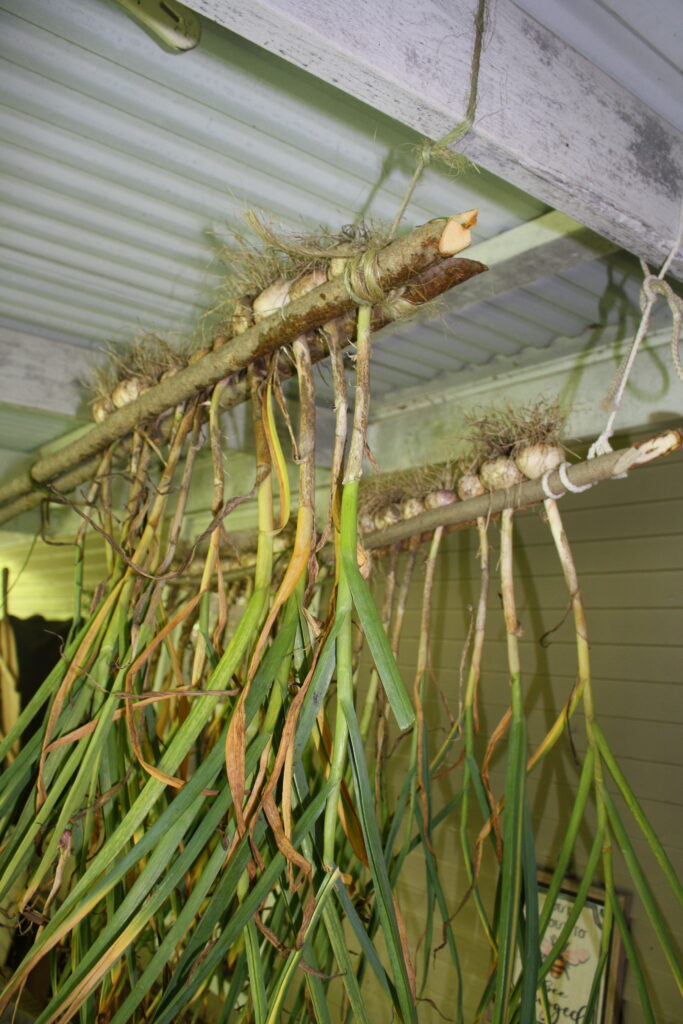
It is late July in Wisconsin and that means it is time to finally harvest the garlic. If you know what’s good for you, you will have planted plenty to last a good while. On our tiny homestead, we will plant around a hundred to provide for our garlic demands in the coming year. Garlic bulbs, if dried properly, will keep through the year, until your next crop is ready. The ease in the storage has made this an attractive crop for me to grow a lot of. The key is letting it dry properly. So, let me show you how to build an easy garlic drying rack.
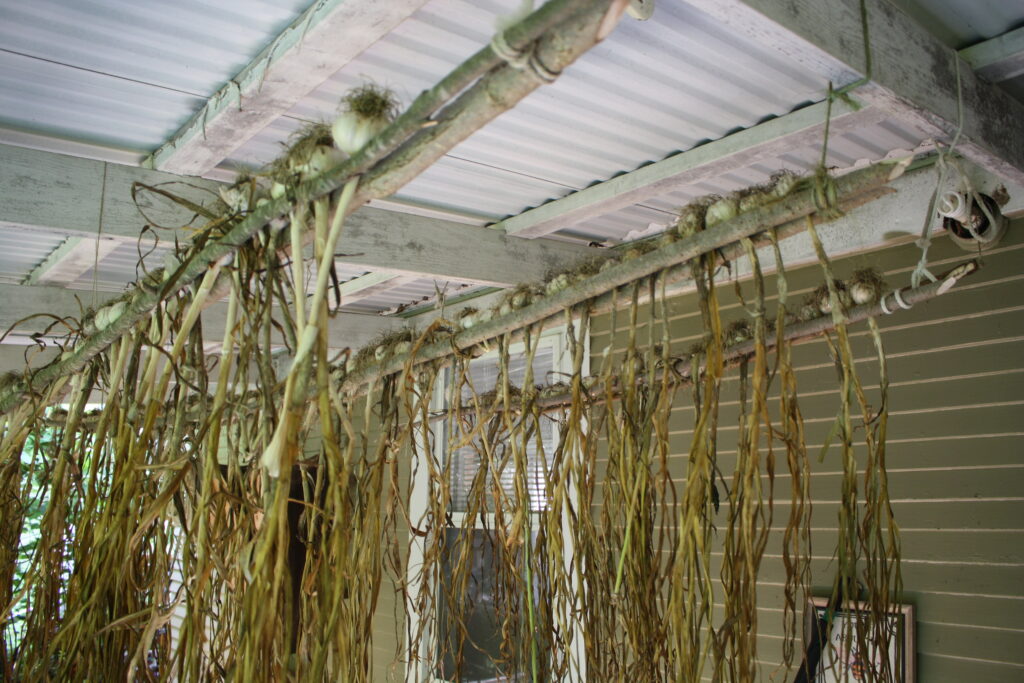
The idea to build a drying rack actually came from my 8-year old daughter. And this is really a simple and effective method, especially if you have the great quantities of garlic. This will ensure good airflow to allow proper drying. Furthermore, you can conserve space by suspending your rack from the rafters of your porch, basement or shed.
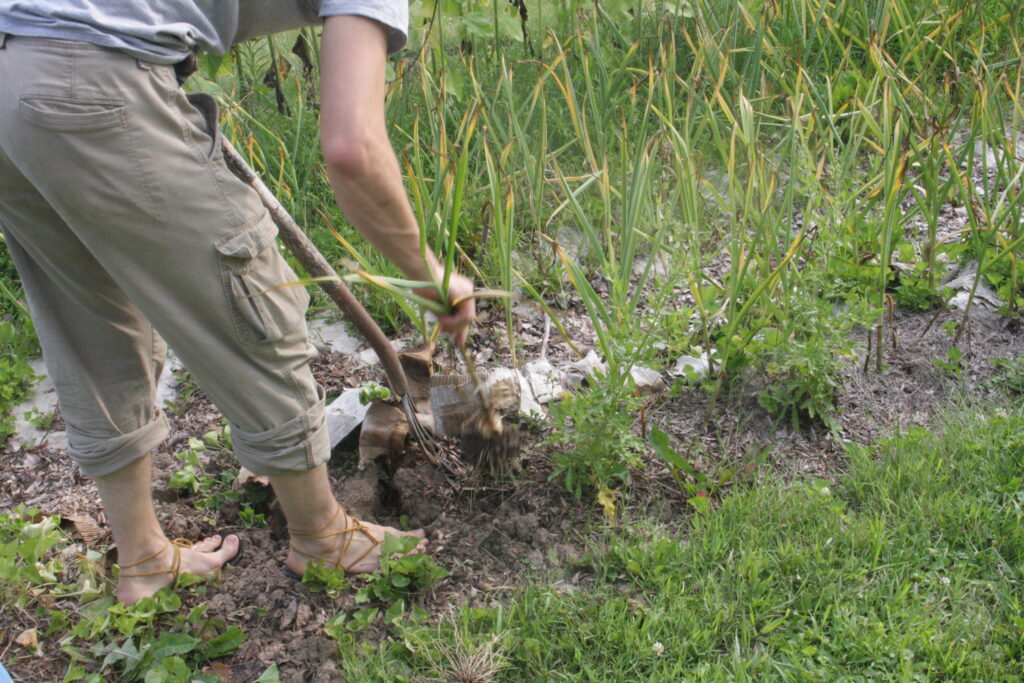
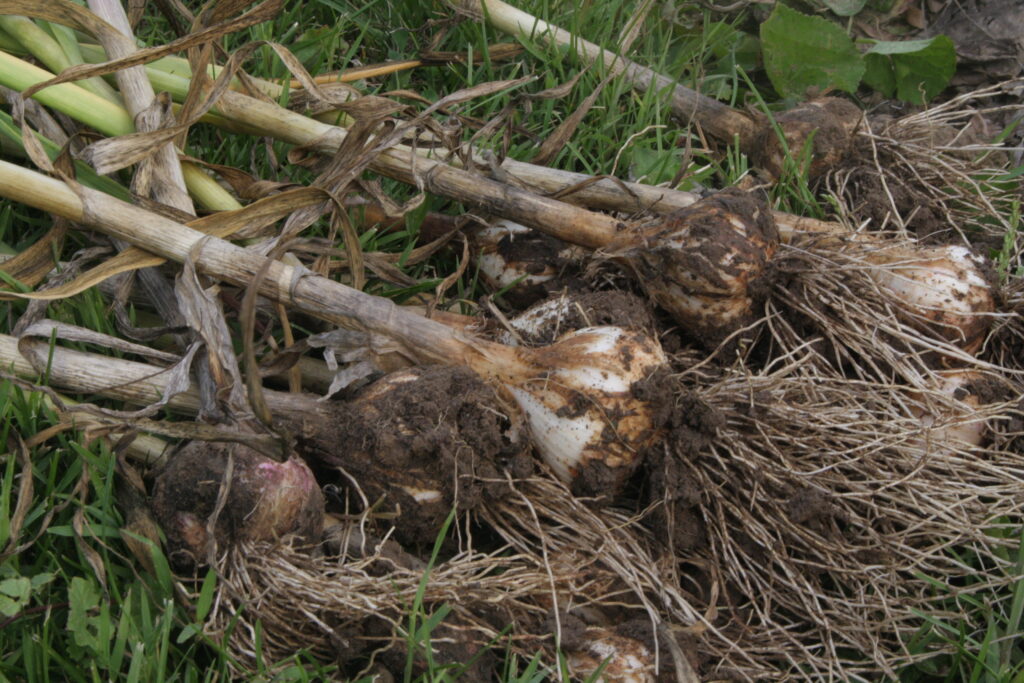
For this project, I went yet again to one of my staple basic building materials, willow. I cut long poles, about an inch thick. Preferably, select poles that are relatively straight and not too crooked and curvy. For each rack, you will need two poles. Of course, you can also also use a couple of long boards, depending on what you have available. I have willow withes, and I enjoy being able to go out with a machete and harvest my needs from this highly versatile and quickly renewable natural material.
Rack Assembly
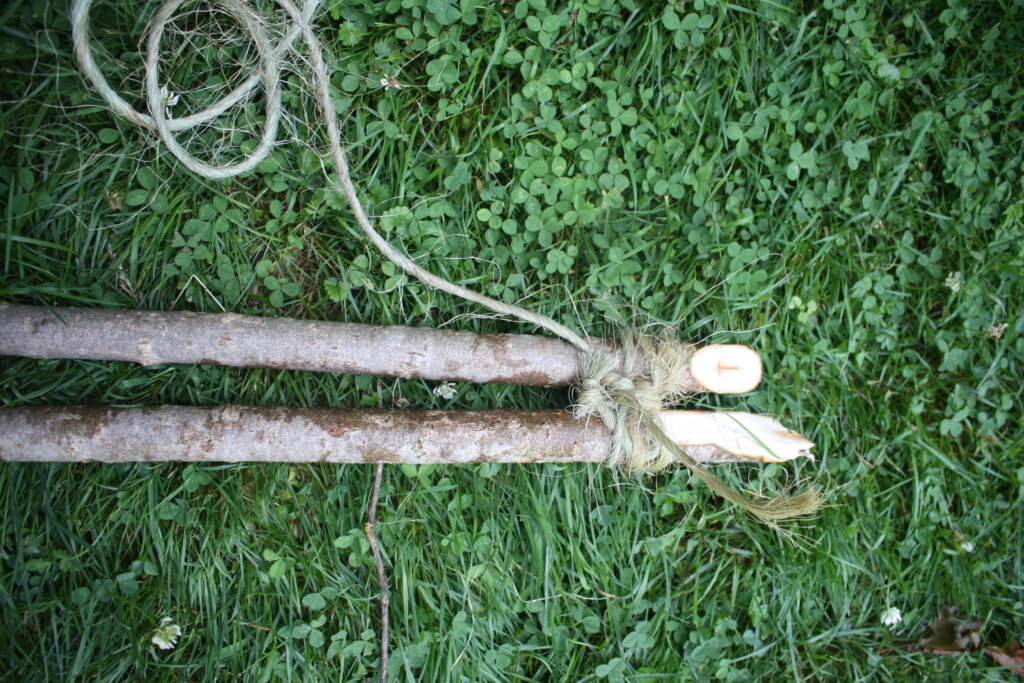
First, trim the poles so that they are equal in length and then lie them on the ground next to one another. Tie the ends together. Loop the knot to make a slight gap between the two poles.
Now, suspend your poles from the rafters. Depending on how long your poles are, you may need to support the middle from a rafter so that it can take the weight, once you load it with your garlic.
Loading on the Garlic on the Drying Rack
Now load the rack with the bulbs by sticking the stems down from the top so that the bulb will be hanging upside down.
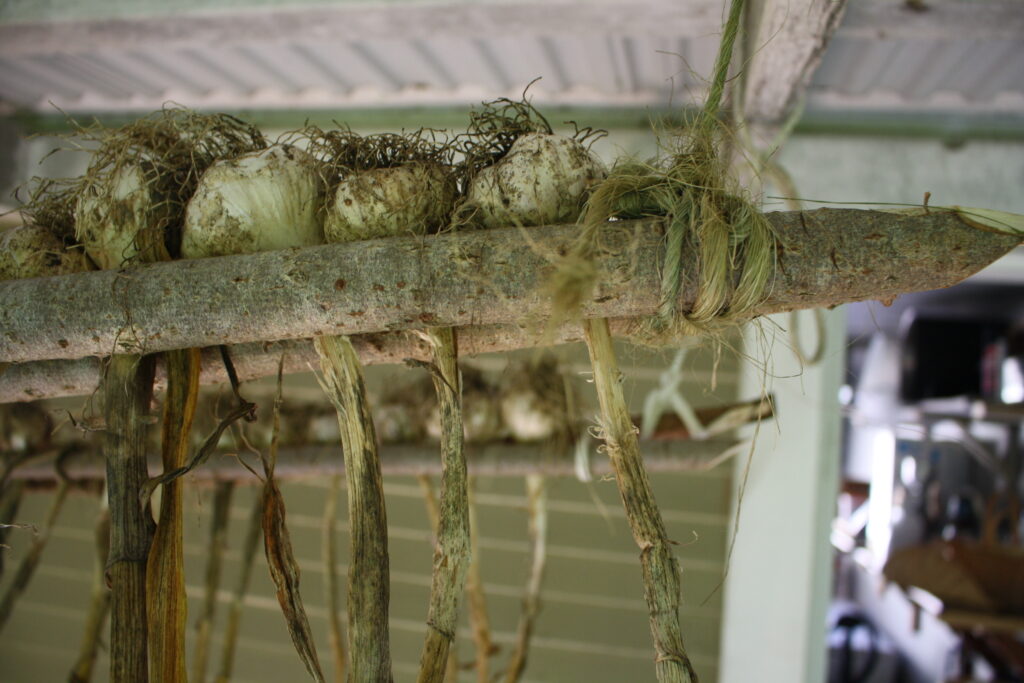
If you are using longer poles for your garlic drying rack (mine were about 8 ft long), you will want to lash the poles tight together in two or three places in the middle so that the bulbs won’t slip out.
All done! For building a garlic drying rack, that was pretty painless and easy, wasn’t it? You can let the bulbs hang until the outer layers of skin are dry and papery. Then it will be ready for long-term storage. Wherever you do choose to keep the garlic, it’s important that it is in a cool place with good air flow and out of direct sunlight. A basement or root cellar would be the best. This truly is a wonderful crop that has become a staple in our cooking. I also needn’t point out that you can be saving a fair amount of money by planting your own. So give it a go! Thanks for stopping by–Nathanael


This is my first year of growing garlic, and this is a brilliant way to dry it! Thank you for sharing!
Thank you for your feedback! You can’t grow too much garlic!
Heck yeah. Now I just need to get my garlic to grow as big as that.