
Growing garlic might be somewhat different than the more conventional garden crops. But it is simple enough to learn if you simply take the time to read up on how it’s done. Therefore, the the benefit of the beginner, I write this article.
There are many advantages to growing your own garlic. In case you actually needed reasons to convince you, consider the following.
- Fact: Fresh garlic will improve almost anything you are cooking
- Garlic from the store is expensive, and often low quality
- Planting and harvest times are different than most other garden crops which staggers up your busy times in the garden
- Potential of getting not one but two harvests from your garlic crop in the form of scapes and bulbs.
- Relatively maintenance free
- Processing the ripe crop is simple and it is easy to store
Now let me take you through what I do plant garlic.
Prep the Garlic bed
For the Upper Midwest, in Growing Zones 3 and 4, garlic is planted around mid-October to get a harvest by mid-July. For the gardener, this is particularly advantageous, as this falls generally after much of the busyness of the autumn harvest with other crops. With most everything harvested and stored away, you now have time to plant next year’s garlic.
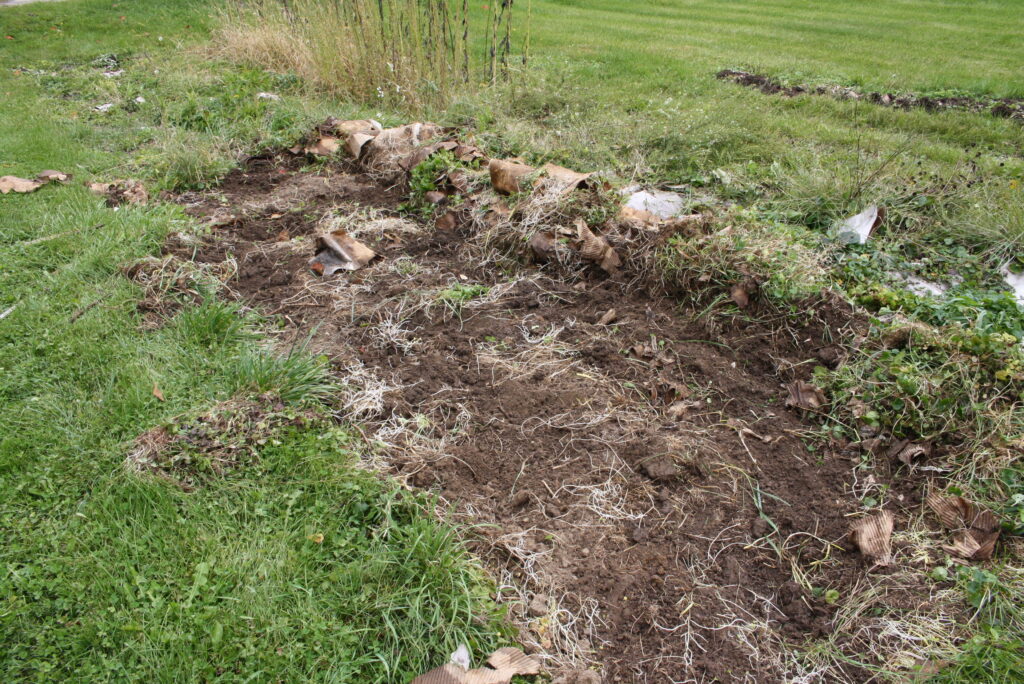
If you plan far enough in advance, you can lay down a ground cover to snuff off the weeds to save on labor for prepping your garden bed. You can use black plastic, old carpeting or erosion blanket. Me, I use cardboard.
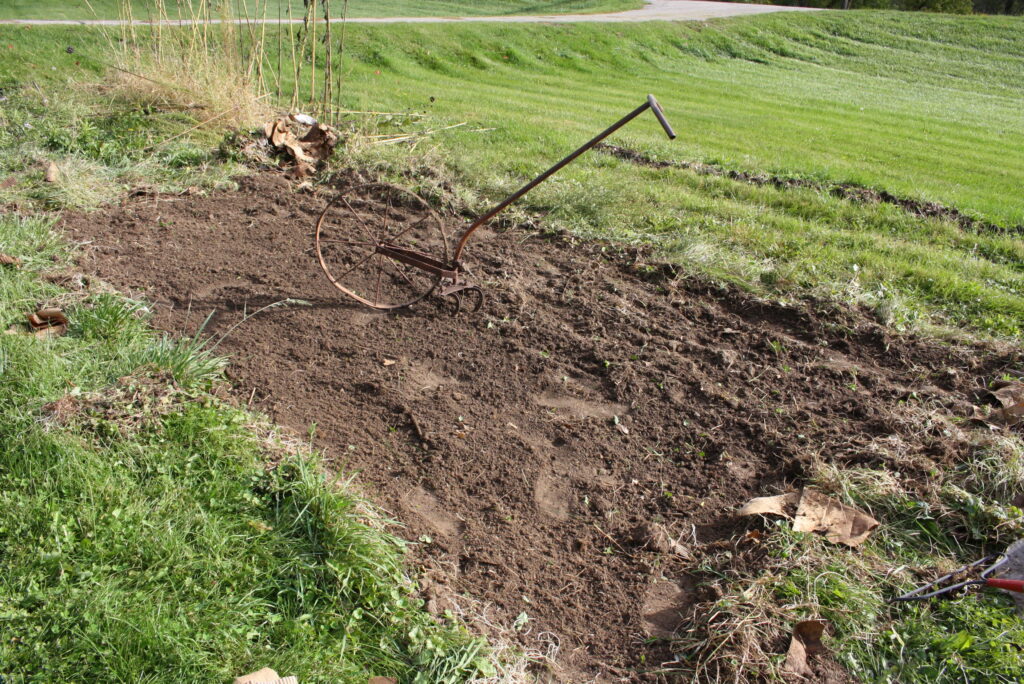
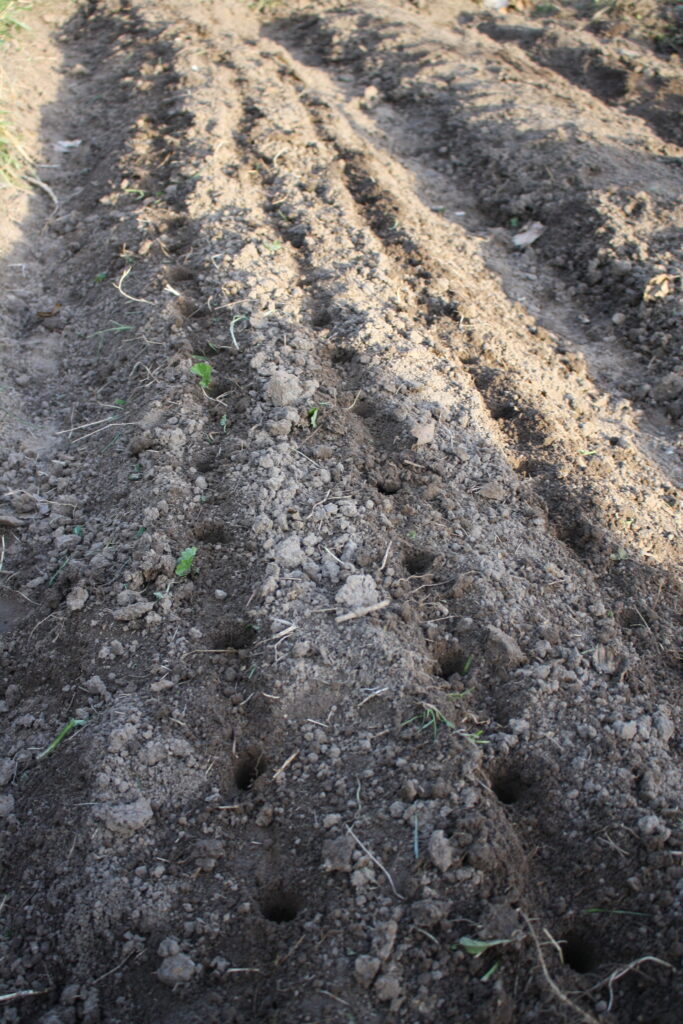
Below, you see I made raised mounds in which to plant the rows of garlic. The reason for doing this is for drainage concerns. This particular area is on relatively low ground, and if the following summer is particularly soggy, that will not bode well for the garlic. For this job I use my Guatemalan mattock, or broad-hoe.
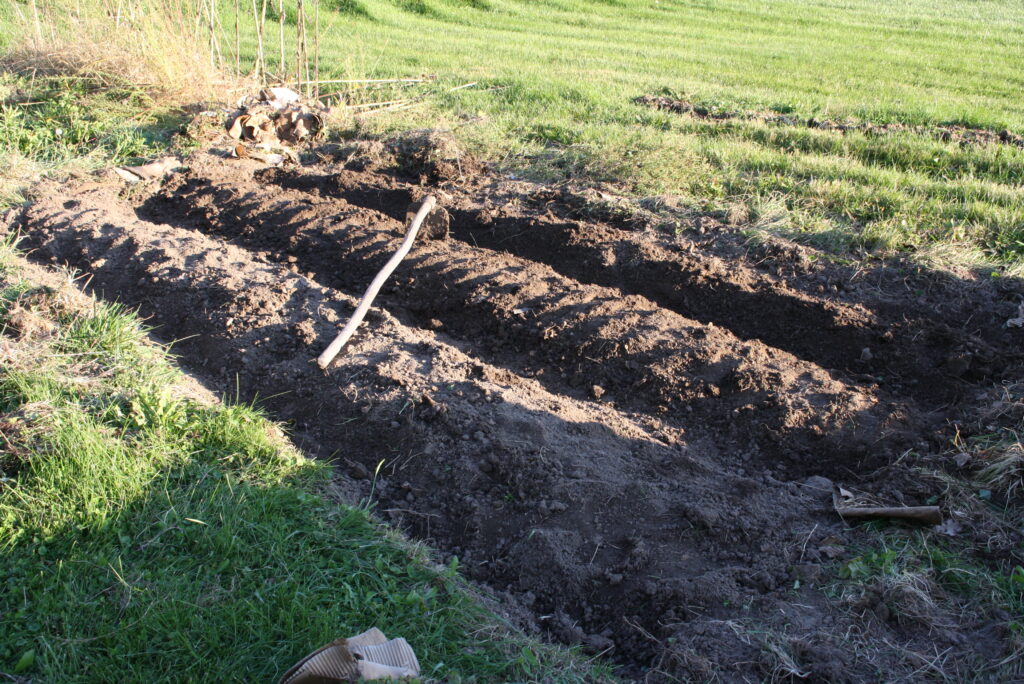
I use a stick to poke 2-3″ deep holes that are 4-8″ apart.
Planting the Garlic Seed
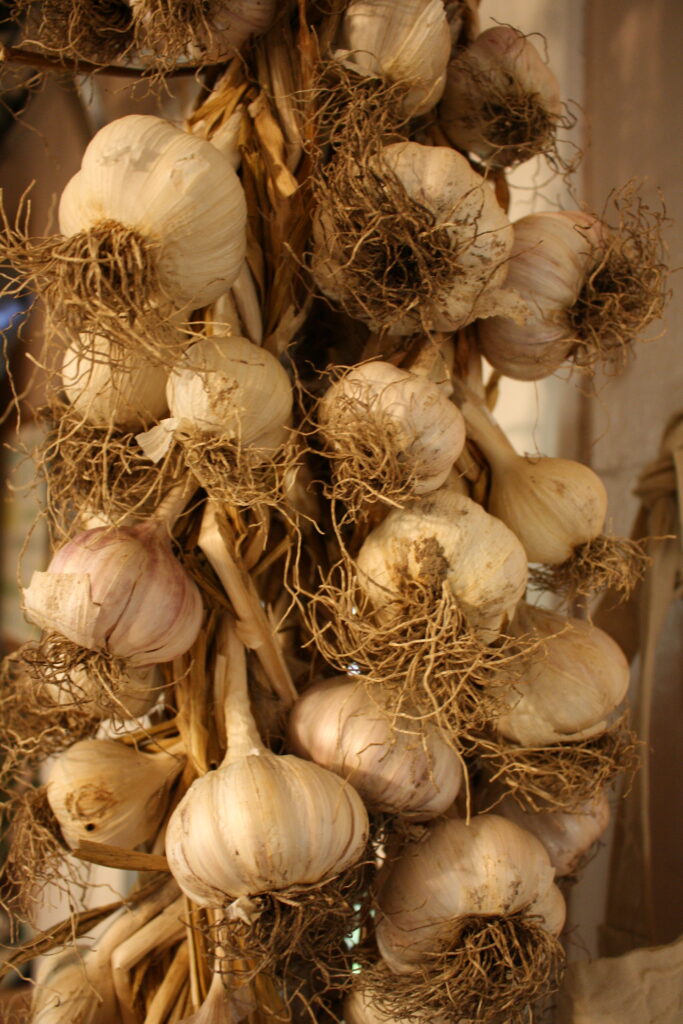
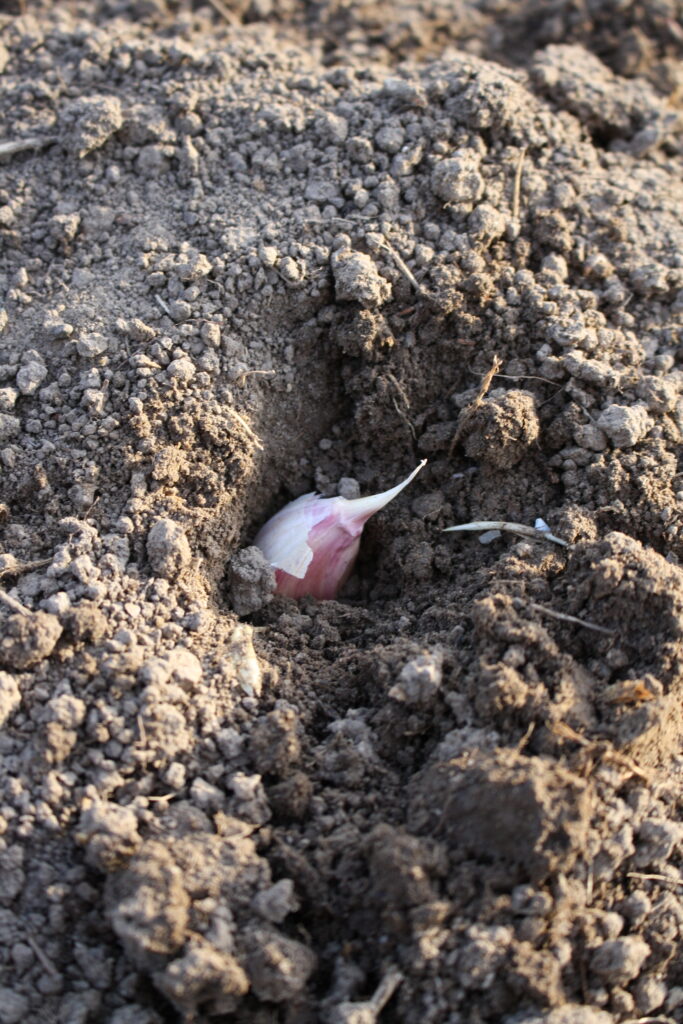
A bulb of garlic will provide the seed. If you plant each of the cloves in the bulb, they will individually grow into a full bulb. I recommend planting enough so that you can supply your own seed next year as well as your culinary needs. I choose from my stock bulbs like the one pictured below. Such bulbs where the tops of the cloves are showing won’t store as long as bulbs where the papery skin is intact. It is also good to know that if you plant larger cloves, you will get large bulbs.

You can place the clove so that the pointed top is facing up. It is from there that the new shoot will grow.
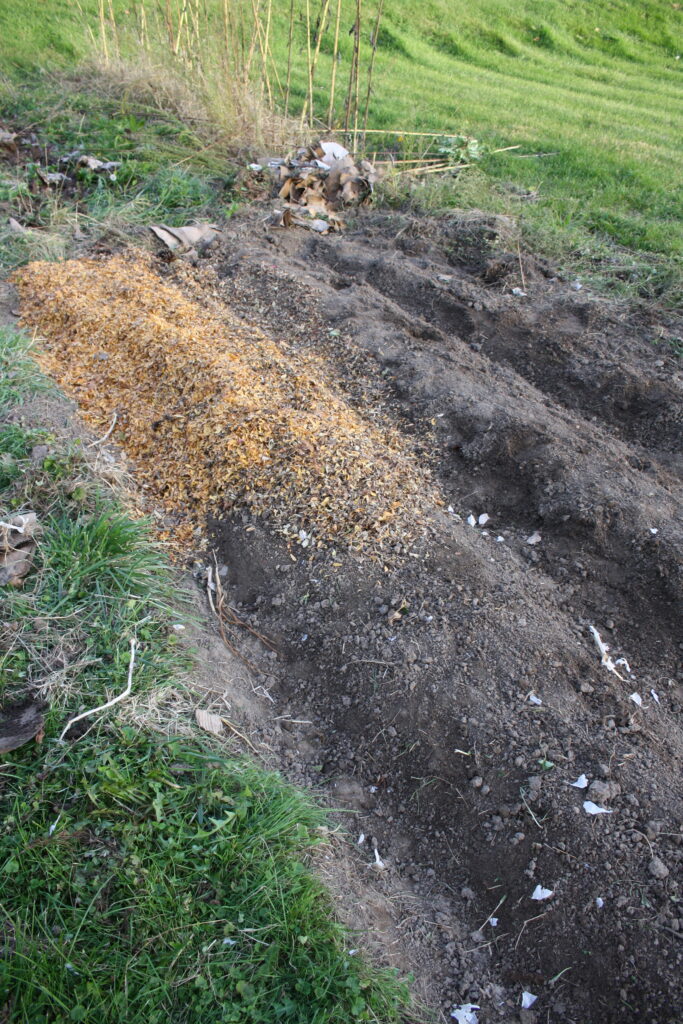
Mulching the Garlic for Winter
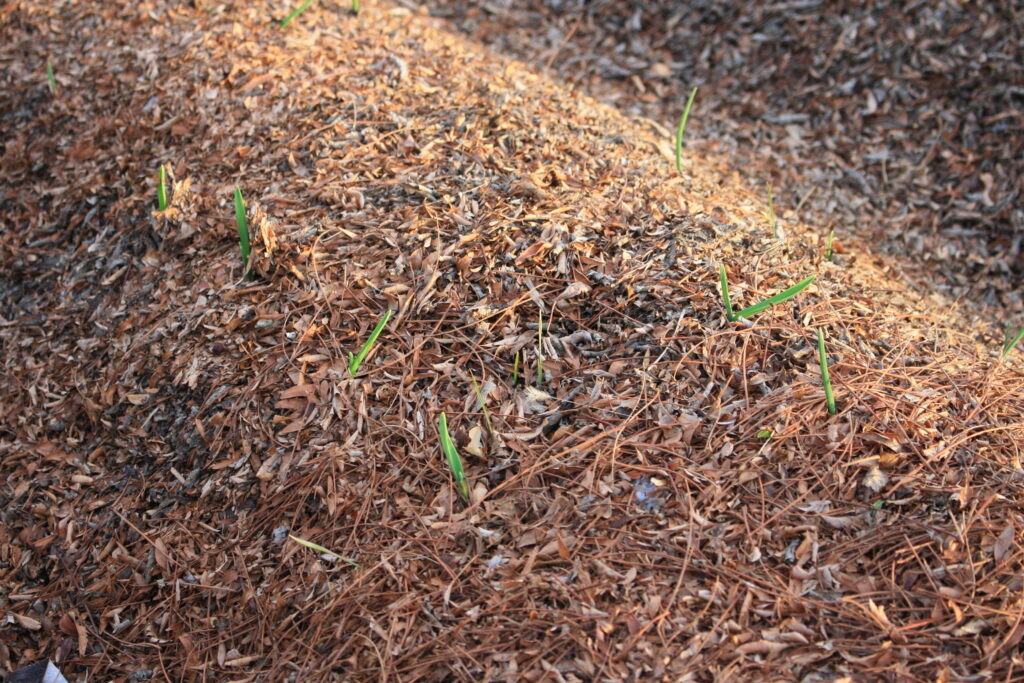
After covering up with soil, it is time to lay down the mulch. This serves several purposes. First, it helps protect the cloves for over the winter. Second, it helps block out the weeds from growing up. Lastly, it helps retain the moisture in the ground, thus reducing the need to water as much. Since planting occurs in October, I like to use leaves. However you can also use straw. Layer it on about 3 inches thick.
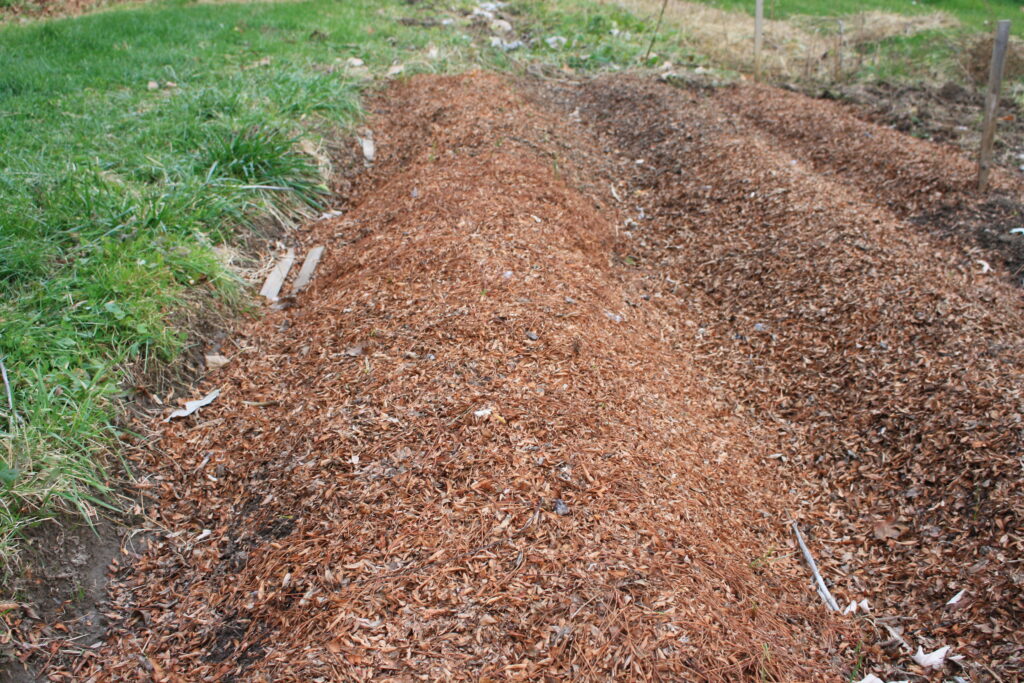
Now that your garlic is all tucked in, you are all done and ready for winter! Depending on the weather, you may start to see the little green tops begin to poke out of the mulch before it gets really cold. That is ok. You can forget about it now till the June of next year when you will want to pick the scape heads. Read more about that from the article on harvesting your garlic. Also, be sure to check out my method of drying your garlic harvest—Nathanael

Leave a Reply