Hard cider is one of the easiest alcoholic beverages to make. It is also one of the basic thirst-quencher for the Autumn harvest. And I would be remiss, were I not to write about it on this blog!

The Advantages to Hard Cider
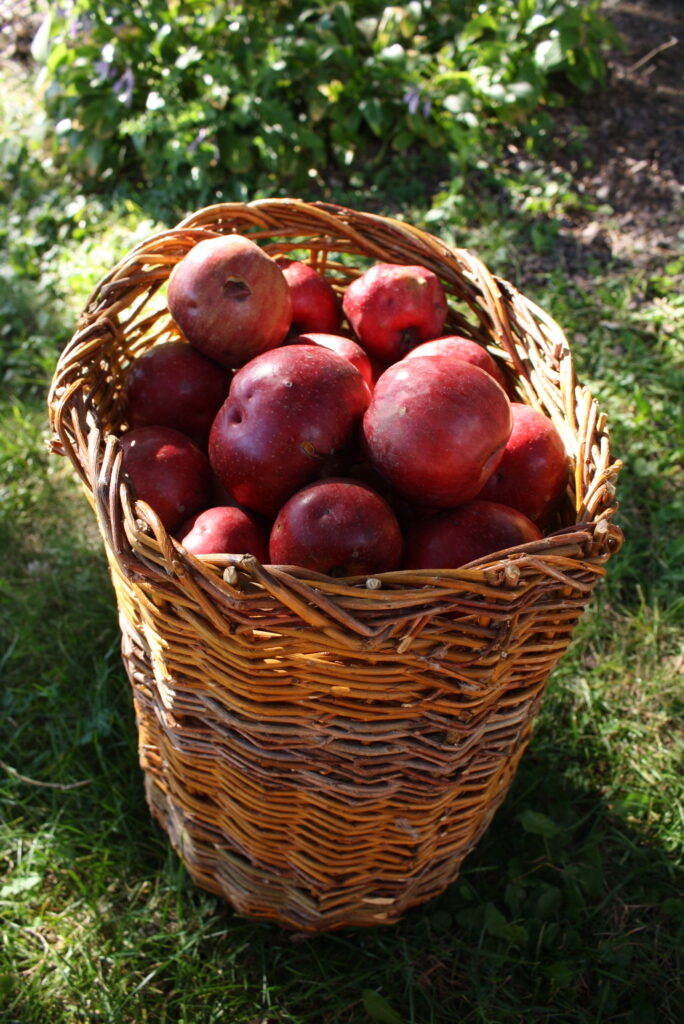
Apples come in great abundance during this season. It is almost impossible to use them all! Not only that, they are full of Vitamin B and antioxidants, which are fancy medical terms for things that I hear are good for you. The best way to preserve that goodness is to ferment them into hard cider, or Apfelmost. Don’t have a cider press? Read my article on how I made my own out of simple materials.

Hard cider is super easy to make! Unlike turning barley into beer, the process of turning apples into cider is much simpler. Not only that, an established orchard doesn’t need to be sowed, reaped, threshed, and winnowed every year like grain. Therefore, you can well see the advantages of having a perennial-based beverage.

Don’t prefer hard cider? Maybe that is because all the ciders you have tasted from the store are ridiculously over-sweet. How about giving it an another go? This time, I am going to show you how to make a nice, dry cider.
Why Alcoholic?
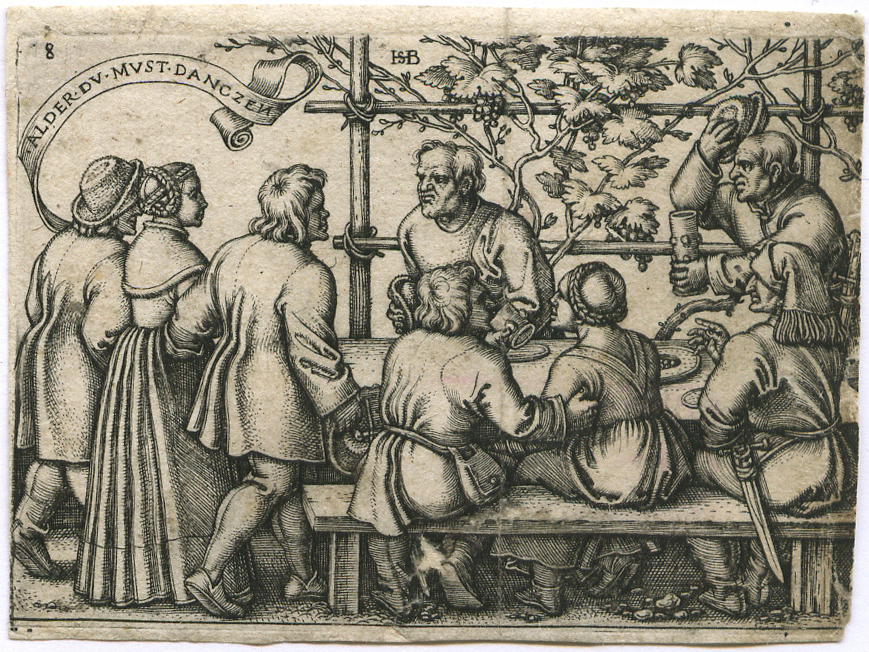
Methods of preservation was the key to making your food-stuffs last through the year until next harvest. Nowadays, we tend to think of alcohol based solely off its potentially intoxicating effects. However, before we had technology for freezing or canning, fermentation was the main method.
Making A Gallon of Hard Cider: the Process
What you’ll need
- Gallon of raw apple juice
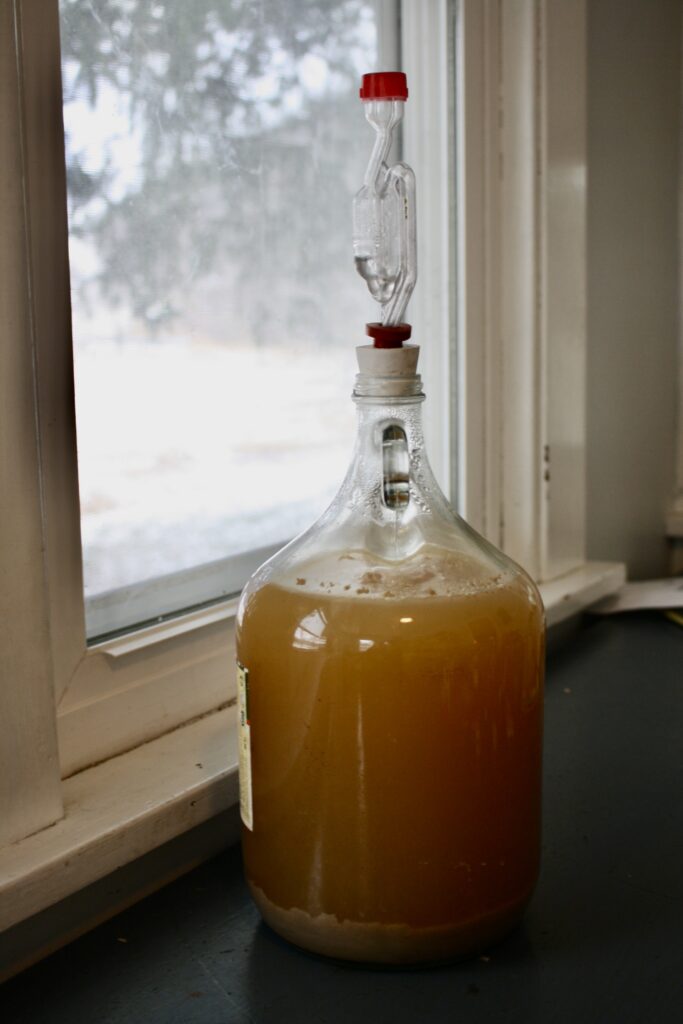
- A sterile gallon container (such as a glass cider jug)
- airlock with a rubber top that will fit snugly over the mouth of the container
There are two ways to ferment cider: with wild yeast and with cultivated yeast.
Wild Yeast Method
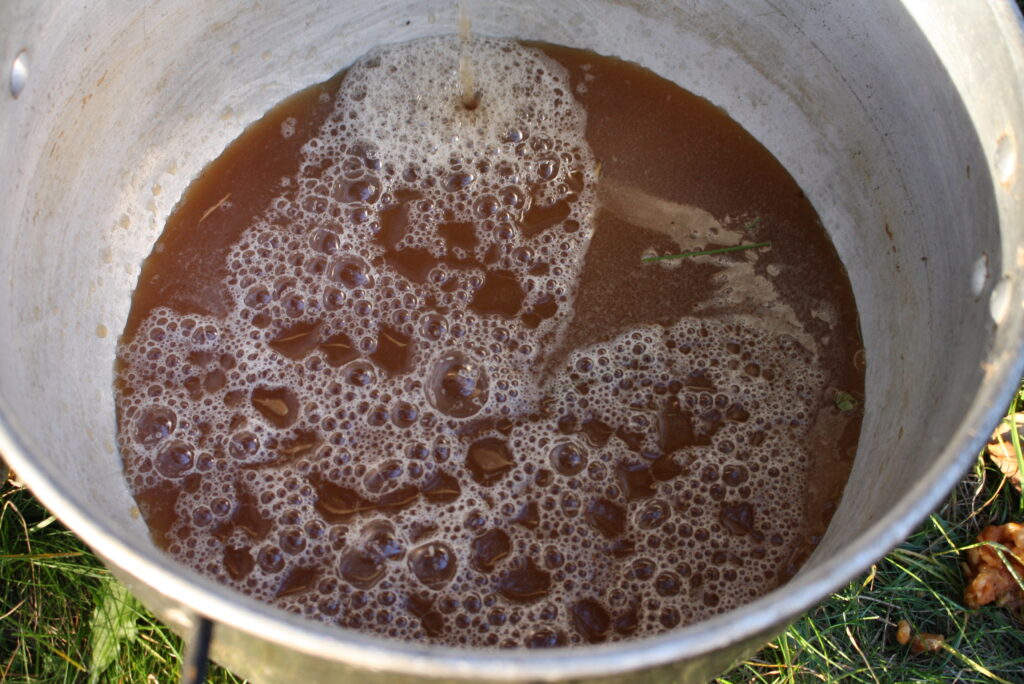
This is the simplest and most primitive way to make cider. Wild yeast naturally occurs on fruit skins. If you crush the fruit, the wild yeast will convert the sugar into alcohol. This is how people first obtained and cultivated yeast.
The big drawback however is that wild yeast can also be a bit of a wild card. Yeast in a beverage can really affect the flavor. With wild yeast, you can never be too sure how the resulting flavor will turn out. I have done it this way, and have had good results. However, I have also had not-so-preferable results where the wild yeast imparts and almost harsh metallic taste to the cider. With that in mind, you may want to opt for the cultivated strain of yeast method.
Cultivated Yeast
If you don’t want the influence of the wild yeast, you’ll have to kill it. Heat it up to at least 158 degrees for a few minutes.
Remove from the heat and let it cool to between 75-80 degrees Fahrenheit.
Transfer the juice to your fermenting jug
Now you can pitch in your own yeast. This can be either wine, champagne or brewer’s yeast. Each one will have their own unique flavor, so experiment! For a gallon of hard cider, you need only a partial packet or a tablespoon.
Now secure on the airlock. That’s all there is to it! Well not quite…it now needs to be left alone to ferment.

If you can leave it alone for about a month, you will get a pleasantly dry cider. Now, if you wish, you can bottle it with some priming sugar to get a fizzy beverage in a couple of weeks. Dissolve about an ounce of sugar in a little bit of water and pour it into cider. Then transfer the cider into flip-top bottles. If you haven’t bottled before, here is a useful article on beer bottling.
Prost!
~ Nathanael


Leave a Reply