A project that can be of mutual benefit both to you as a parent and to your children is building a toy bow and arrows. If you are letting your kids get good outside time, plus you are filling their imaginations with good books and stories, this project will make your little savages into noble savages.
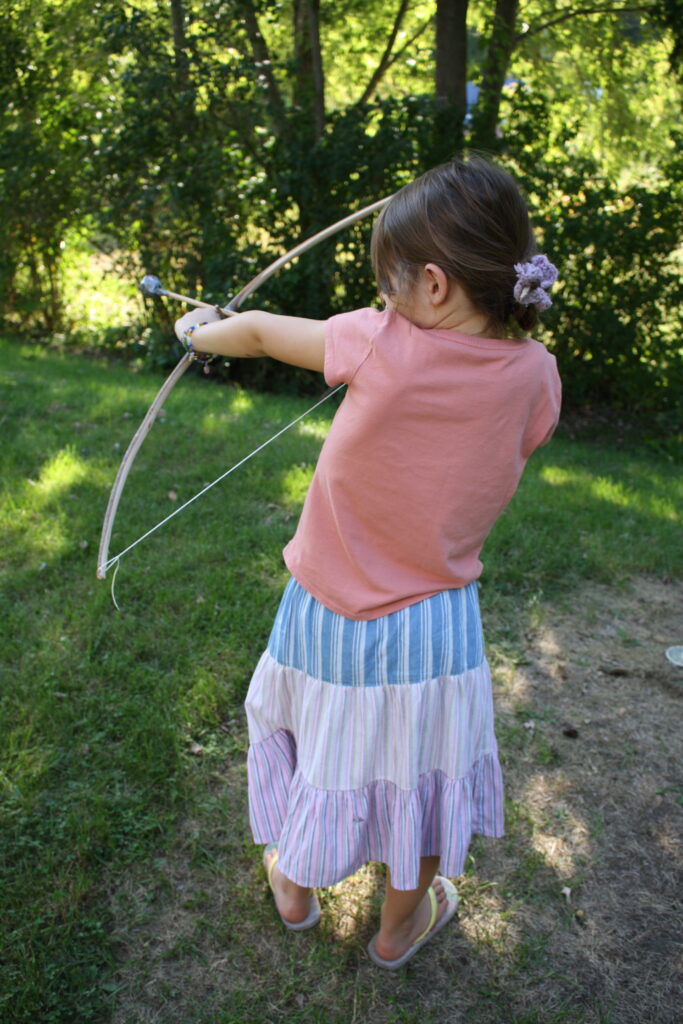
Why a Wooden Toy Bow?
Why go to the lengths of crafting toy bow and arrows from wood? Doesn’t that seem a bit more trouble than it is worth? I mean a plastic toy can be more easily obtained from the store. For however long your kids are interested in the fruits of your labor, the benefits are worthwhile, in my opinion. Here are some of my reasons:
It’s a good teaching moment for the kids
A good toy is supposed to be a tool that helps a child to develop their imagination and faculties. Such a project is a great opportunity to show your children that Nature around them can be a direct source of their fun and toys. Many kids these days grow up where recreation comes only from a screen or a store. For a change, show them that simple materials gathered from outdoors can create something as fun as bows and arrows. It will change how their whole perception of the outdoors. Believe me.
It hones your own skills as a bow-maker
The art of building bows is quite a tricky craft to master. I mean think about it. You have to shave a wooden stave down to the point where it flexes in a perfectly even arc. Needless to say, you can easily mess it up if you are too hasty. For me it took making several bows in order to start to get a good feel for how the material works. Building toy bows and arrows doesn’t take nearly as long as building adult bows. Perhaps the end result may not be perfect, but it will be serviceable. And I doubt your child will be too critical. You benefit from it by getting a bit more practice and confidence for when you want to build your own bow.
Getting Started: What wood to choose
To build a bow that is suitable for your young archers, you will will want to use a type of wood that is easily springy. So, naturally, you won’t be surprised that I recommend willow for toy bows. Willow has plenty of flexibility that children will easily be able to handle. Yet it won’t be too strong for them if you shave it down right.
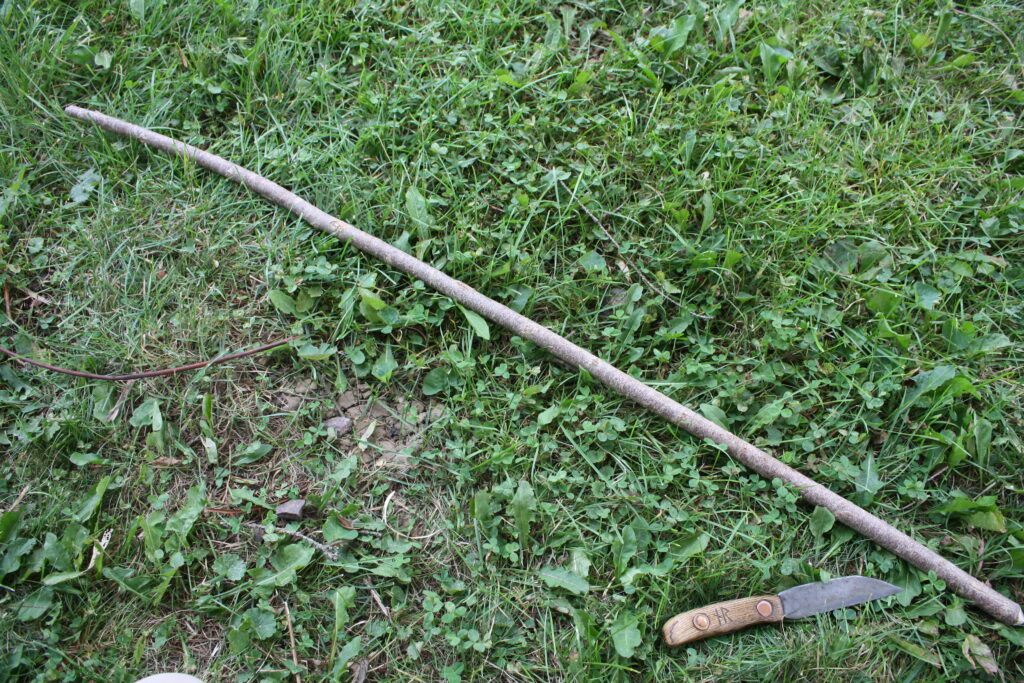
For a small, light bow for a kid between 4 and 10 years old, cut a straight length of willow about an inch in diameter and about 3 to 3 and half feet long. Try and select a length of wood that is as straight and free of knots as possible. We refer to this length of a wood as a stave.
It is of course, always best to let your freshly cut wood to season for a week or so. That being said, I have made toy bows on the fly out of green wood that have seemed to last fine.
Tillering your toy bow stave
The bowyers term for shaving the wood off a stave to build a bow is called “tillering”. To start your tillering process, you must first find the middle point of your bow stave. This is where your handgrip will be. You can roughly mark or envision the length of the handgrip as the size of a child’s fist.
Now, start shaving off wood from the belly of the stave. The belly of a bow is the concave side that is facing toward you when you hold it. Remember, your whole goal is to get your bow-stave to bend in an even arc from tip to tip. Thus, the wood from the bottom of the stave (where it grew from the stump) will be thicker than the top. Of course this means you will need to remove more wood from the bottom in order to match the top.
In this process, you won’t be removing much wood from the back of the bow–that is, the side that is facing away from you. The reason for this is that the back provides the overall stiffness and strength of the bow. The belly provides the flexibility.
In order to get an even arc, the finished bow should be quite thin at the tips and at its thickest in the middle. It is best to start shaving from the tip and working your way toward the middle. Stop when you get to the handgrip.
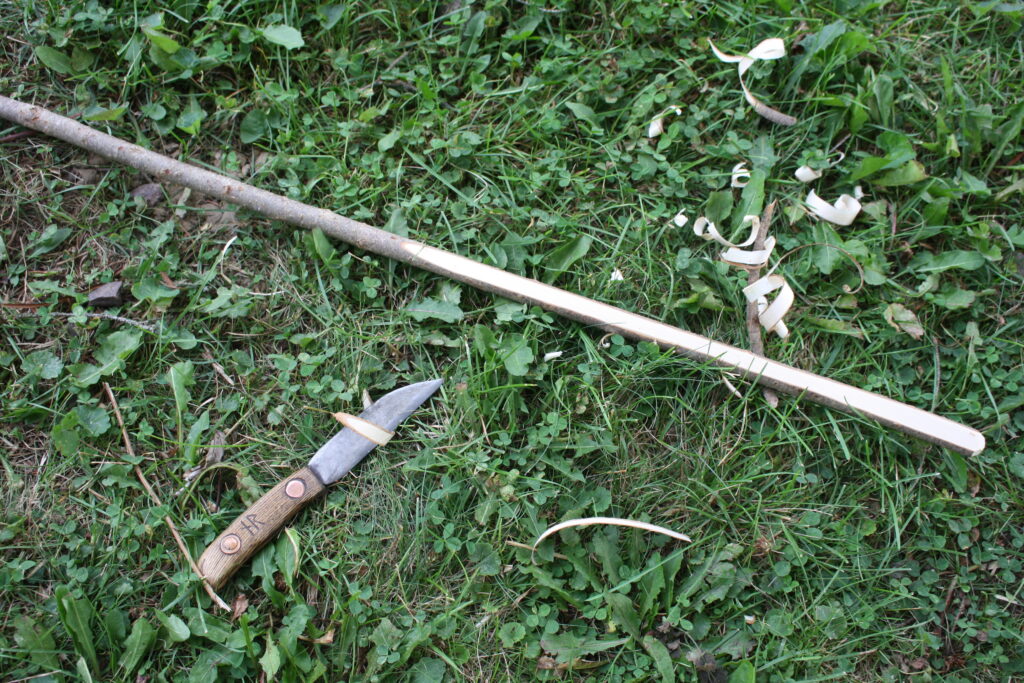
Once you have shaved the belly down one side of the handgrip, start shaving down the belly on the other side. Here is where the tricky part of this process comes to play. You want to get both sides of the bow to bend evenly on either side of the handgrip.
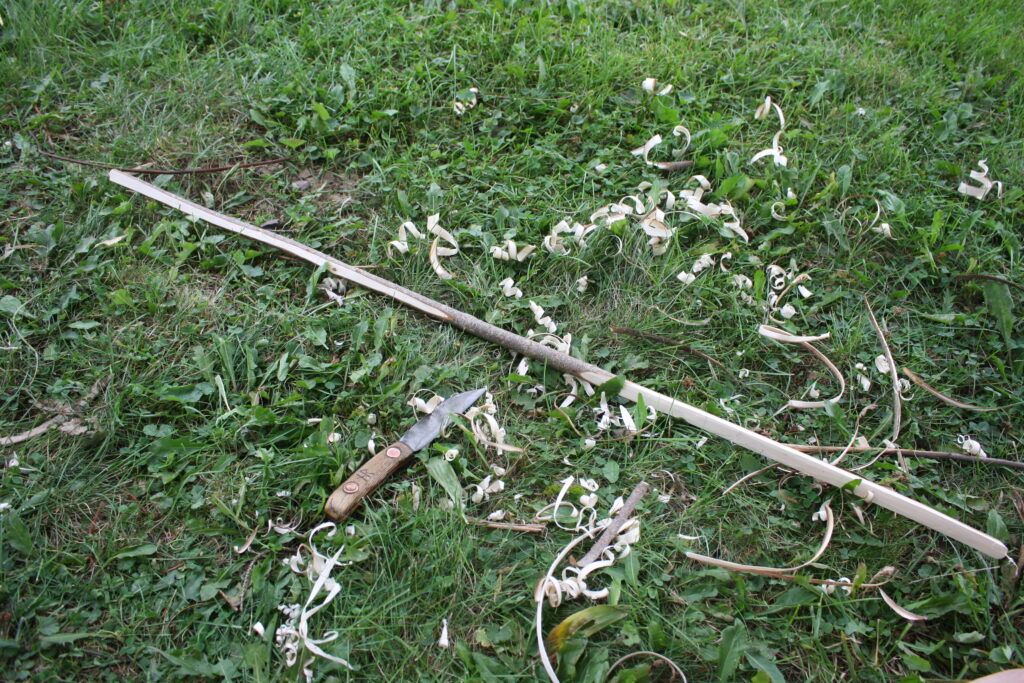
To be sure that you are doing this, you need to test the flex in the stave constantly as seen below. If there is one point of the stave that is a bit more stiff, carefully shave it down till it flexes evenly with the rest of the bow.
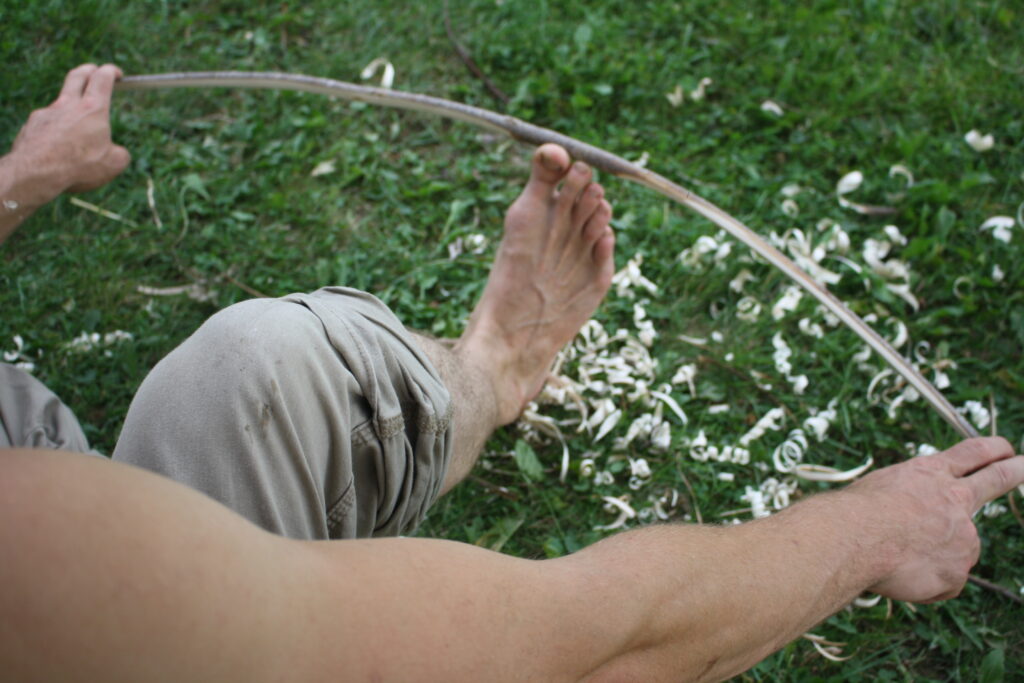
Cut String Notches
Once you have your toy bow flexing evenly, it’s time to cut notches for the string. Like so:
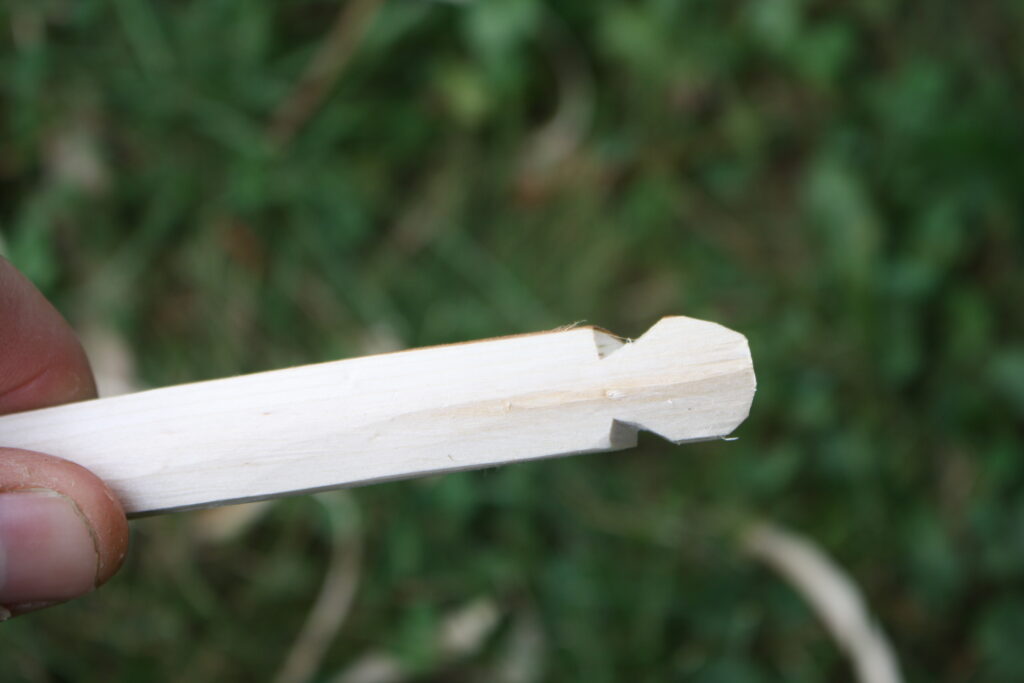
String your bow
For a toy bow, almost any sort of twine will serve–as long as it is strong and thin enough to fit in an arrow notch. In this project I used nylon twine from the hardware store. Here is how to string your bow:
1) Tie a loop with a bow-line knot
This type of knot gives you a loop that is fixed open and does not cinch closed. This is nice as it allows you to easily unstring the bow when not in use.
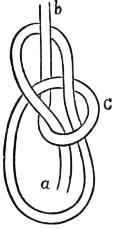
2) Tie a fixed Knot on the Opposite End
Now, with the bow-line loop in its notch, stretch the string to the opposite notch. Tension the bow to find out where to tie the second knot. The bow should feel taut: not too tense, yet not too loose and flabby. Tie any sort of fixed knot that will securely fix the string to the notch. Needless to say, this is a lot easier to do on a toy bow.
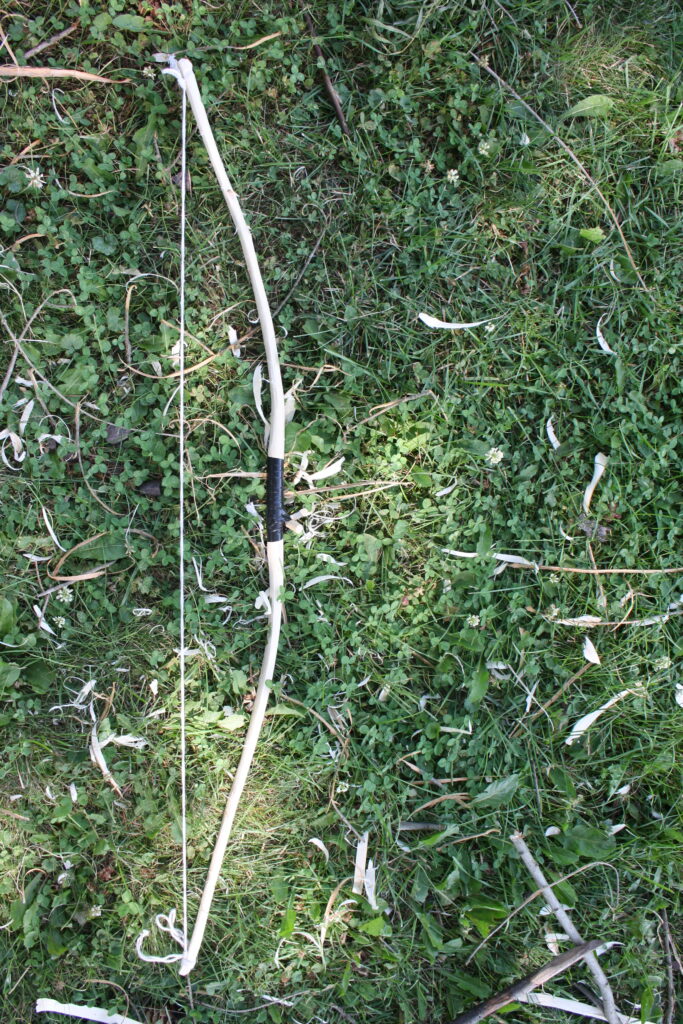
Now, when you have the bow strung, you will be able to see if the the bow is bent evenly under tension. Draw it back a few times to see if you can see that evenly round arc. If there is a section that is too stiff, tiller it down–CAREFULLY. At this point you do not want to be removing too much wood at a time.
Handgrip for a Toy Bow
The longbows I build for myself have no specially carved handgrip. This follows the tradition of old Germanic bows as found in archaeological sites. However, I also realise that kids really benefit from having a well defined handgrip so they know where exactly to hold the bow and where to place the arrow. I achieve this simply by wrapping some electrical tape around the grip. I also fix a short stick horizontally on the top of the grip. This serves as a platform upon which the young archer can rest his/her arrow.
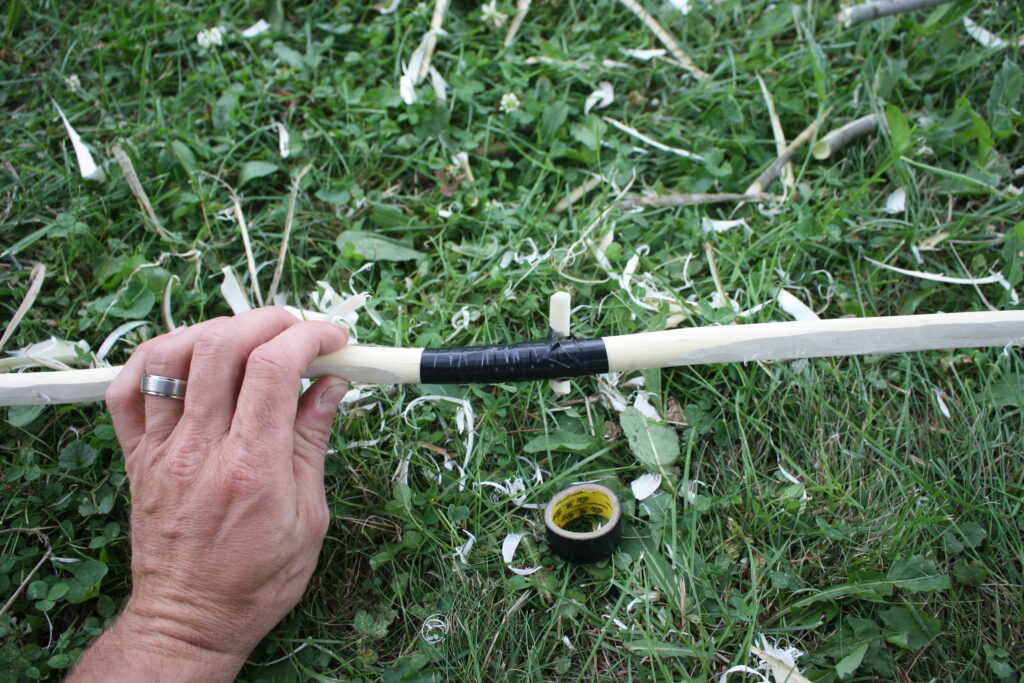
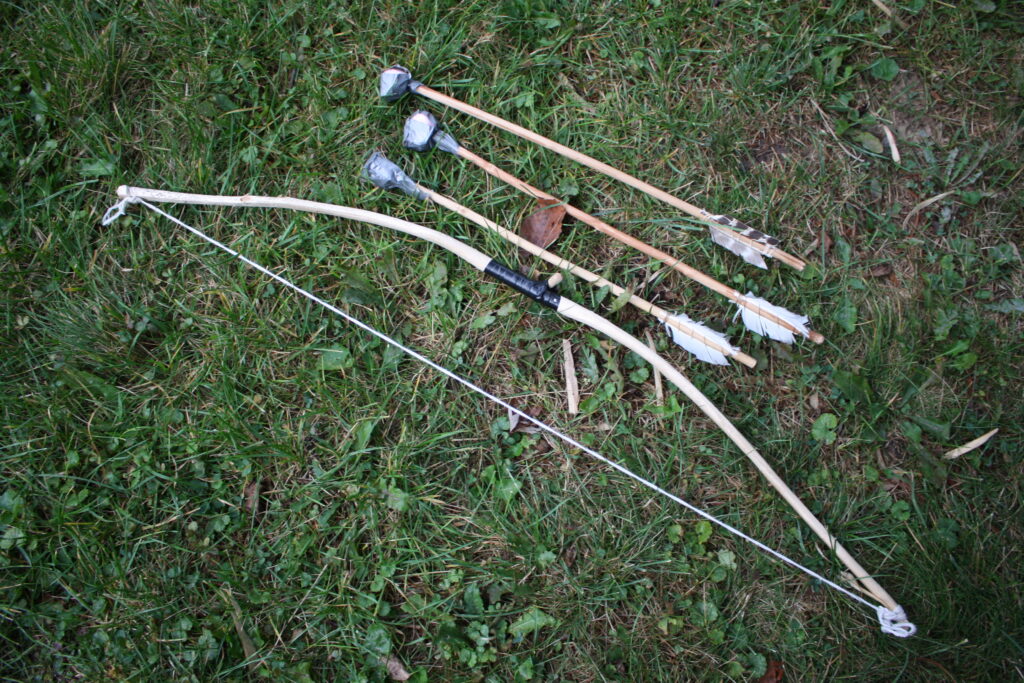
All done! It does not need to be more complicated than that. Now it’s time to make some arrows and get this bow into action! Read my article on toy arrow making to find out how!
Thanks for reading!–Nathanael


Leave a Reply