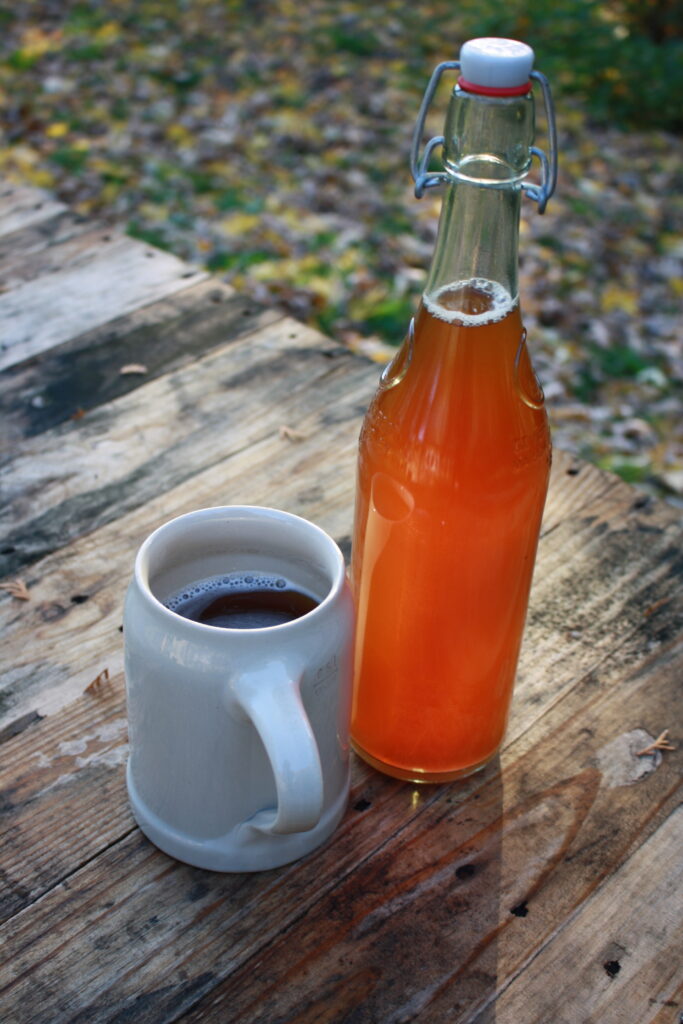
More and more folk are learning how to make beer at home–and why not? After all, this is a craft that can be shared and appreciated with friends and guests. Many folk actually don’t realize how important a role this beverage played in developing community in traditional cultures. Not so long ago, it was among the several basic (and rather mundane) tasks of every farmhouse and monastery. In the modern West, many our the sacred customs and duties of old-fashioned peasant hospitality have faded. Perhaps this renewed interest in home-brewing is a way of grasping again for something we have lost.
Another good incentive for making beer at home is that it actually does save you money. This is especially true if you grow your own hops and save your brewing yeast. That means all you need to buy is the malt which is generally less than $20 for a 5 gallon batch. For a good craft beer, that’s pretty good!
The Basics of Beer Brewing for Beginners
In order to get into brewing, it is important to understand what exactly happens in the process and why. My goal here is to explain in simple terms that can be understood by an aspiring beginner. The following is a step-by-step process.
Step 1: Malting and Milling
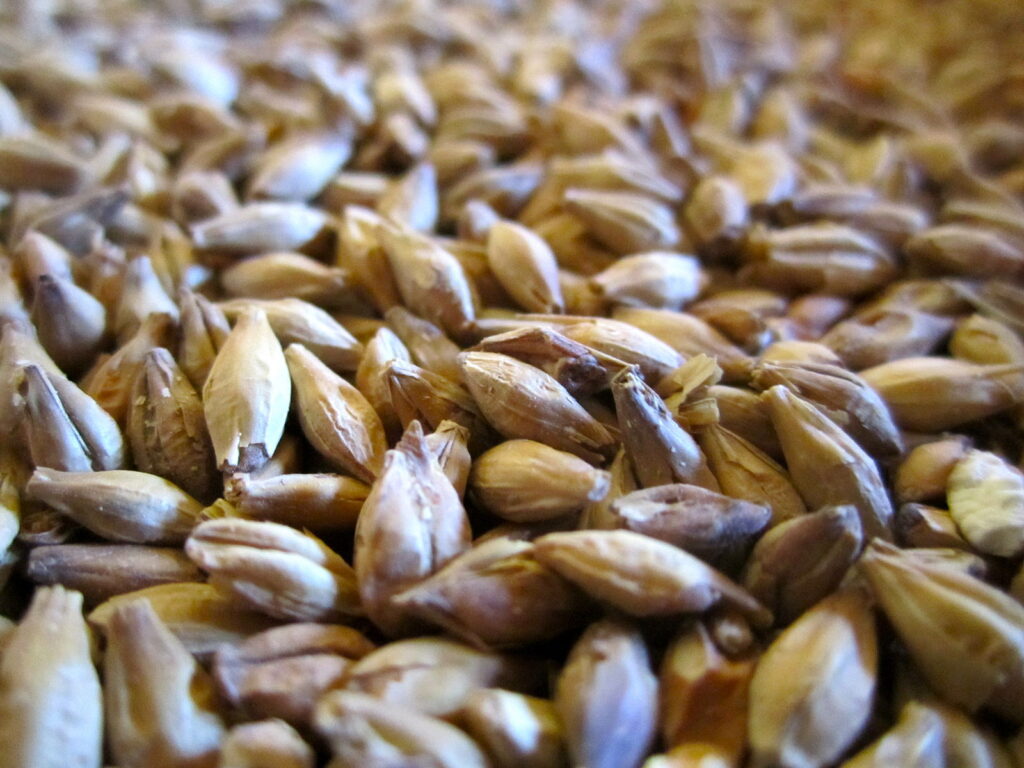
You need grain to make beer. Then you need to turn that grain into malt. Malt quite simply means sprouted grain–usually barley. Depending on the region, wheat, rye and oats can be used as well. In order to make alcohol, yeast needs sugar to eat. Grain contains that sugar. But in order to unlock that vital sugar, you need to sprout the grain. Why? Because in the natural germination process, the tiny little plant that is forming from the seed will feed off of the stored sugar in order to grow. The brewer wants to arrest that sugar for his beer. He does this by simply stopping the sprouting process by kilning the grain. You now have malt and are ready for brewing.
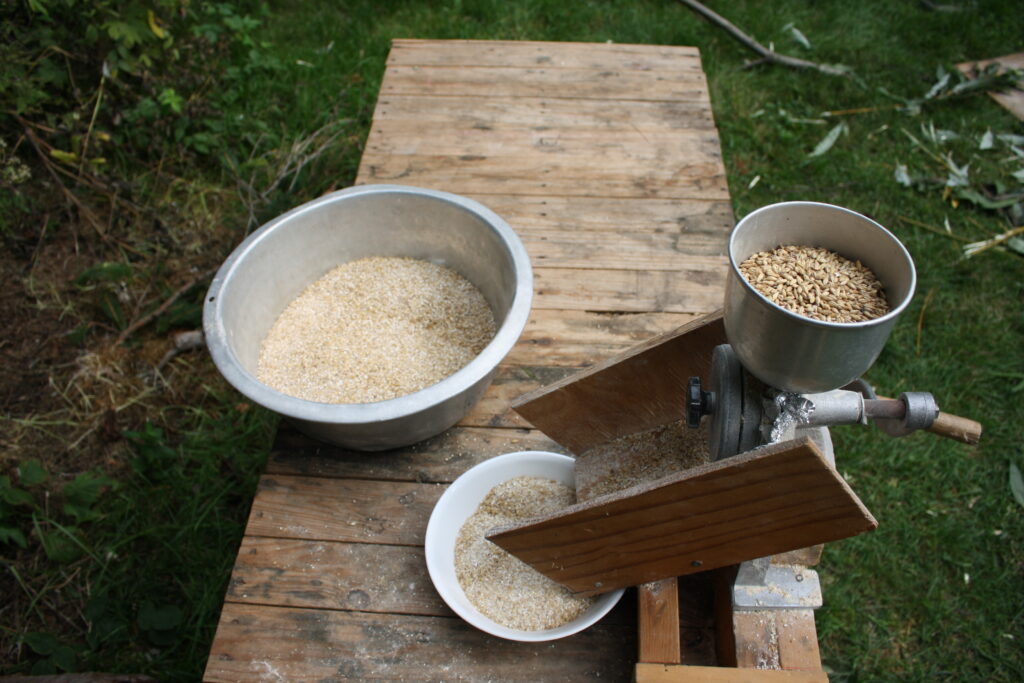
You now need to mill the malt. This crushes the kernels, so that the sugars can be leached out of them easier for brewing.
Step 2: Mashing
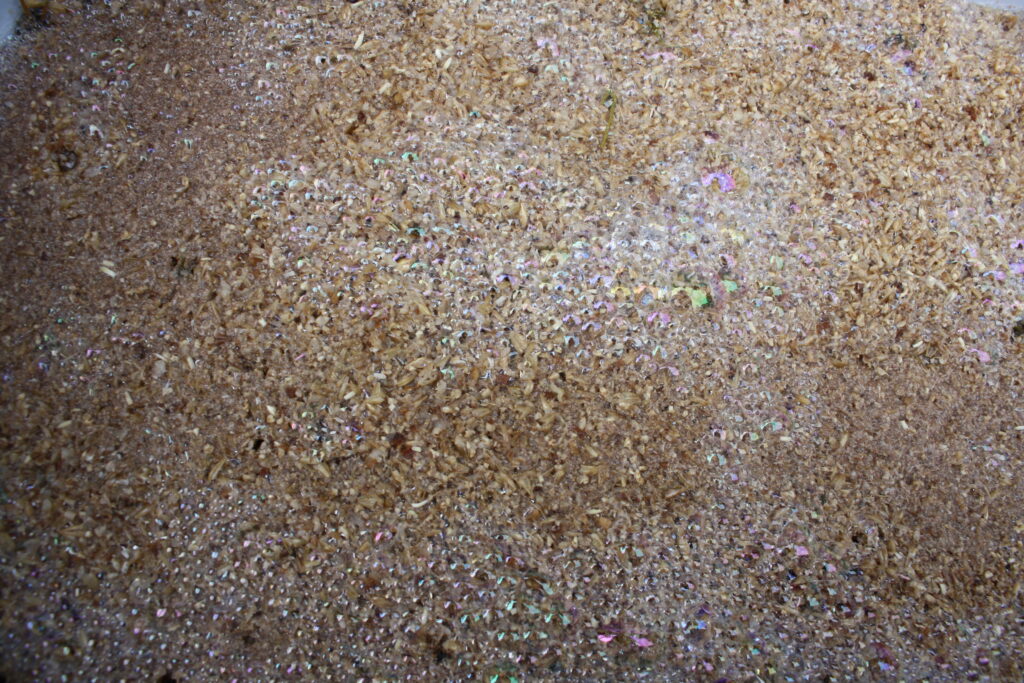
Mashing is steeping your malted grain in hot water. Now that you have your malt, you essentially want to make a tea out of it. To do this, you heat up a large kettle of hot water and ladle it onto your malt. Now, you don’t want to boil your malt, just like you wouldn’t want to boil your tea or coffee directly. If you boiled your malt, you would start to break down that sugar and your malt would start to turn into a porridge. You don’t want that. All you are trying to do is transfer the sugar from the malt into the water.
Step 3: Sparging (or Lautering)
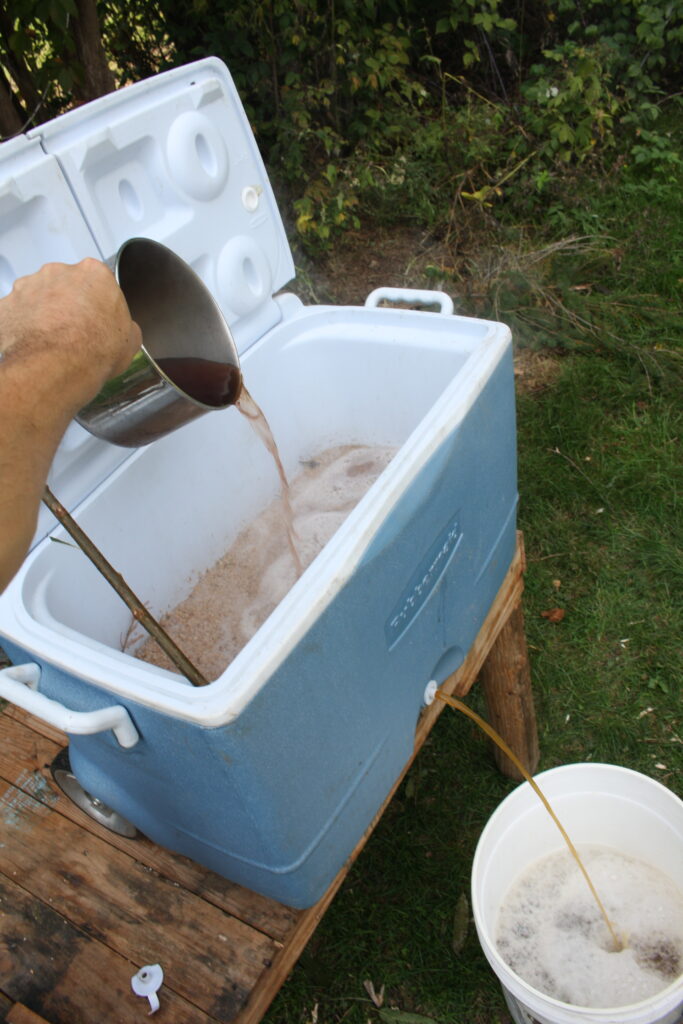
Sparging is pouring more hot water over your mash in order to wash out as much residual sugar as possible left in the grains. During this process, you will be draining the hot liquid from your mash into a separate vessel. This will separate your “tea” from the grains that are now nearly spent of all their sugars. Taste it. Sweet isn’t it? All that sugar will be feeding your yeast.
Step 4: Boiling the Wort and adding Bittering Herbs
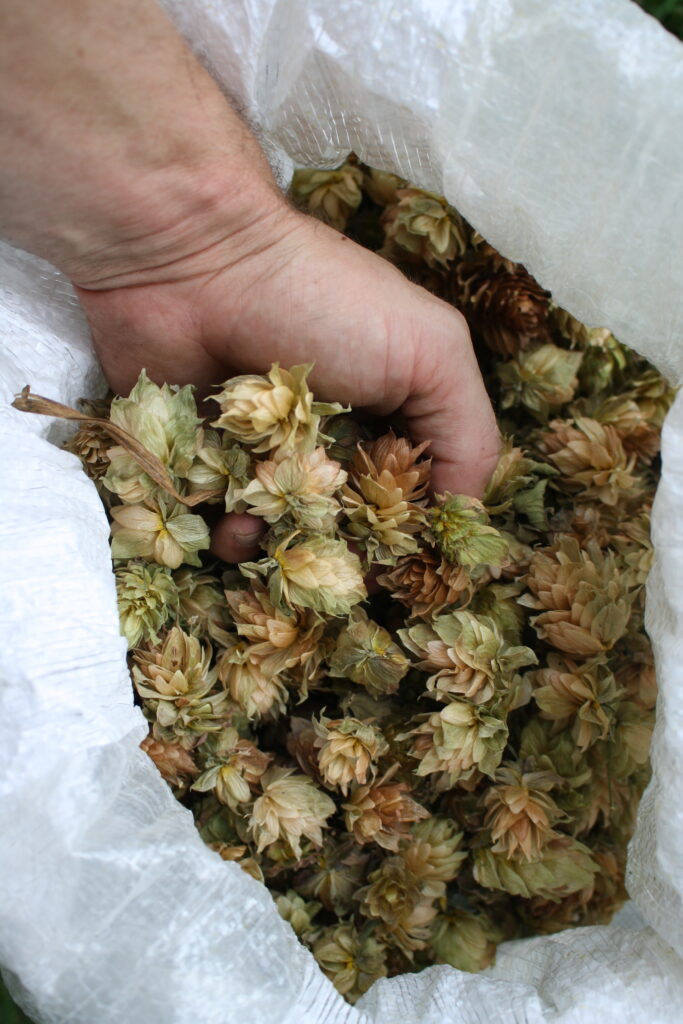
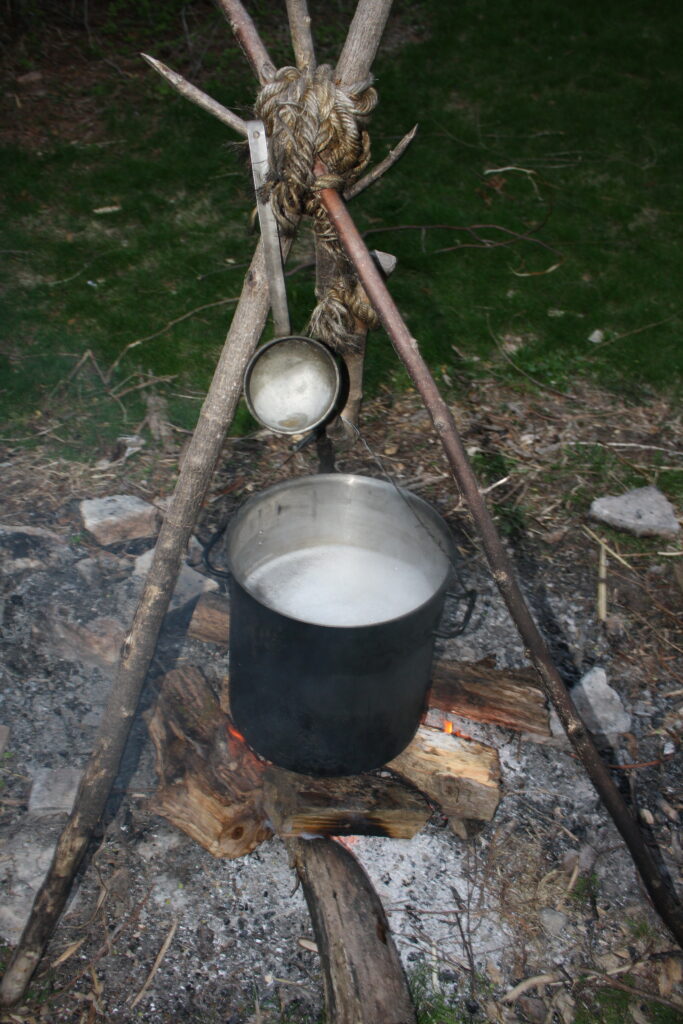
The “tea” you have ended up with is called “wort“. You now place your wort on the fire to boil it for a while in order to cook off some of the water which thus concentrates the sugar more. The longer you boil it the higher alcohol content you will end up with. During this time, you will also add your bittering herbs to flavor your beer. Obviously, hops are the most common bittering herb, but historically especially before the 16th century, it was not limited to just that. As far as farmhouse beer was concerned, there were a whole variety of herbs used, depending on your locale.
Step 5: Cooling
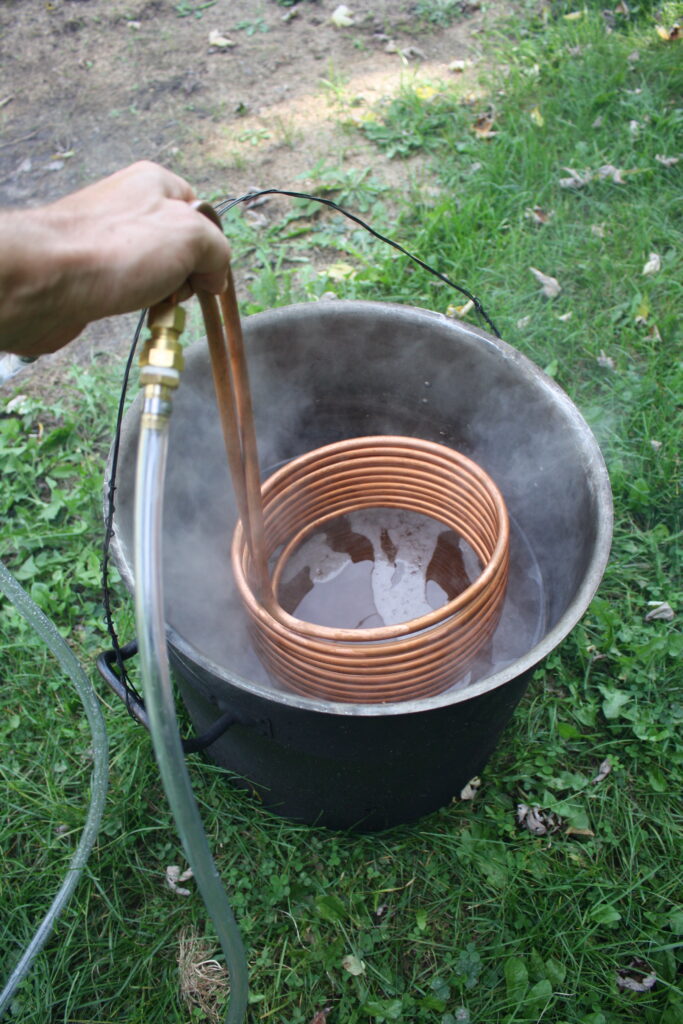
You’re almost there! Now take the wort off the heat. Your yeast is your magic touch that will turn that sugary goodness into alcohol. But yeast, remember is a living thing. It can’t survive in hot water, so you need to let the wort cool to about blood-temperature before you pitch in your yeast. The sooner you cool the wort and pitch in your yeast, the better. This will allow more time for the yeast to take over and less time for unwanted bacteria to come in and spoil the brew. This can be done several ways. The easiest is with a cooling coil connected to your garden hose as pictured above. However, you can also cool the pot in a tub or sink filled with ice. Or if you are brewing next to a stream, you can place the pot in there to let the running water cool it.
Step 6: Pitching the Yeast
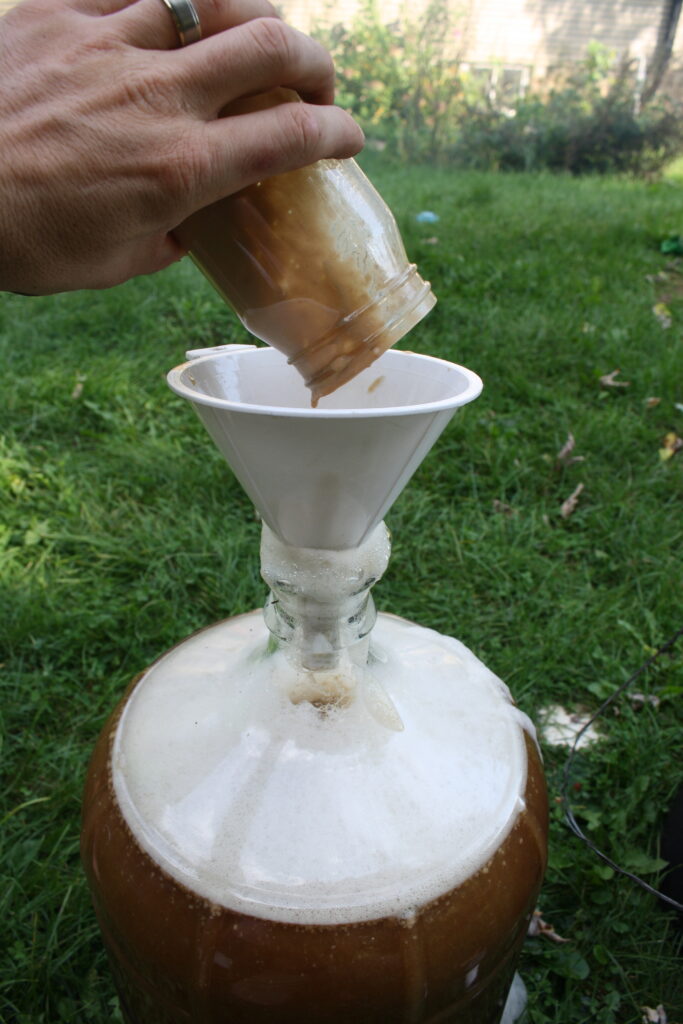
There are different types of yeasts that need a different temperature to live in. Ale yeast need wort to be around 70-80 degrees Fahrenheit to live. Lager yeasts need it cooler–around 40 degrees Fahrenheit. Norwegian farmhouse ale yeast, called kveik, is unique in that it thrives in surprisingly warm conditions from 80 up to even 100 degrees! This kveik is what I use for my ale.
Pour the wort into a glass carboy, pitch in the yeast and put on an airlock.
Step 7: Fermentation
Now all you have to do is to let your brew sit and wait. By the next day, you should see it start to bubble and foam. This is produced from the yeast as it consumes the sugar. The foam that forms on top of the brew is called the kreusen. But there is an old English term from the Mediaeval period that I prefer to use–Godisgoode (all one word). Back in days of yore, folk didn’t know what exactly yeast was. One could not see it with the naked eye, but one could see (and taste) the wonderful effects of it working. Thus, when one could see the bubbling action, doing what it should be doing, all one can naturally say is “God is good!” I agree.
One of the reasons why I prefer to use the kveik yeast (apart from my obsessed affinity to all things Nordic) is how quickly it acts. Your typical ale yeasts will take about a month finish a batch of beer. Not so with kveik. This Viking yeast is so aggressive it will finish brewing your beer within a couple of days. You want beer in a jiffy? Go with kveik, by George!
Step 8: Bottling
After fermentation, you can now add a little bit more extra sugar to your batch and bottle it in smaller bottles. Why the extra dose of sugar? It is give the yeast a little something extra to eat. Except now, the carbon dioxide cannot escape through the airlock. Instead, it is sealed inside the bottle. After a few days, your bottle will build up pressure and you’ll get a “pop” when you open it up to drink. This is how you get the foamy, bubbly beer that the modern palate is accustomed to. Interestingly enough, this is a rather modern nicety. Throughout most of history, beer was happily consumed “flat”.
Step 9: Drinking
Prost!
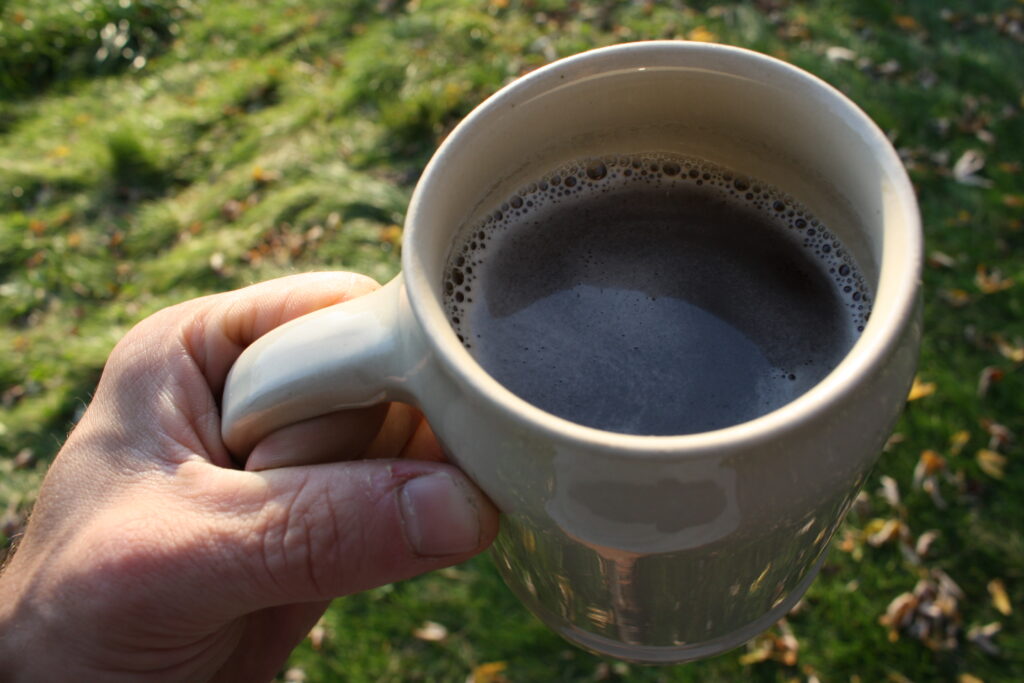
Now that you have a basic understanding the process of how to make beer, we can move onto my specific recipe. To learn more, read my article on Norse Backyard Ale–Part 2. —Nathanael


Leave a Reply