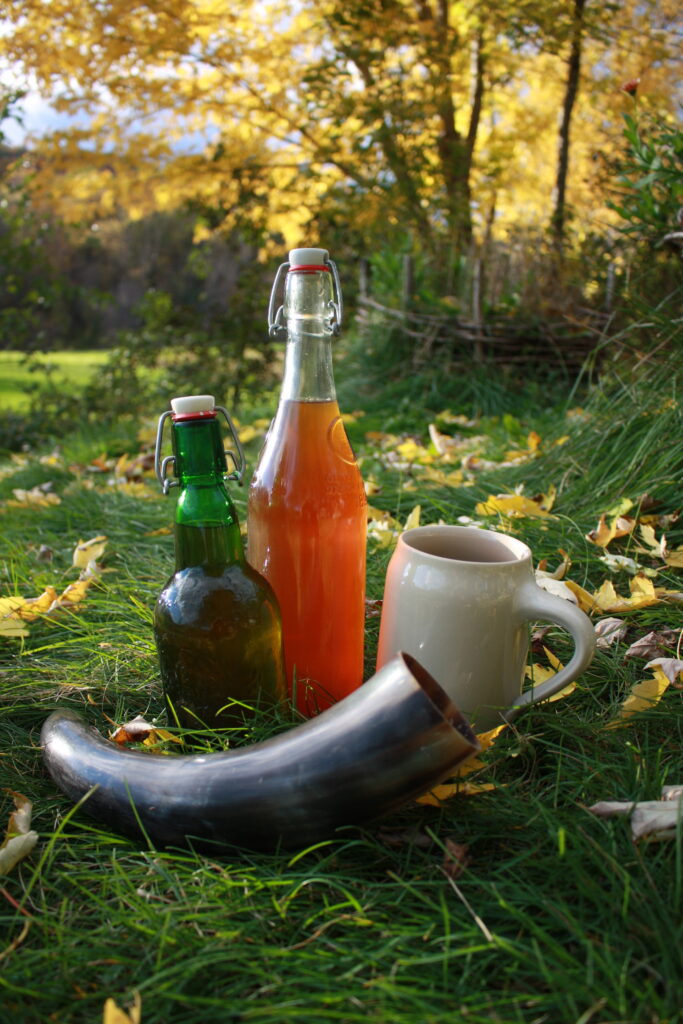
Bottling beer–this is the last part to making your own batch of Norse-style ale right in your backyard. Check out the previous article to see how we came to this point. After about 24-48 hours of sitting in the fermenter, the kveik-fermented wort should be ready for bottling. Note: with normal ale yeast, this would take more close to a month rather than a couple of days. Another reason to go with kveik, ja?
As I talked about before, this is a step in the beer-making process that is unique to the modern era. Most of history, beer was generally consumed flat. I have done it this way and have no shame in the fact. However, I also understand that if I want to offer this to a guest nowadays, they will be wanting something with a bit of bubbles in it. So let’s carbonate that beer! It really is quite easy.
What You Need for Bottling
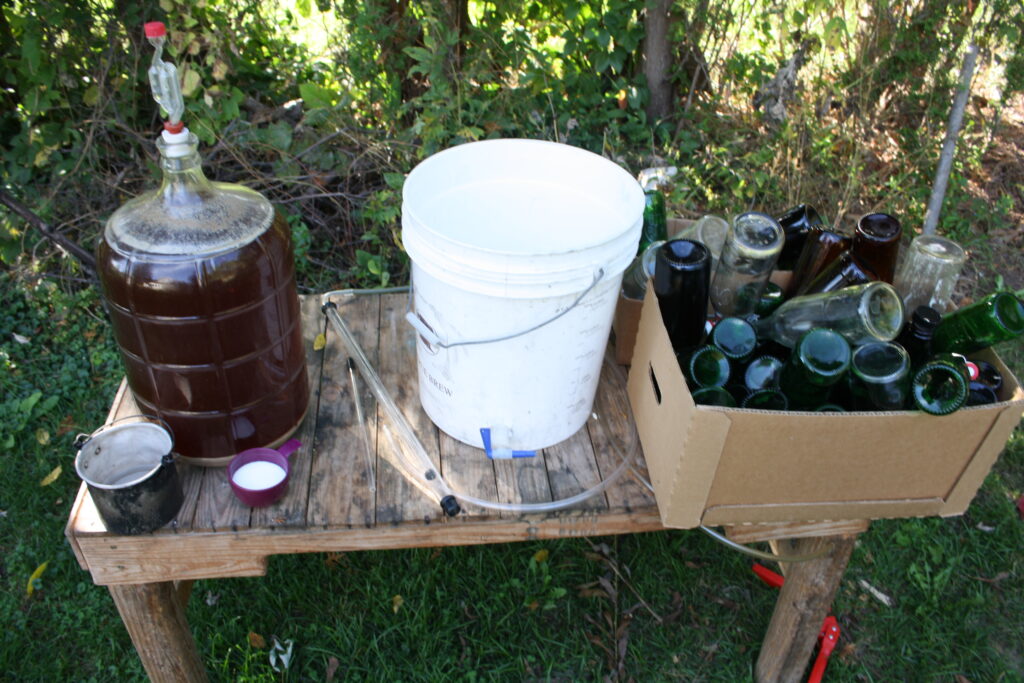
Here is a list of the equipment I use for bottling beer. Of course, all you have to do is get the wort into the bottles, so however you do it is up to you. The equipment I have acquired makes the process easy to get done quick.
- 5 gallon Carboy of beer, fermented and ready to be bottled.
- 3/4 cup of table sugar. There is special priming sugar one can purchase specifically for bottling beer. However, I have gotten just as fine results with table sugar
- small pot or sauce pan with just enough water to dissolve the sugar
- 5 gallon pail with a tap on the bottom
- siphon with a length of tubing.
- bottle filler
- bottles with sealable tops
Step One: Siphoning
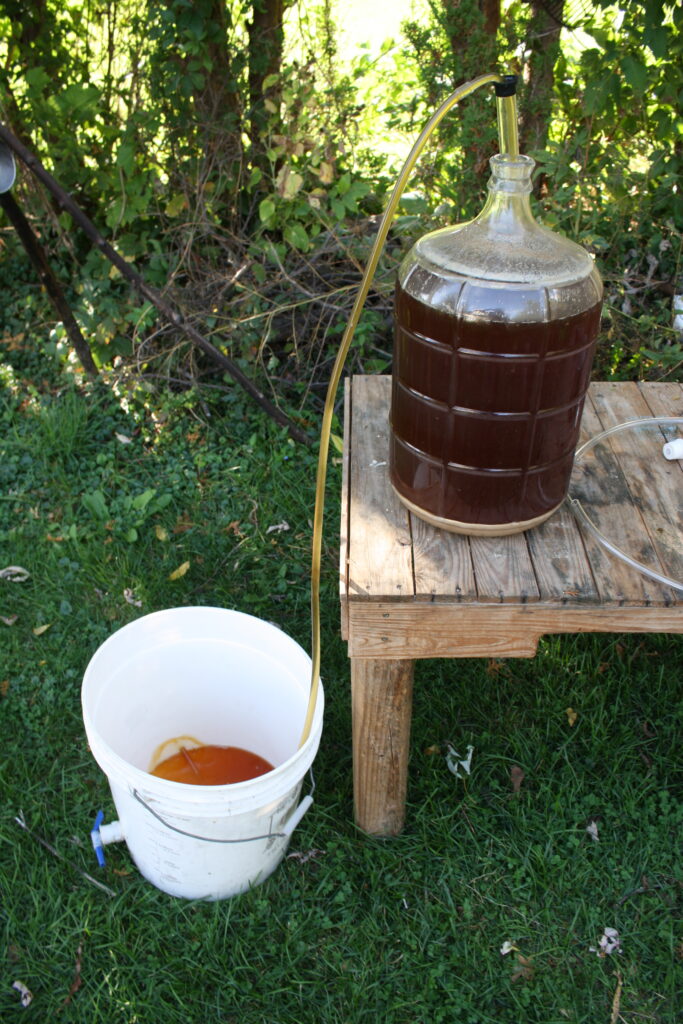
Place your carboy of beer on a table with the empty pail sitting below on the ground and siphon the beer into the pail. Using a beer siphon, of course, makes this easier. Or else, just simply get the siphon going by sucking on the bottom of the tube.
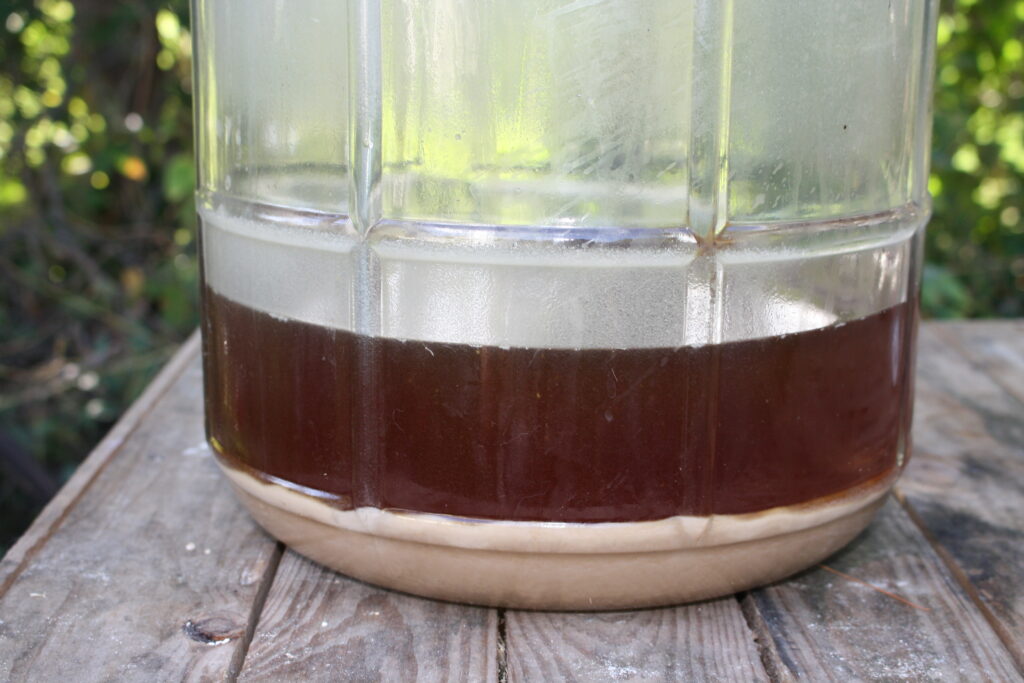
You’ll see a layer of sludge on the bottom of the carboy. This is all yeast that has gone more or less dormant after eating all the sugar in the wort. Try avoid siphoning up too much of the sludge. But don’t throw it out! After you are done siphoning out all the beer, save some of that sludge in a mason jar in your fridge. You can use that for your next batch of beer!
Step Two: Adding in the Bottling Sugar
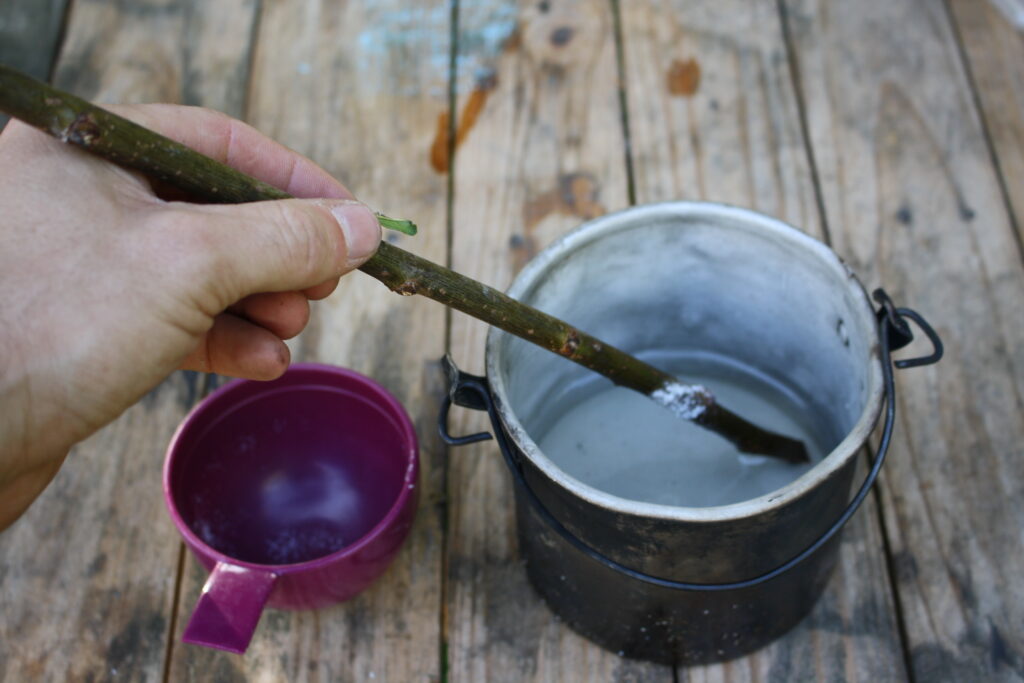
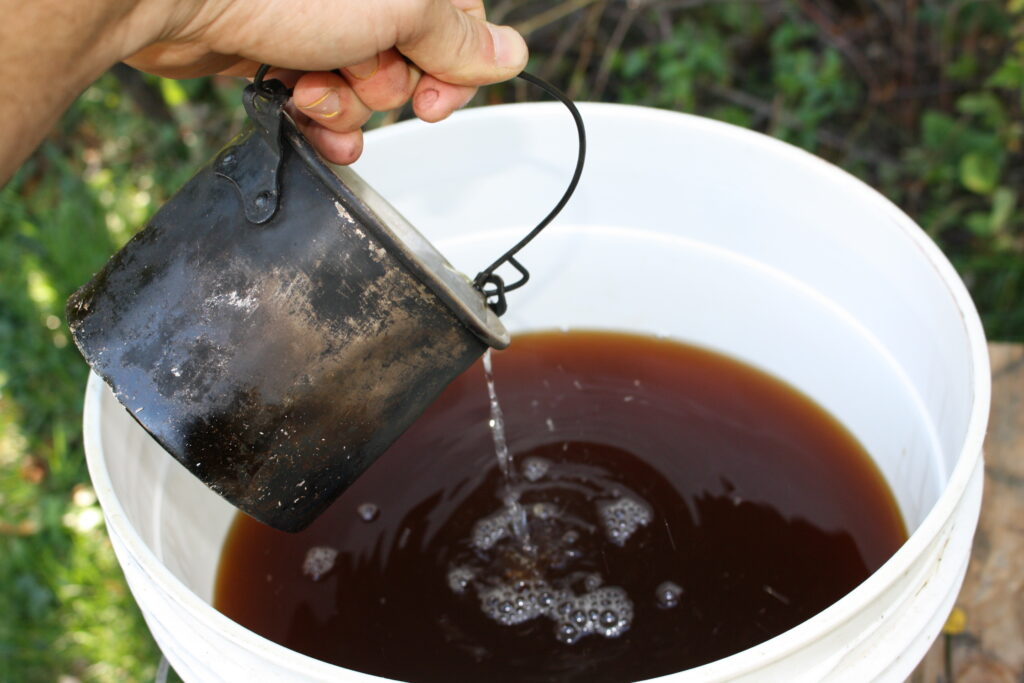
Heat up the water in the pot and stir in the sugar till it is completely dissolved. Then pour that sugar water into the beer
Step 3: Bottling Time!
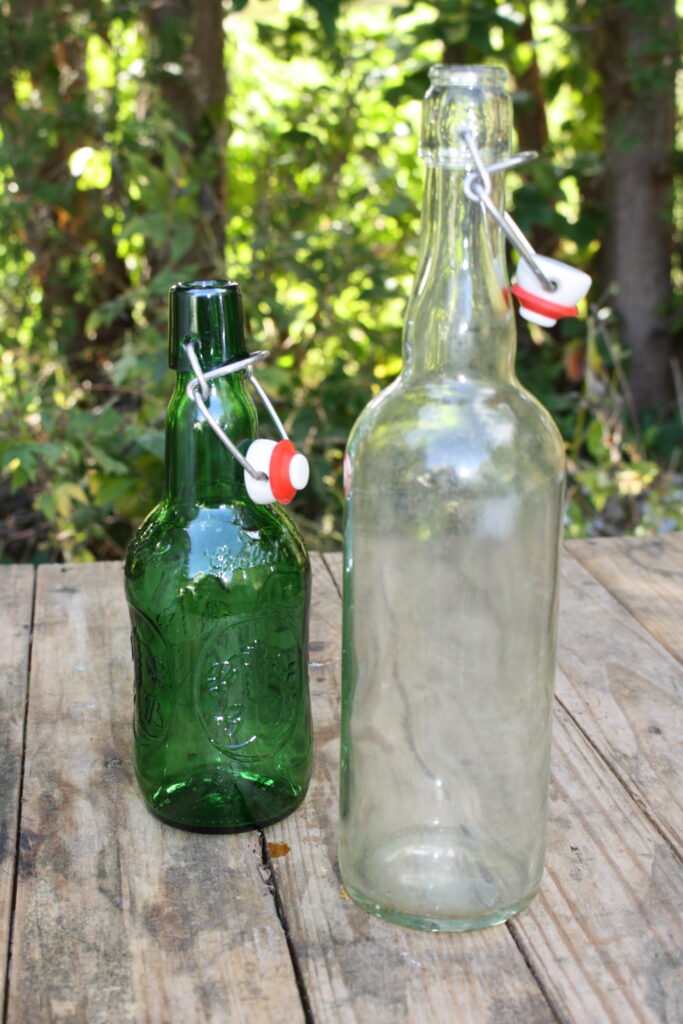
I like using the Grolsch-style bottles with the flip tops that can be used over and over again. Or you can save beer bottles from beer you buy at the store (NOT the twist-off kind). However, you will then need to buy the caps and capper tool.
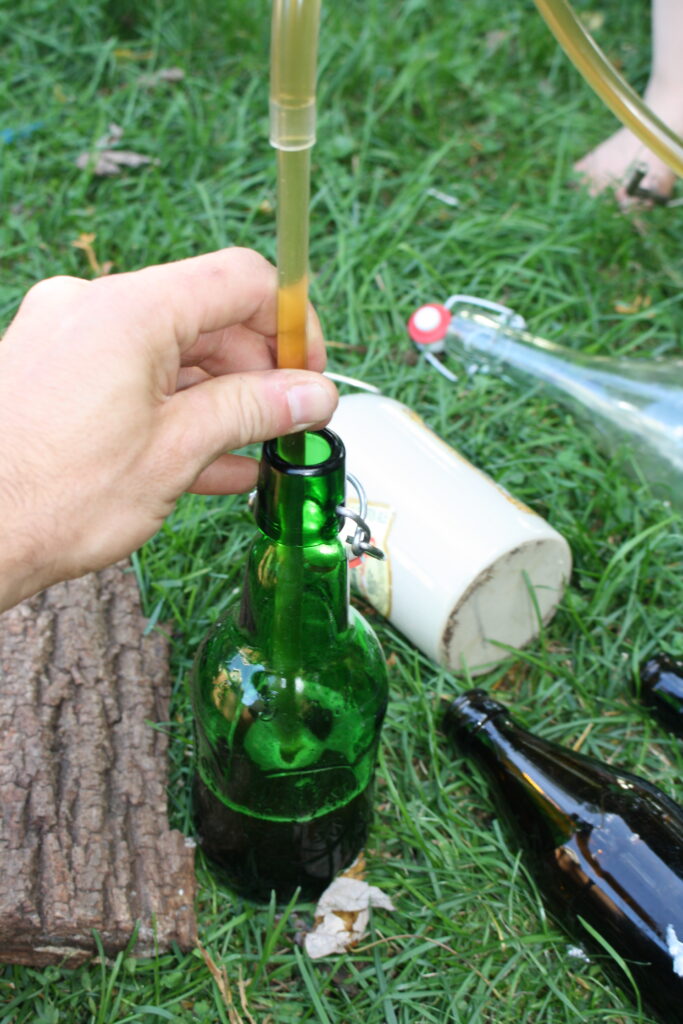
Now lift your pail of beer onto the table. Attach a tube to the tap at the bottom of the pail and you can open the tap when you are all ready to start bottling. Using a bottle-filler at the end of the tube really makes it easy to fill your bottles one after another without spilling too much.
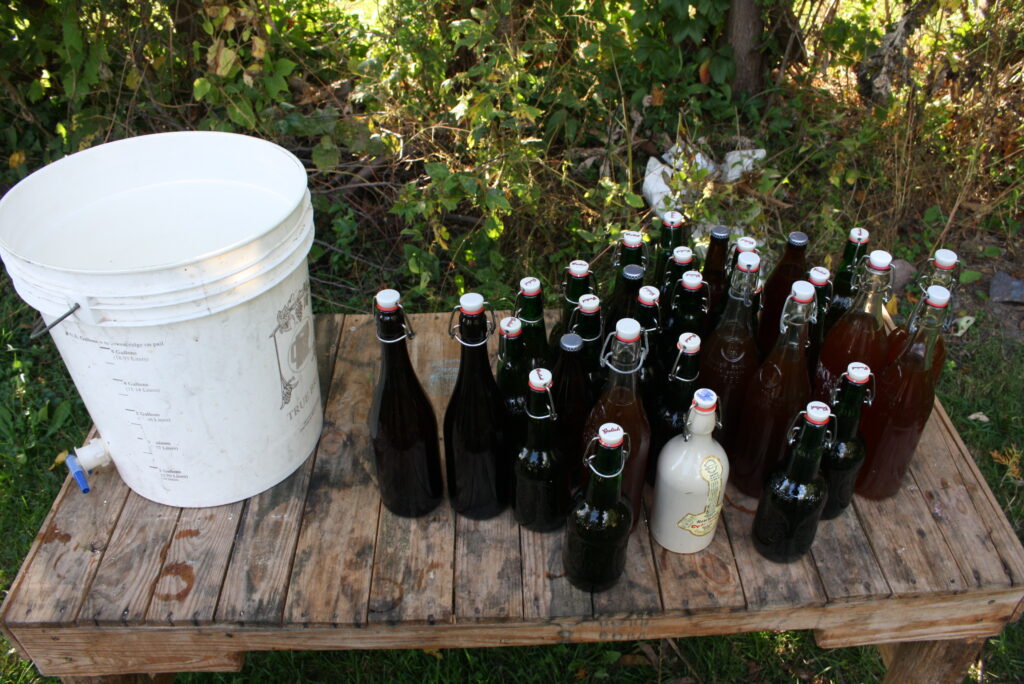
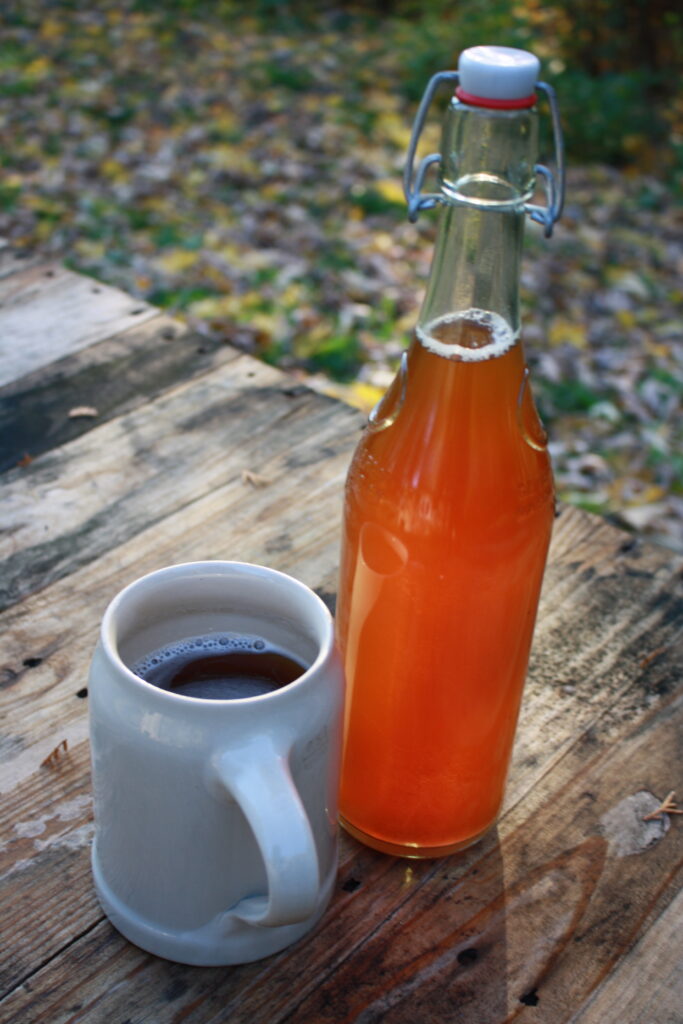
Here is the finished batch! In order to let that sugar do its work to build up carbonation, give it at least a couple of days to sit after bottling beer. After that you should be ready to imbibe! Skål!


Leave a Reply