I don’t know about you but I’ve always thought sweater pillows were so cozy and aesthetically pleasing for winter decor. They somehow seem to capture all the feelings of a warm, comfortable home people want to come to. I’m also not one to spend loads of money on a pillow… especially if it’s something I know I can make myself. So, come learn how to complete one of the easiest sewing projects: how to turn a sweater into a pillow cover.
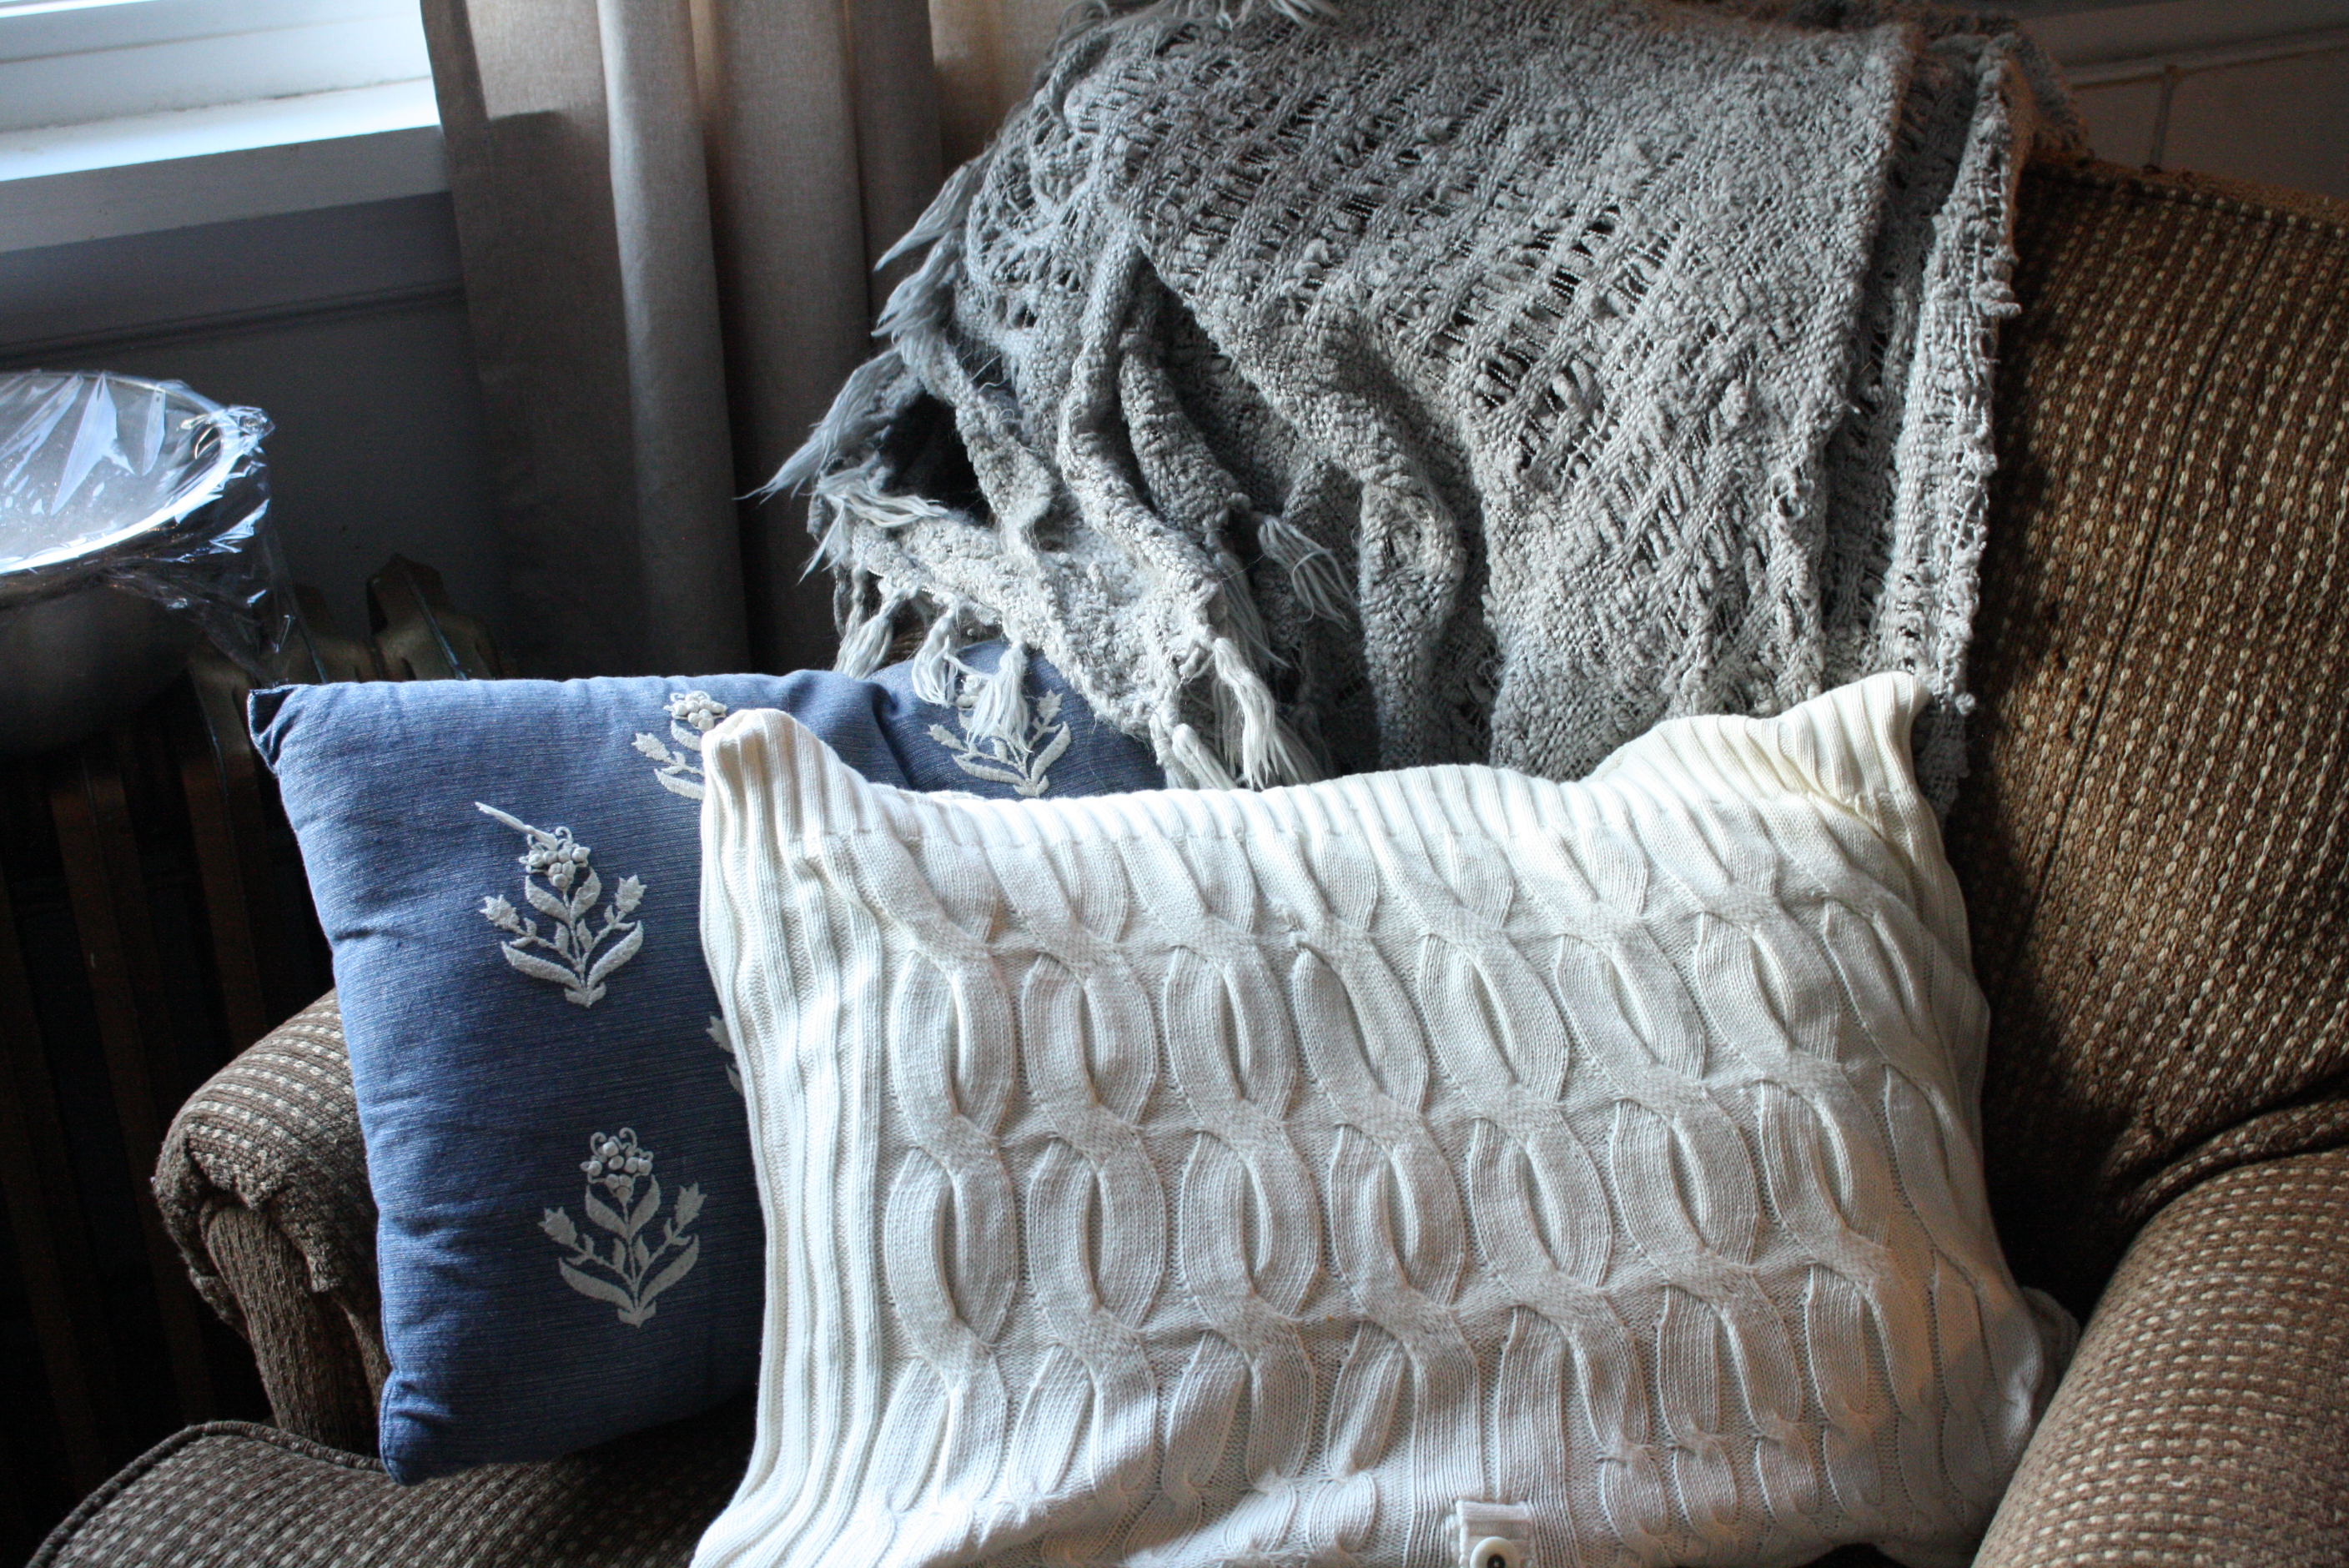
Don’t mind my sourdough on the radiator in the background (haha), our focus is this nice, creamy cable-knit pillow on the chair. Makes it look inviting, right?
How much does the sweater pillow cover cost?
Well, that will depend on a couple things. What pillow and sweater you use. If you have a pillow and a sweater at home already your project is free! Other options would be to go to a local thrift shop and purchase whatever pillow is in the shape you want and a sweater that fits around it, or to buy new. But this is suppose to be an upcycling, frugal project that makes use of something you probably already have.
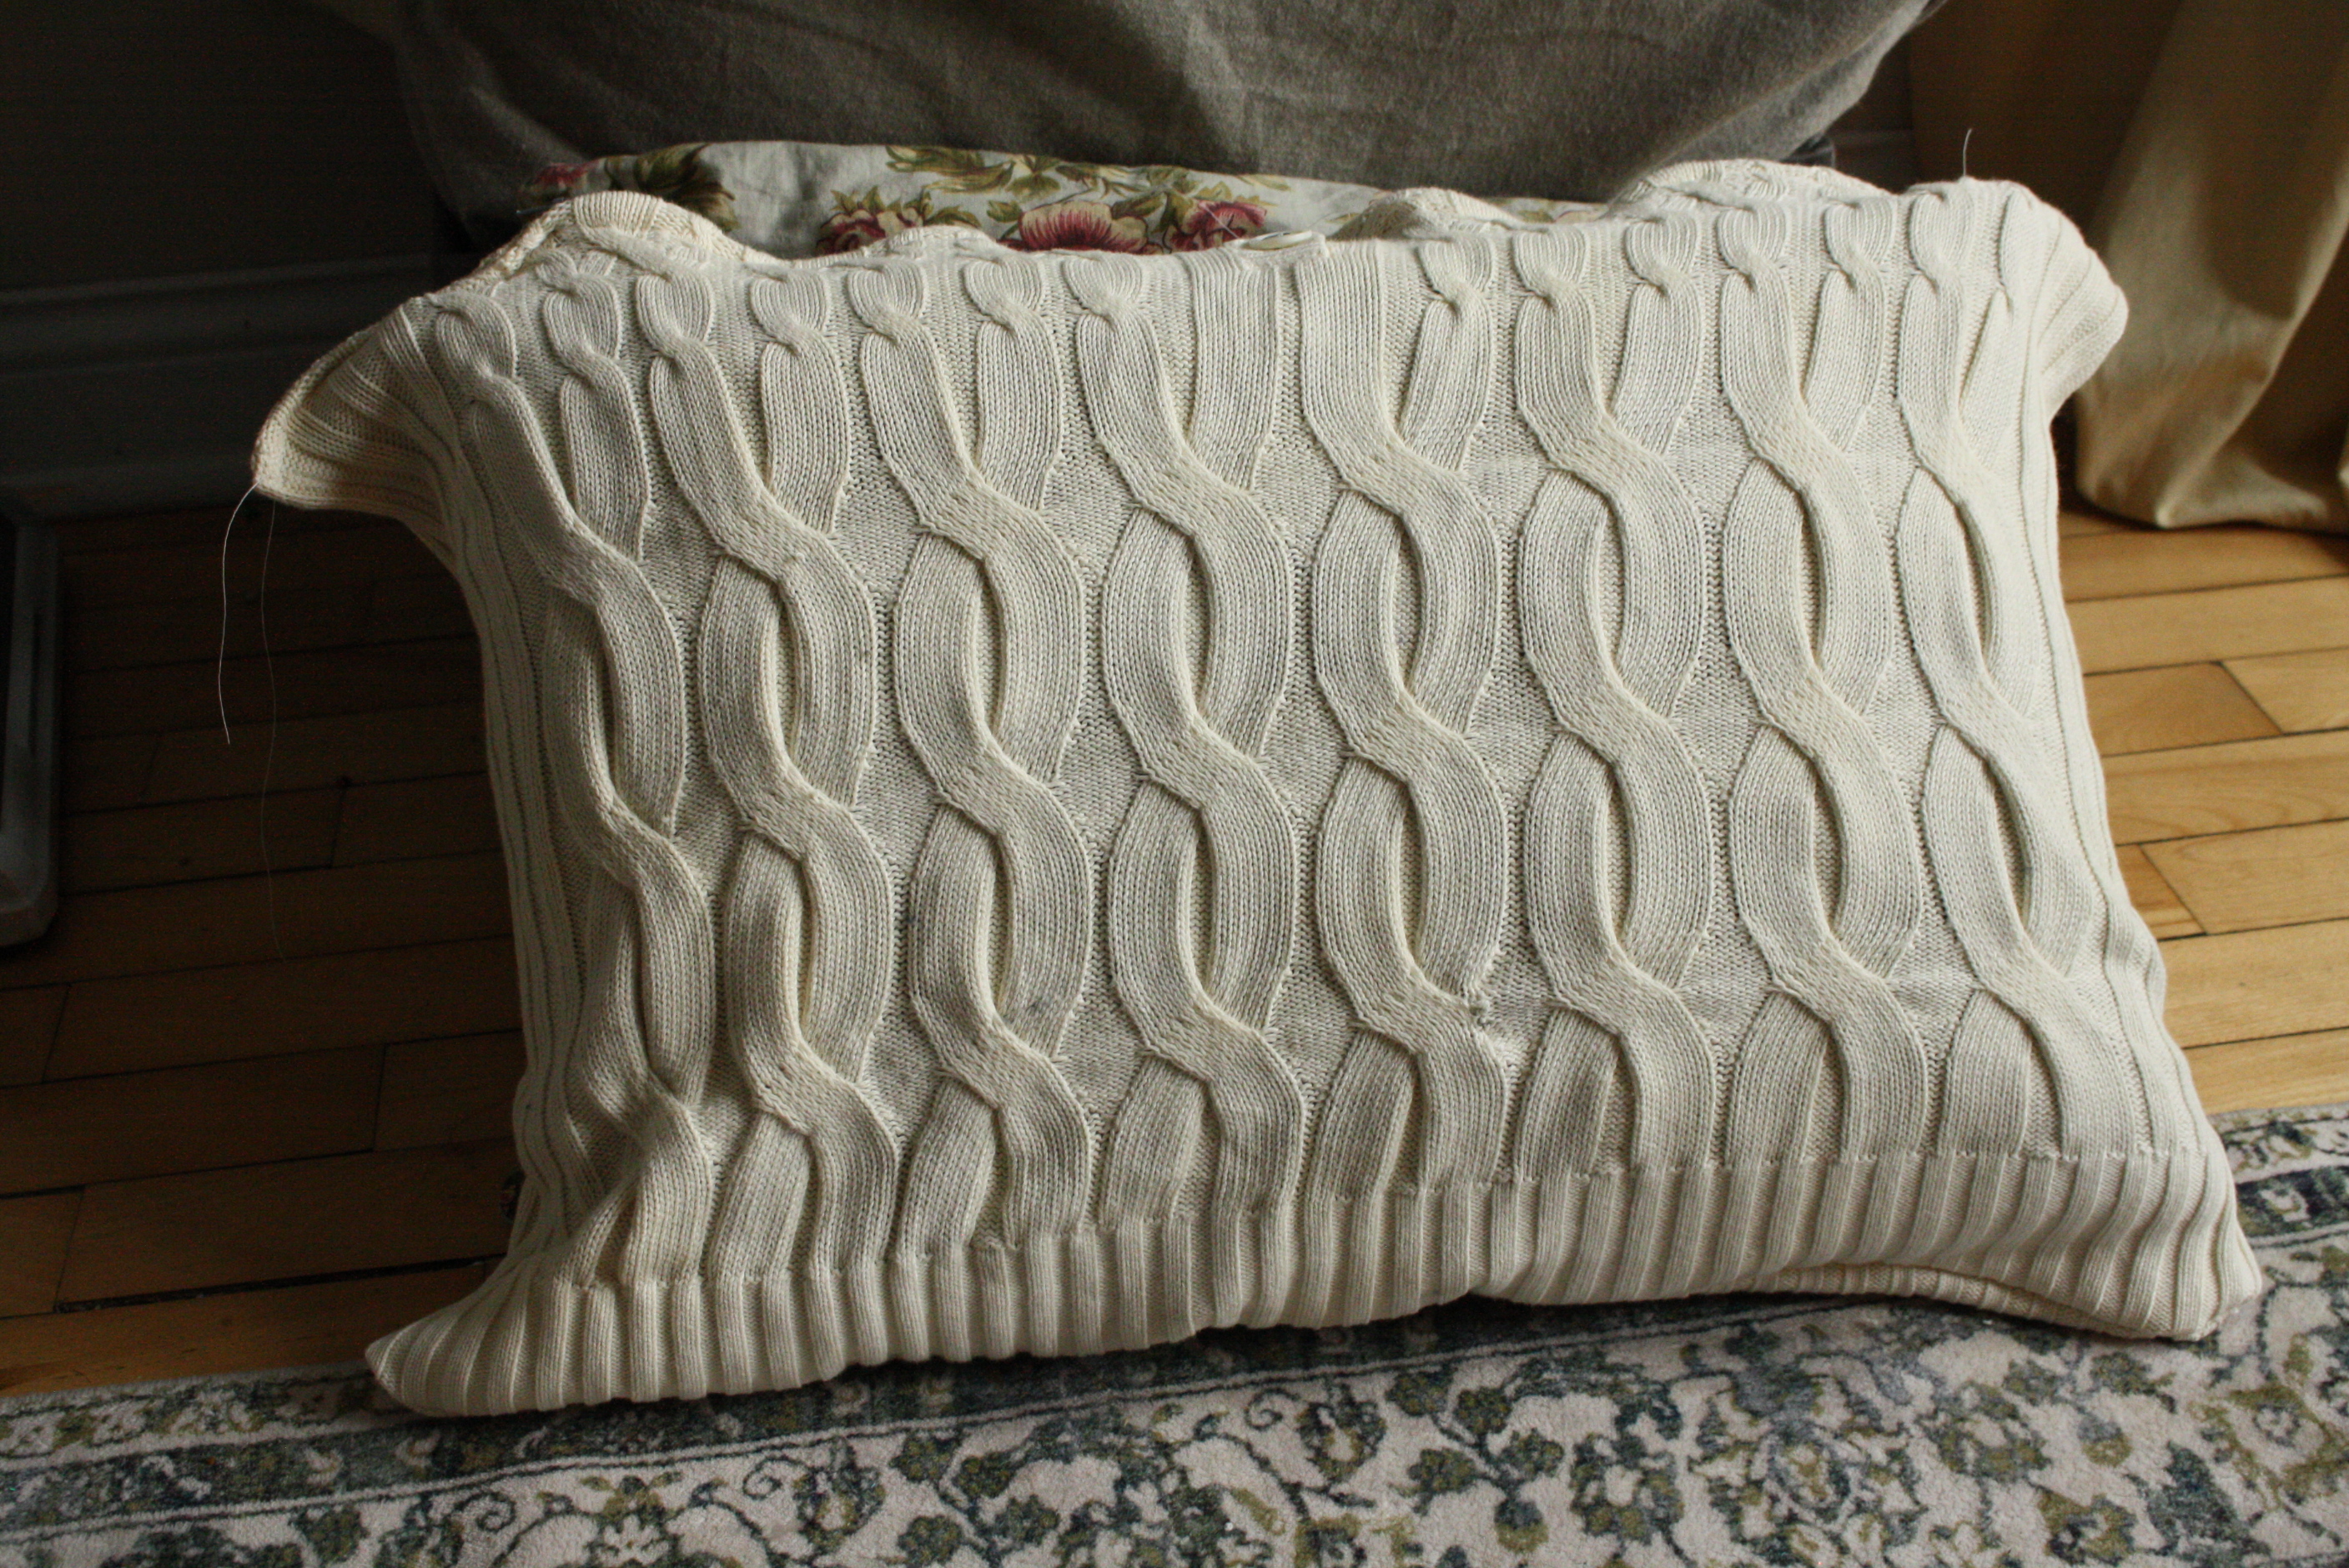
This homemade cover is on a pillow I already owned (for a long time) so I’m not going to factor that in to the cost of the project. The sweater was $5, making the entire project $5. I do love a good thrift. Initially I had bought the sweater to wear but upon trying it on decided it was best to be used as something else. The fabric was bunching, clinging, and dangling in all the wrong places…you all know the feeling. So, I decided to make the long-sought after sweater pillow cover AND I think I might turn the sleeves into leg warmers.
what supplies will I need?
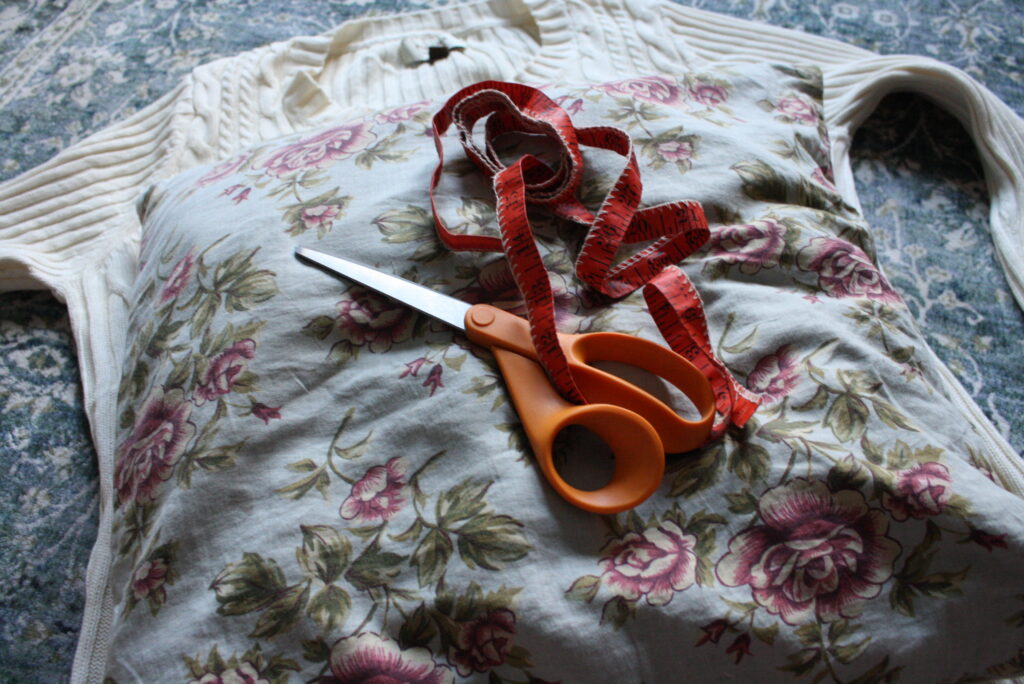
- old sweater
- pillow that will fit into the old sweater
- sewing scissors
- measuring tape
- thread
- sewing machine
steps for the sweater pillow cover
- Wash the fabric first!! Before you begin any sewing project!
- But, I got it used it’s already been washed… if you bought it used then it’s an extra reason to wash it, you don’t know where it’s been.
- Lay the sweater out on the ground. The distance between the armpit and the bottom is what you have to work with so make sure you can stuff your pillow into that area- This is where you’ll need your measuring tape. Leave one inch on each side for seam allowance.
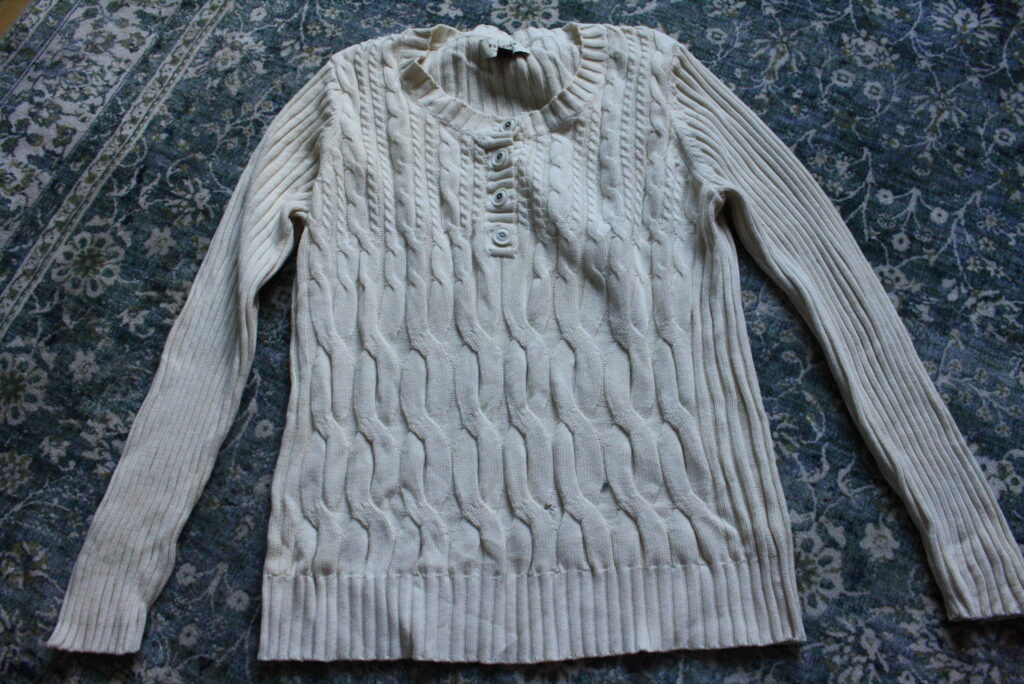
- fix any holes or imperfections. It’s easier to fix these before you sew the cover shut.
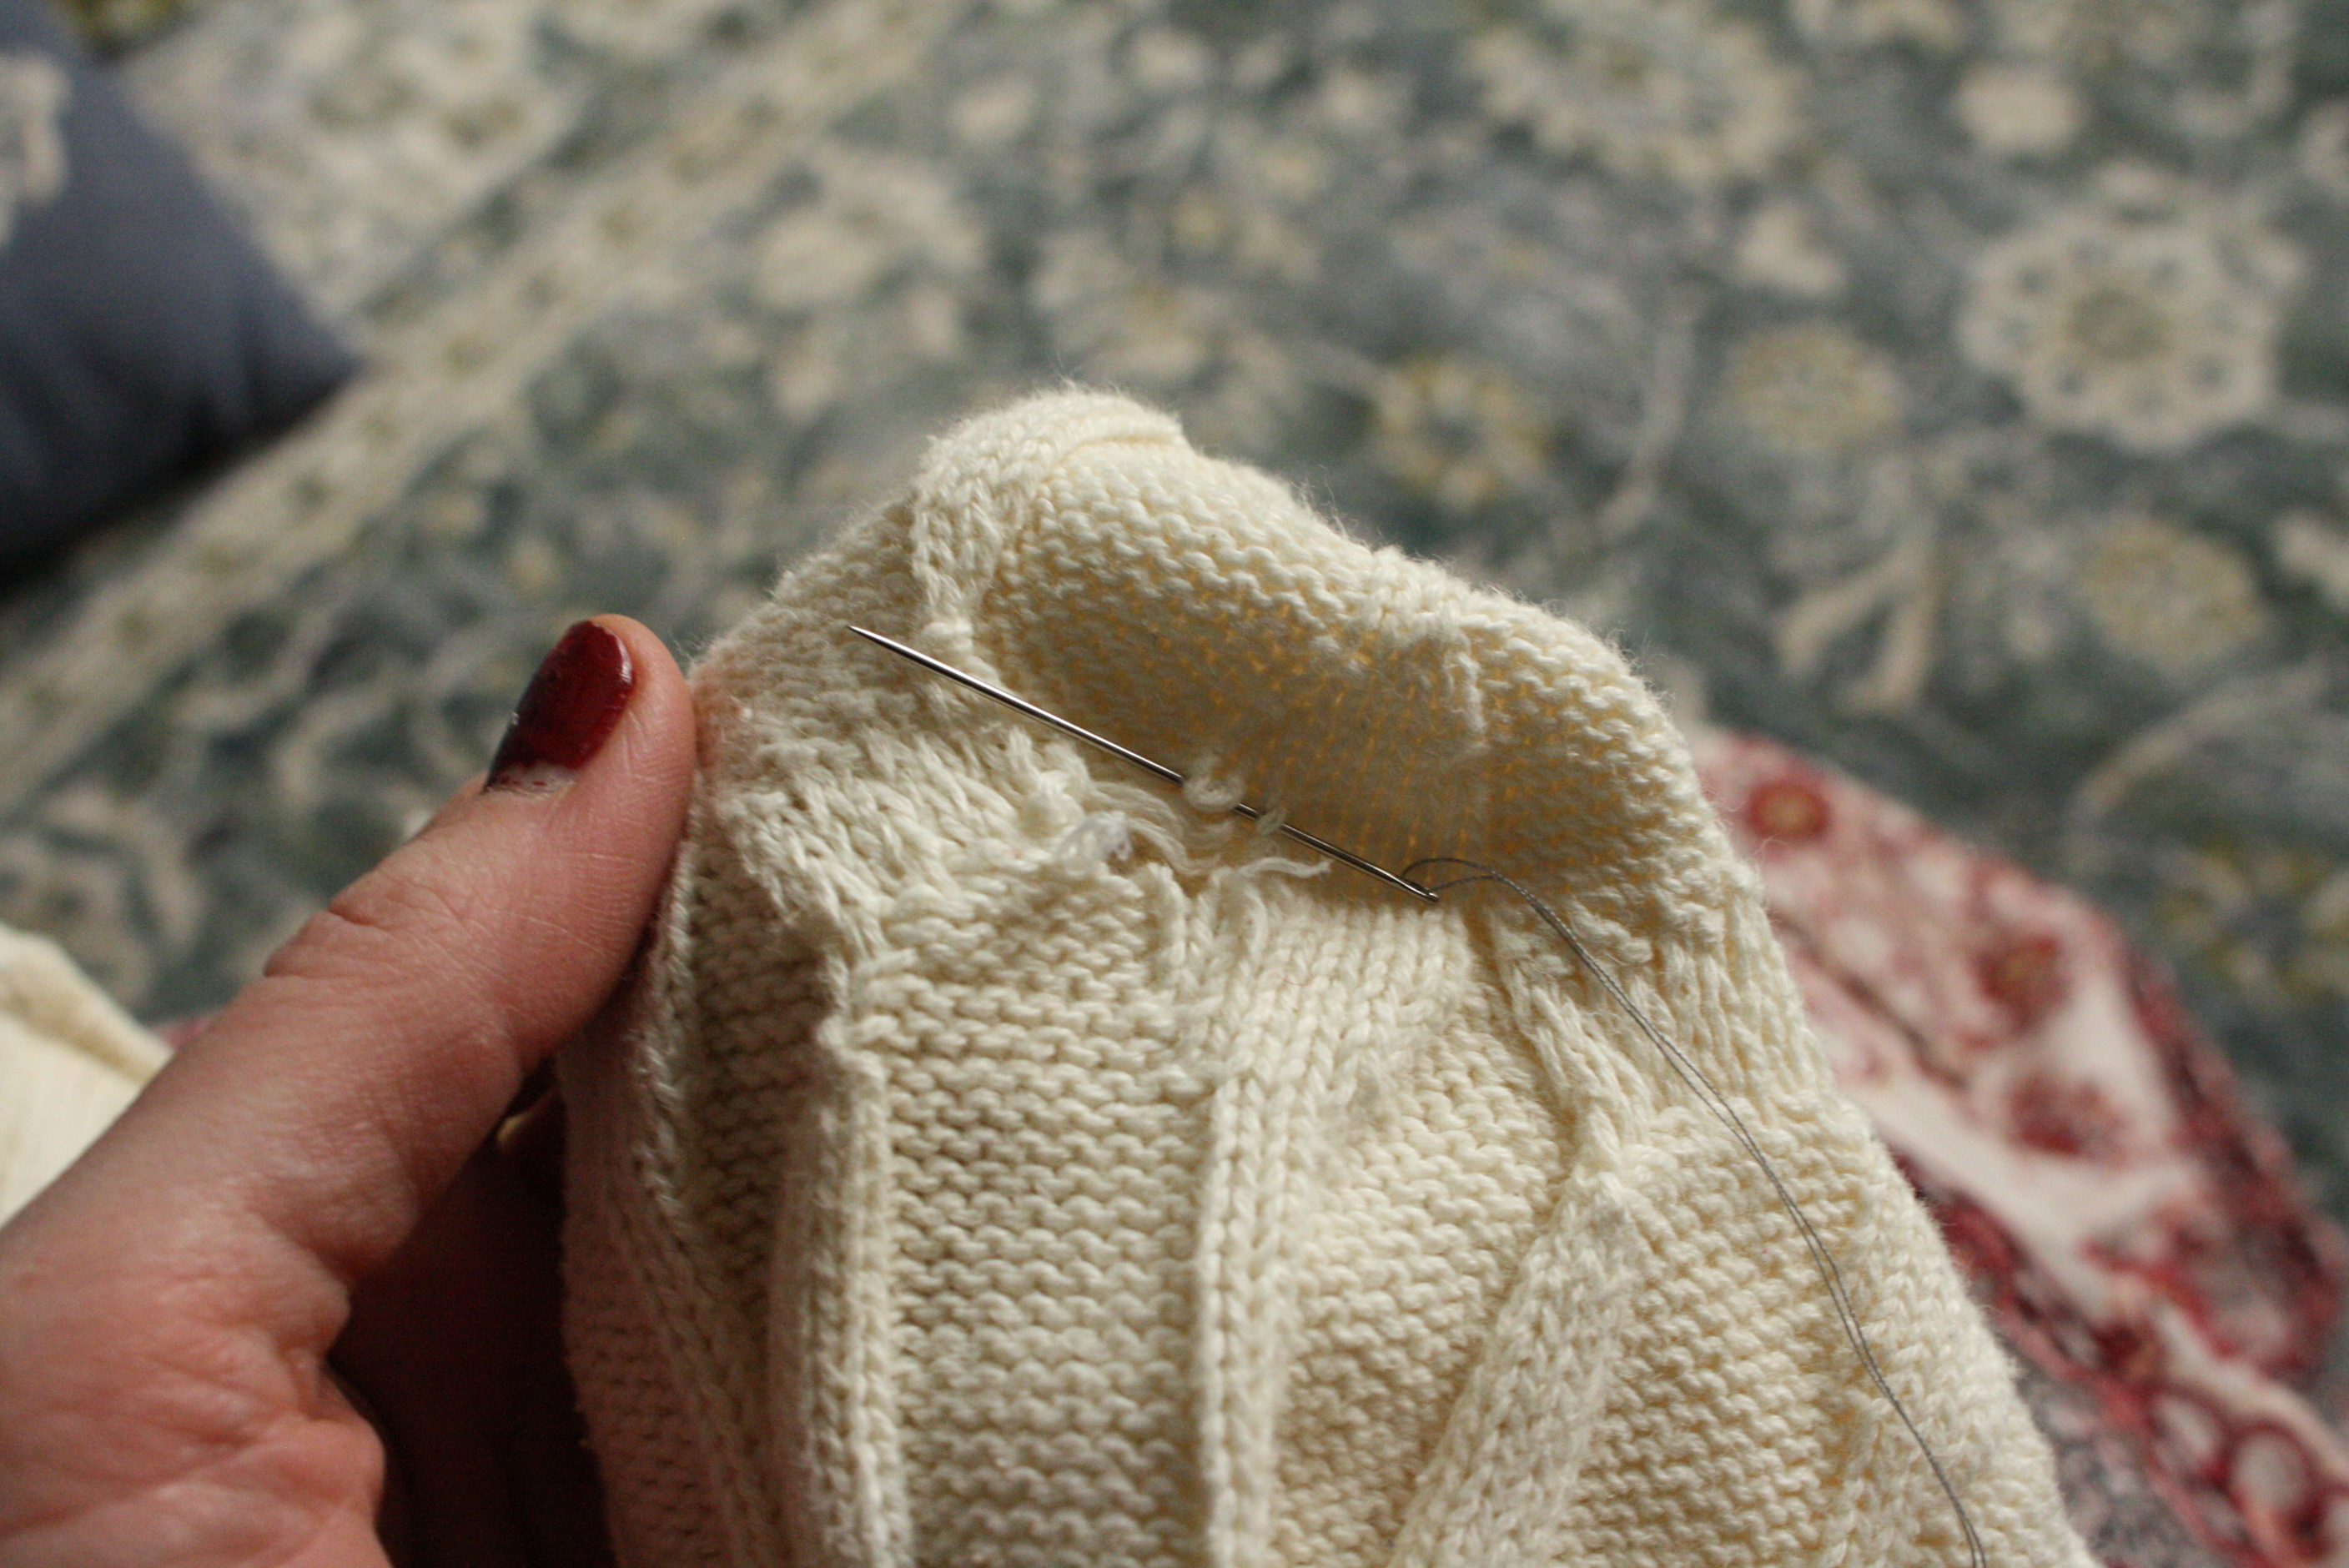
- Next, cut straight across from armpit to armpit. Now you have your square (or rectangle) piece to work with.
- Turn the sweater rectangle inside-out and sew together the seam that you cut.
- Now, sew together HALF of the other side (the side that the finished bottom of the sweater) and turn right side out.
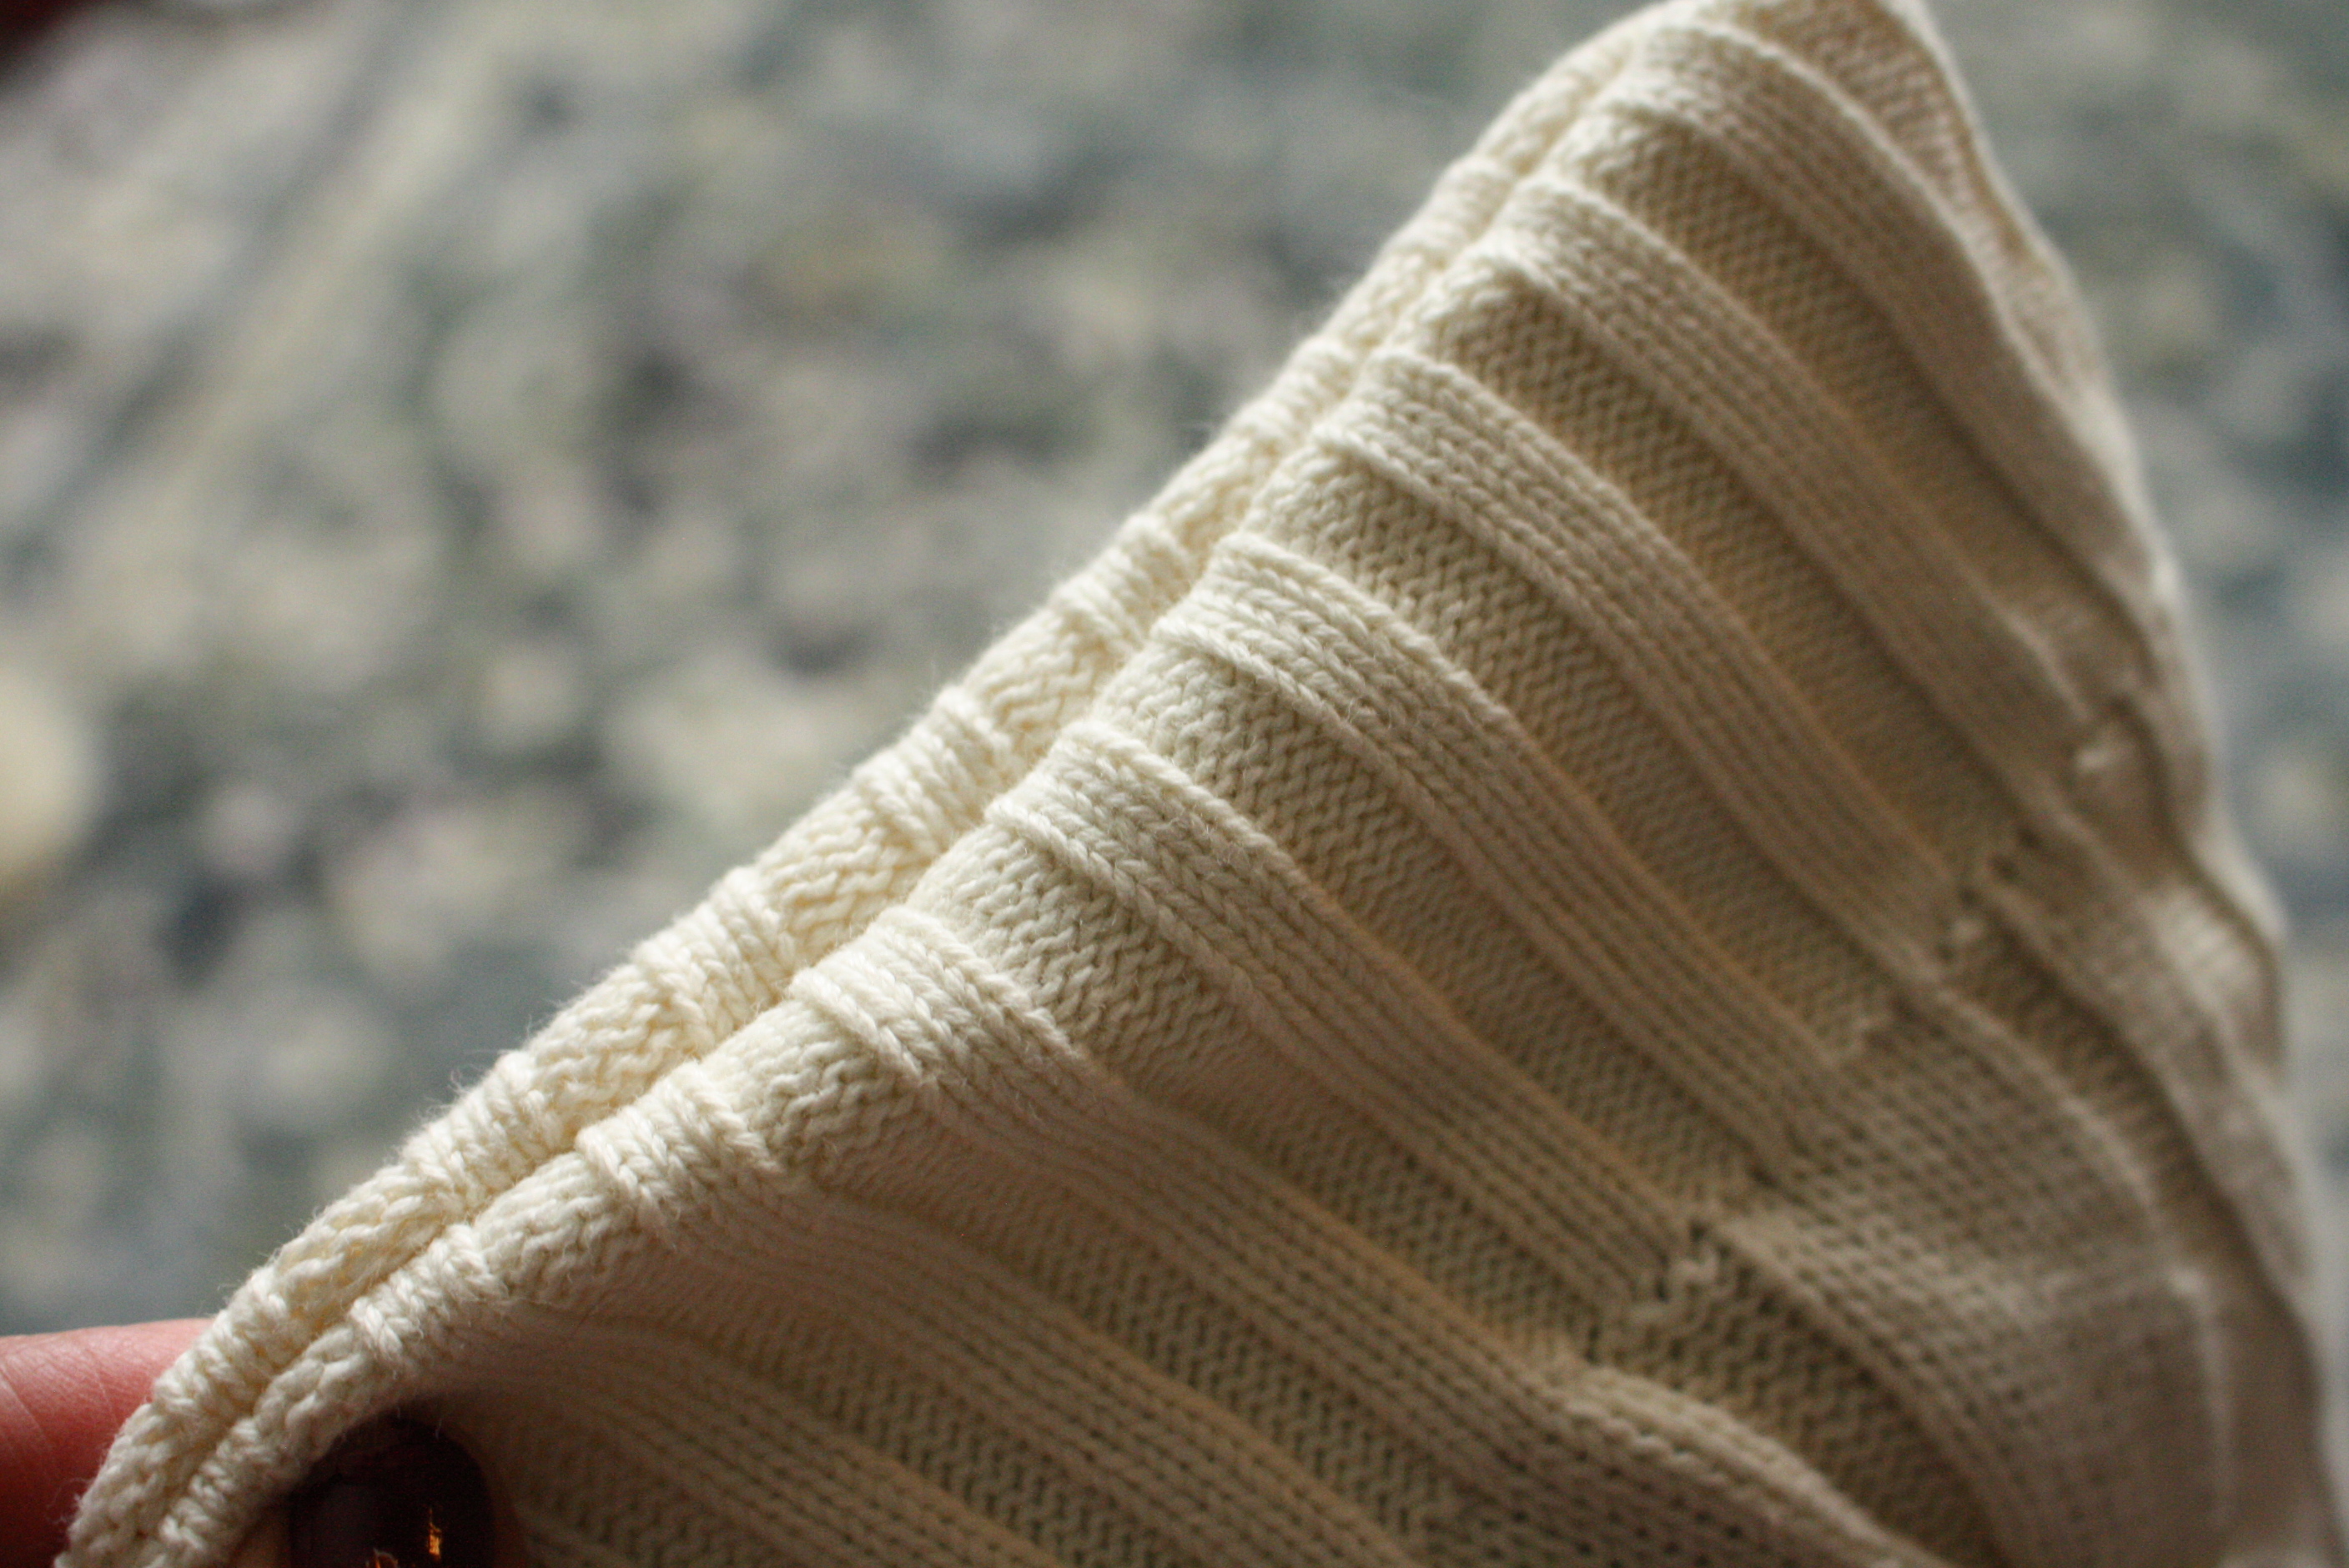
- stuff the pillow in.
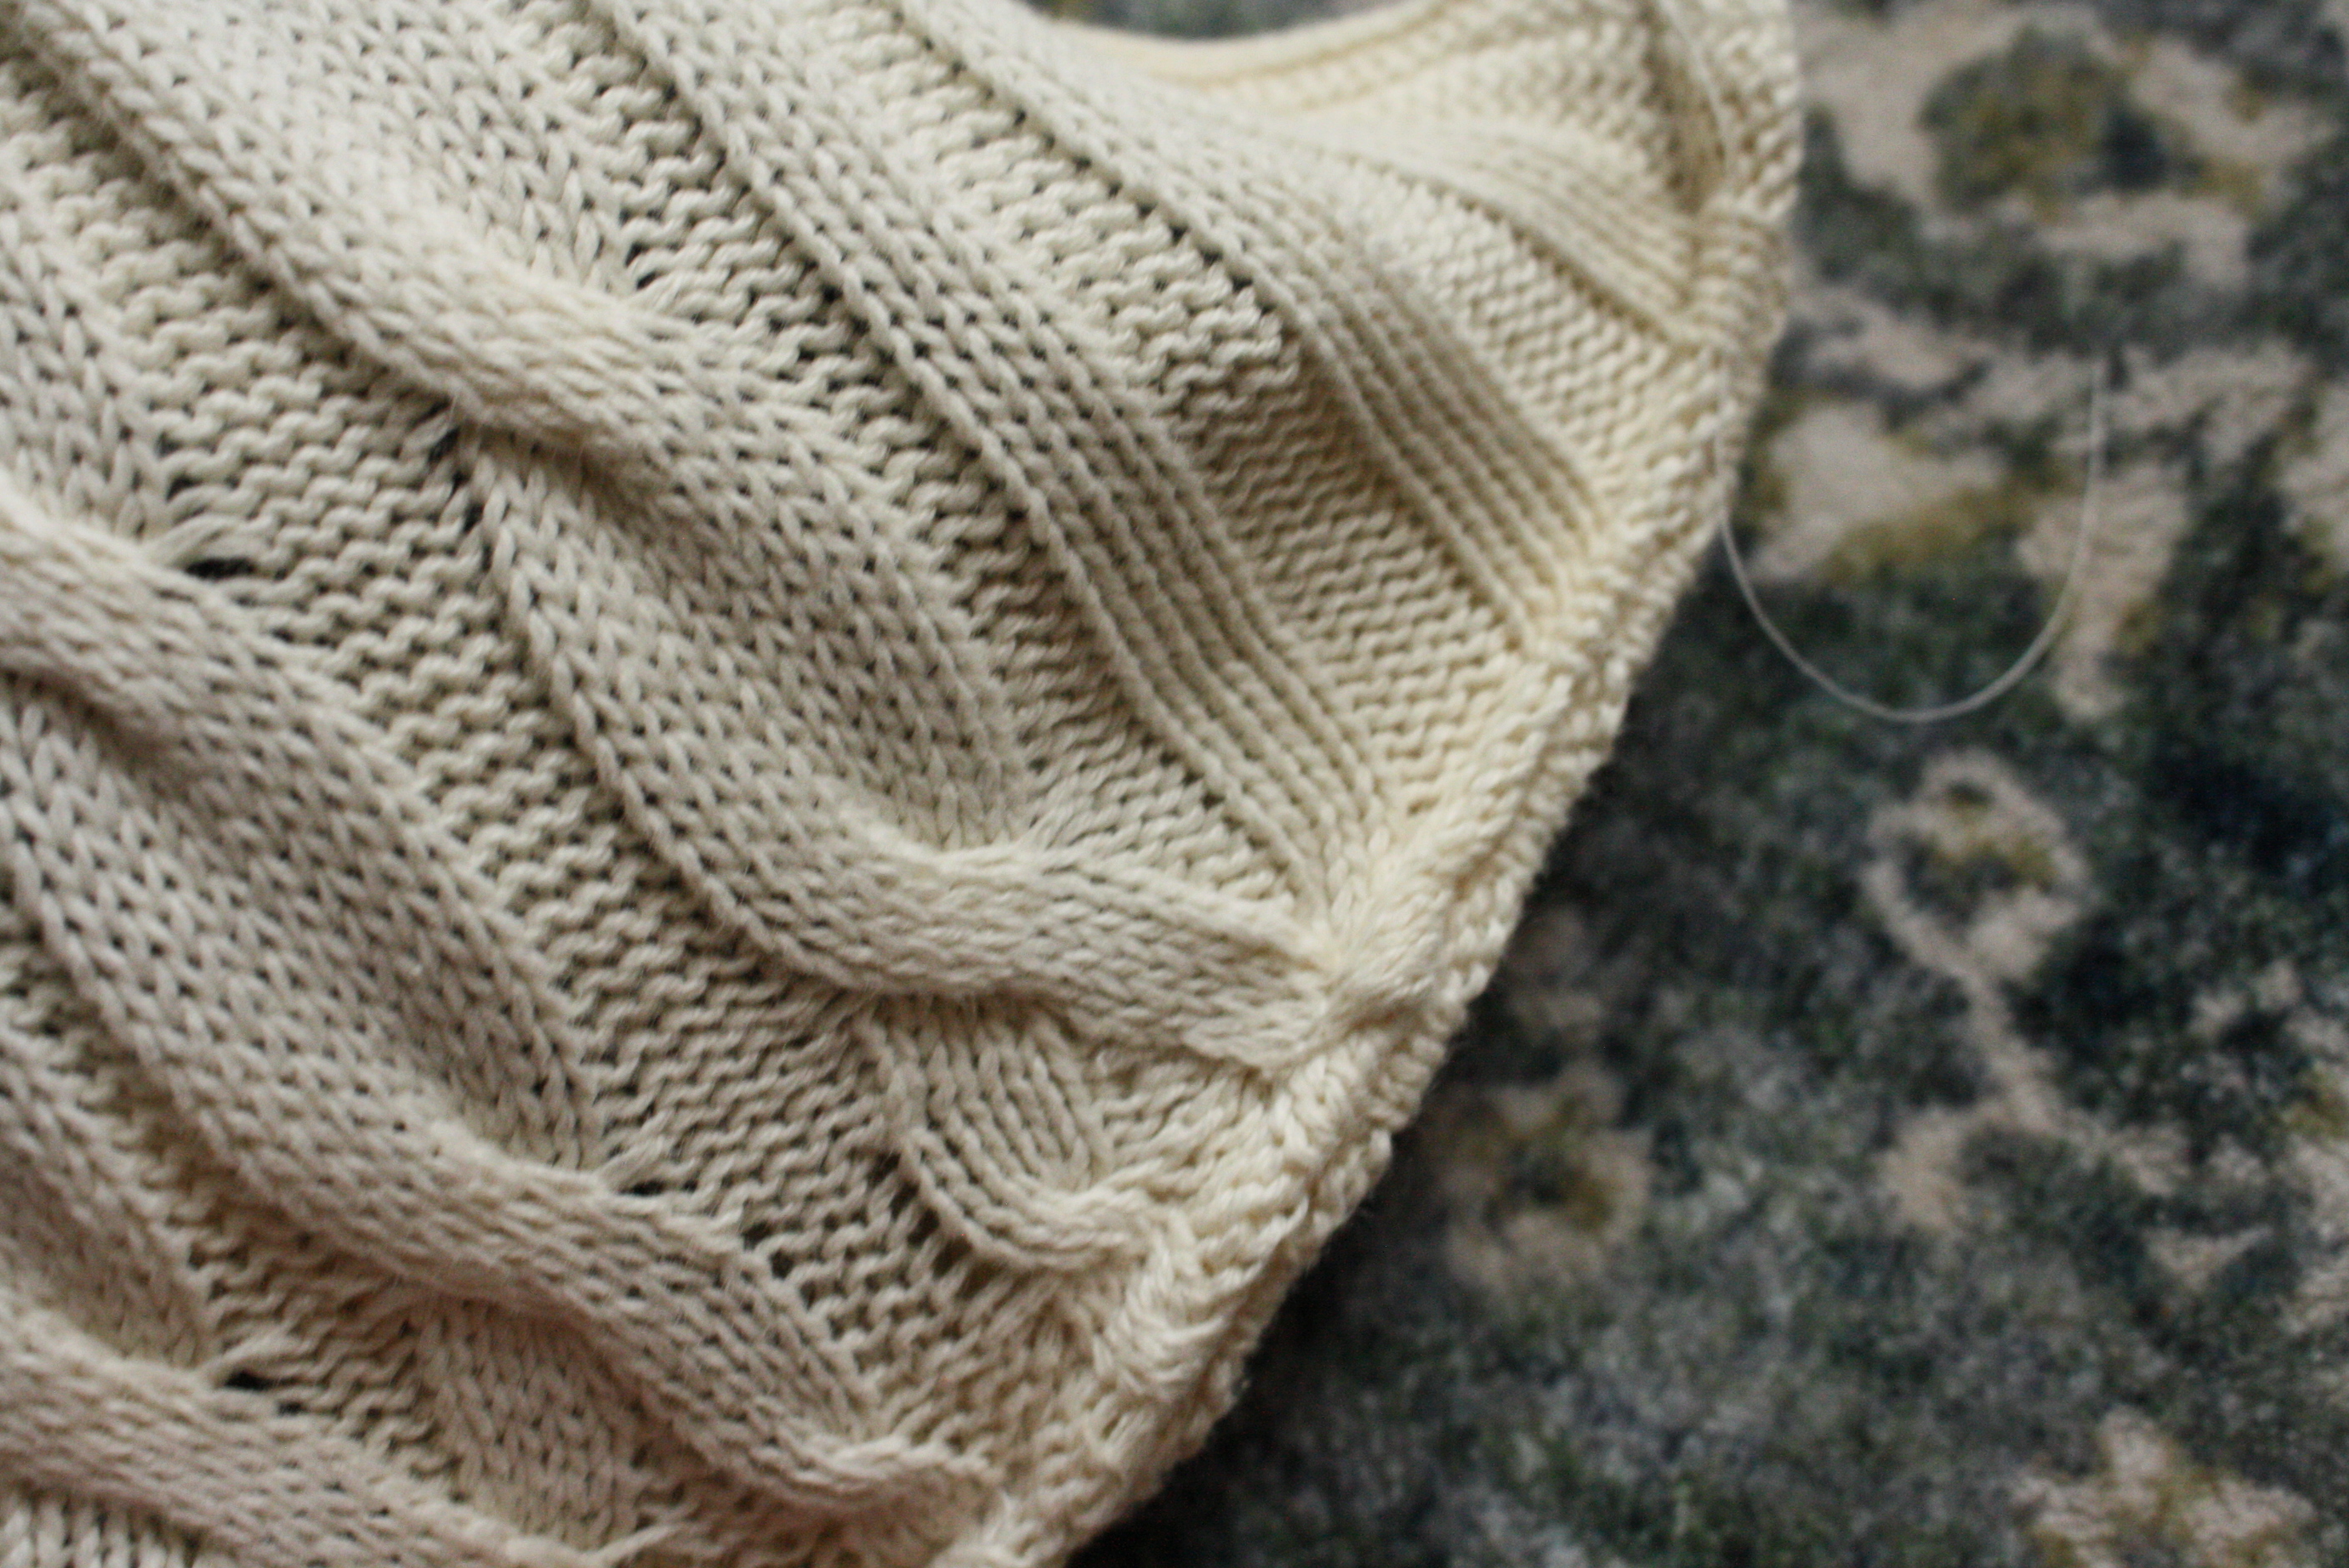
- Flip the cut edge inside and sew the rest of the seam shut. The seam will look different because you’re not sewing this inside-out. Just make sure the ends are flipped in like in the photo and you will get a nice, finished looking project.
Finishing your project
To finish your pillow cover, first make sure there are no seams that you missed sewing all the way. Since most sweaters you’ll be working with are knit they also will unravel really easily. Letting a missed seam go is cause for future trouble. I’ve learned this the hard way many times. Next, just trim all the thread that’s sticking out.
Now you’re done with your super easy sweater pillow cover! Whatever room you decided to decorate with your new gem will feel oh so snug, safe, and warming. Just right for the winter season. If you’d like to enjoy a hot drink while cuddling your new pillow check out some of our recipes:
Also, If you’d like to do another simple sewing project you may like:
If this is your first, or one of your first sewing projects I hope you liked it and are proud of yourself! It’s a great hobby to get into and also one that takes years of practice. Don’t get discouraged and I’d love to hear how your pillows turn out!
~Emily


Leave a Reply